S3 User Guide 15 PN 875-0196-000 Rev C1
Chapter 2: Installation and Setup
Note: This manual makes a distinction between control buttons (that appear along
the left or right side of the display) and buttons that appear on each screen. If you have
to touch a control button the text will specifically say “control button.”
Tabs and Screens
You navigate the S3 interface using tabs and screens. Tabs are the buttons along the
bottom of the screen. You touch a tab to display the screen (or one of several screens)
for that tab. Some tabs display only one screen; for example, when you touch the Map
tab the Map screen appears. Other tabs display one of several screens; for example,
when you touch the GPS tab the GPS Details screen appears with several buttons
along the right of the screen—you use these buttons to display other GPS screens.
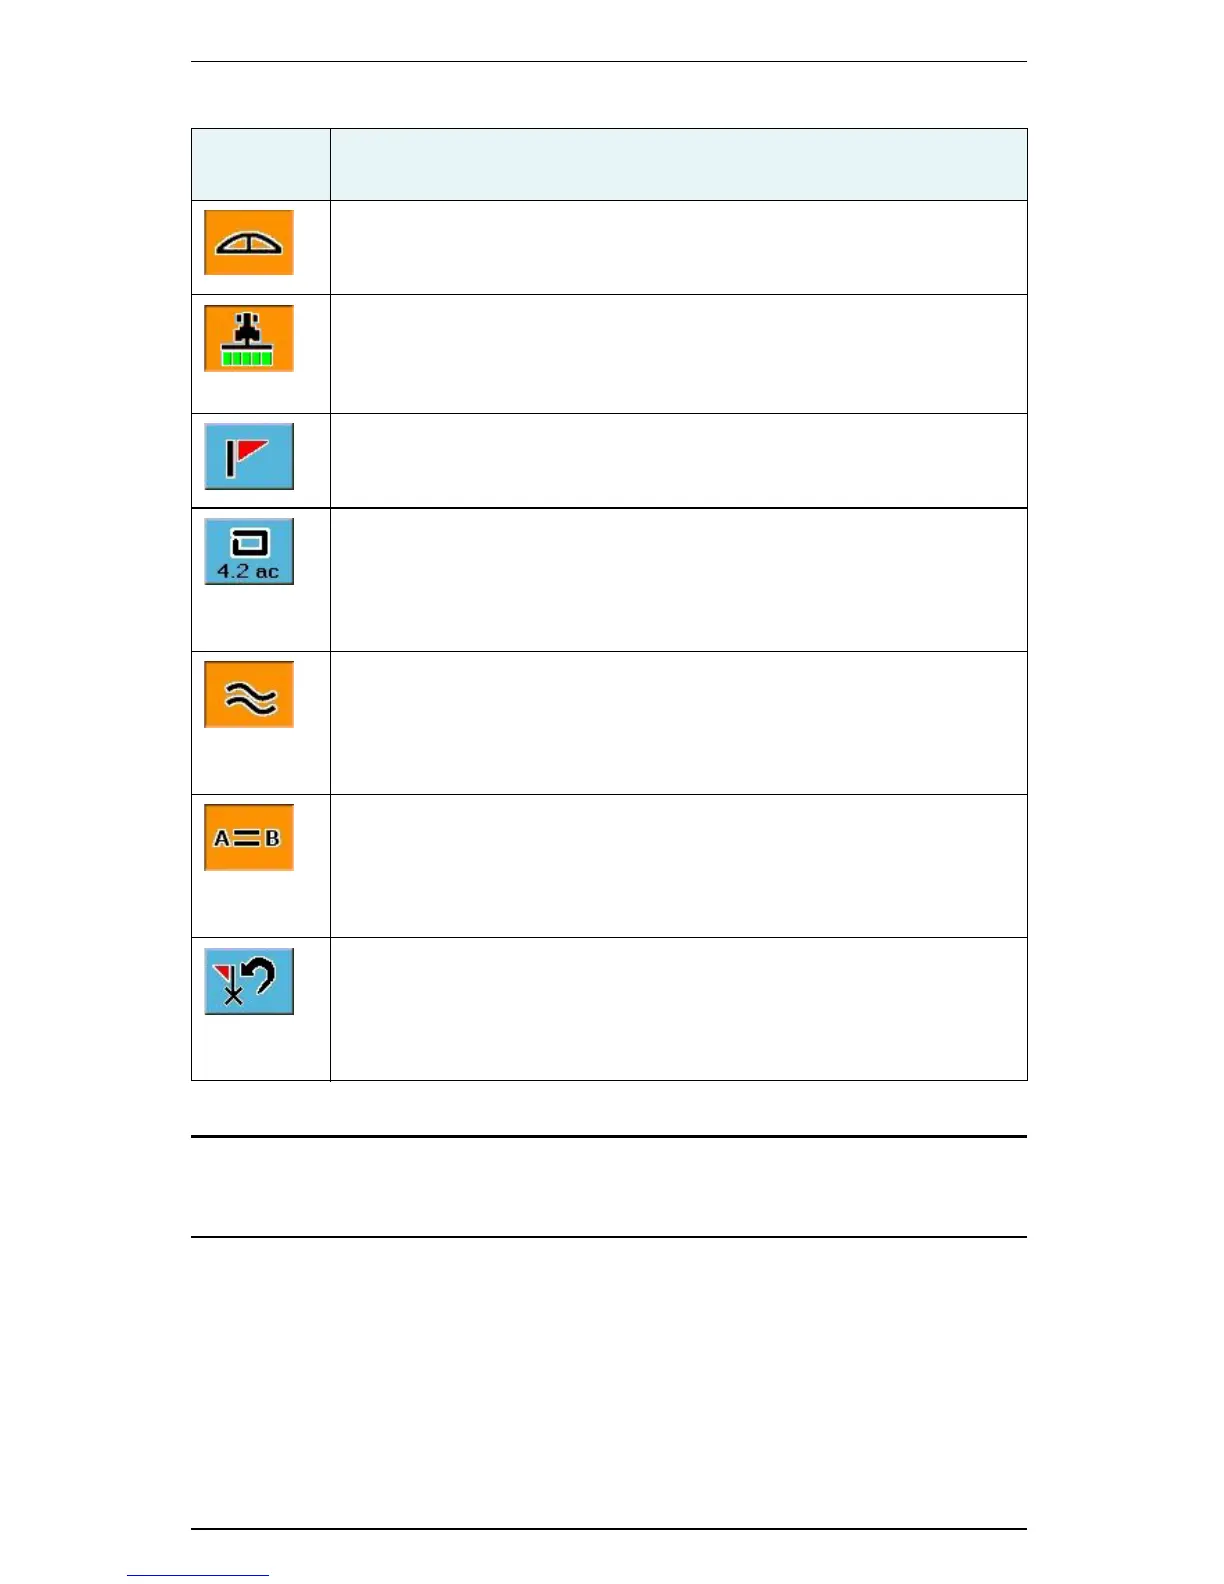
Lightbar
Manually display or hide the Steering Guide lightbar. See “Using the Map
Modes and Views” on page 26.
Apply
Select to have the S3 log application or coverage data for the current job.
Touch this button (or press the floor switch) to stop or hold logging job
data. Blue indicates no data logging; orange indicates data logging.
Mark Flag
Display the Marks window, where you can drop various flags to mark an
area or return point. See “Using Mark Flags” on page 53.
Perimeter
Display the Perimeter window, where you can record a perimeter and
calculate the area within it. The area included by the perimeter is displayed
on the Perimeter button for quick reference. See “Setting a Perimeter” on
page 51 for more information.
Contour Guidance
Activate Contour Guidance mode, a freeform guidance mode where
guidance is relative to any previous pass. Blue indicates this mode is
inactive; orange indicates it is active. See “Creating and Following Free
Form Paths (Contour Guidance)” on page 39.
Straight Guidance
Display the Straight Guidance window, where you can create linear or
pivot (circular) parallel guidance passes, or return to point guidance. Blue
indicates the mode is inactive; orange indicates it is active. See “Creating
and Following Parallel Paths (Straight and Pivot Guidance)” on page 33.
Return to Point
Return to an A point, a B point, last applied, any marker or flag, or the
centerpoint of a pivot. Wherever you are in the field touch this button and
then select any of the these options from a drop-down. The selected point
appears on the Map screen and the light bar guides you to the point.
Table 2-1: Control buttons (continued)
Control
Button
Description
 Loading...