EasyManua.ls Logo

OVE Breeze Series User Manual

OVE Breeze Series
29 pages
To Next Page IconTo Next Page
Page #1 background imageLoading...
Page #1 background image
PAGE 1
An installation video guide can be found on our Youtube channel:
Un guide d’installation vidéo est disponible sur notre chaîne Youtube:
Una guía de instalación de vídeo está disponible en nuestro canal de Youtube:
BREEZE & PARIS 31/34/36/38
INSTALLATION MANUAL - SHOWER ENCLOSURE
MANUEL D’INSTALLATION - CABINE DE DOUCHE
MANUAL DE INSTALACIÓN - PUERTA DE DUCHA
OVE 2019-02-28
Questions, problems, need help?
Call our customer service department at
1-866-839-2888, 9 a.m. - 5 p.m., EST, Monday - Friday
Questions, problèmes ou besoin d’aide?
Contactez notre service à la clientèle au
1-866-839-2888, du lundi au vendredi de 9h00 à 17h00 HNE.
Preguntas, problemas o necesita ayuda?
Llame a nuestro departamento de servicio al cliente al
1-866-839-2888, 9 am. – 5 pm., HDE, Lunes a Viernes.

Table of Contents

Question and Answer IconNeed help?

Do you have a question about the OVE Breeze Series and is the answer not in the manual?

OVE Breeze Series Specifications

General IconGeneral
BrandOVE
ModelBreeze Series
CategoryBathroom Fixtures
LanguageEnglish

Summary

Safety Information

Caution During Handling and Installation

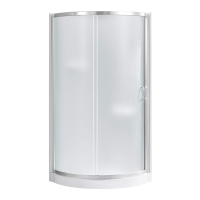
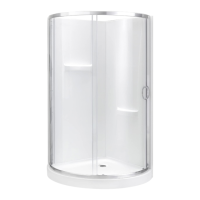
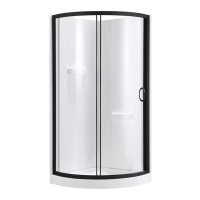
Important safety instructions to minimize risks during handling and installation of the shower unit.

Preparation and Installation Requirements

Shower Installation Overview with Wall Panels

General Installation Overview

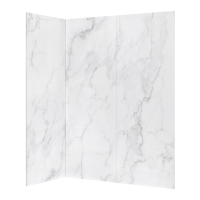
Side-view and wall structure recommendations for shower installation process.

Shower Frame Installation (Step 5)

Placing Frame onto Shower Base

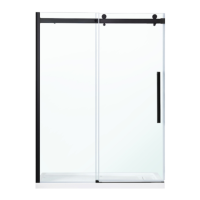
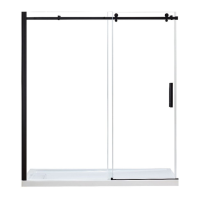
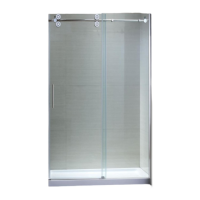
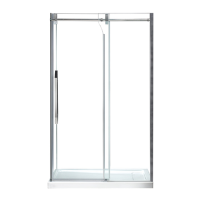
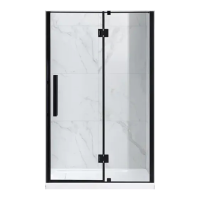
Gently place the assembled frame onto the base, ensuring it is level and centered.

Frame Positioning Warning

Critical warning about centering the wall track on the shower base edge.

Door Installation (Step 12)

Hanging Door by Top Wheels

Gently hang the door panel using its pre-installed top wheels.

Securing Bottom Wheels

Instructions to secure the bottom wheels into the frame track by applying downward pressure.

Door Installation (Step 13)

Door Closing and Leveling Check

Ensure the door closes properly and is level; adjust if necessary using top roller screws.

Wheel Adjustment for Seal and Fit

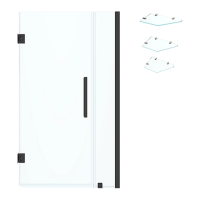
Notes on using wheel adjustment for a uniform seal and to prevent wheels from detaching.

Sealing (Step 15)

Applying Silicone Sealant

Apply clear silicone sealant around fixed components for water tightness.

Drying Time and Leak Prevention

Allow 24 hours for silicone to dry; improper application can cause leaks.

Related product manuals