EasyManua.ls Logo

OVE BREEZE ROUND CORNER SHOWER SCD 32x32x77 User Manual

OVE BREEZE ROUND CORNER SHOWER SCD 32x32x77
141 pages
To Next Page IconTo Next Page
Page #1 background imageLoading...
Page #1 background image
P. 1
START WITH THIS INSTALLATION MANUAL
STEP 1: INSTALL YOUR SHOWER BASE (USING THIS MANUAL).
STEP 2: INSTALL YOUR SHOWER WALL BASED ON OPTION (A) OR OPTION (B).
OPTION (A): INSTALLATION WITH TILES OR COMPOSITE WALL PANELS (NOT SUPPLIED)
OPTION (B): INSTALLATION WITH OVE ACRYLIC PANELS (IF PURCHASED AS A KIT)
STEP 3: INSTALL YOUR SHOWER DOOR.
32x32x77” / 34x34x77” / 36x36x77” / 38x38x77”
BREEZE ROUND CORNER SHOWER SCD
SHOWER INSTALLATION MANUAL - FOR CORNER SHOWER
www.ovedecors.com | customerservice@ovedecors.com
Questions, problems, need help?
Call our customer service department at
1-866-839-2888, 9 a.m. - 5 p.m., EST, Monday - Friday
An installation video (V06) guide can be found on our Youtube channel:
https://tinyurl.com/y95nqcmv
A B
Question and Answer IconNeed help?

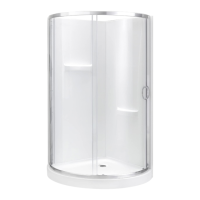
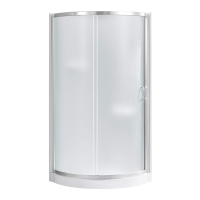
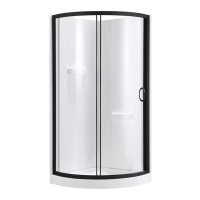
Do you have a question about the OVE BREEZE ROUND CORNER SHOWER SCD 32x32x77 and is the answer not in the manual?

OVE BREEZE ROUND CORNER SHOWER SCD 32x32x77 Specifications

General IconGeneral
BrandOVE
ModelBREEZE ROUND CORNER SHOWER SCD 32x32x77
CategoryBathroom Fixtures
LanguageEnglish

Summary

Shower Installation Overview

Step 1: Install Shower Base

Guide for installing the shower base as the first step.

Step 2: Install Shower Wall

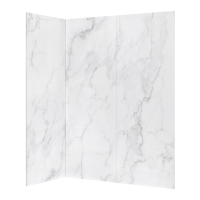
Instructions for installing shower walls, with options A and B.

Step 3: Install Shower Door

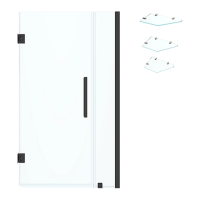
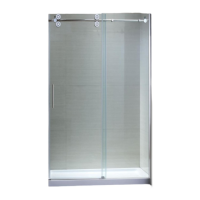
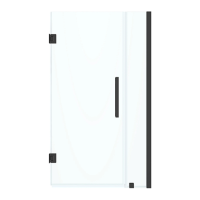
Guide for the final step of installing the shower door.

Shower Base Dimensions

Shower Wall Dimensions

Overall Shower Dimensions

Shower Door Package Contents

Shower Door Parts List

Shower Base Parts List

Tools Required for Installation

Lists tools that are not supplied with the kit for installation.

Shower Wall Parts List

Safety Information and Precautions

Important Safety Warnings

Crucial safety advice for handling and installing the shower unit.

Notice on Modifications and Warranty

Warning about alterations voiding warranty and distributor liability.

Pre-Installation Checklist

Installation Options Overview

Introduces the two main installation options for walls.

Base Installation Overview (Option A)

Base Installation Preparations (Option A)

Shower Drain Installation (Option A)

Base Installation Sub-Structure (Option A)

Securing the Shower Base (Option A)

Base Installation Finishing Steps (Option A)

Drywall Preparation for Base (Option A)

Attaching Drywalls to Base (Option A)

Shower Wall Installation Options

Option A: Tile or Composite Wall Panels

Guide for installing tile or composite wall panels.

Option B: Acrylic Wall Panels

Guide for installing the provided acrylic wall panels.

Tile or Composite Wall Panel Installation (Option A)

Base Installation Overview (Option B)

Drywall Preparation for Base (Option B)

Attaching Drywalls to Base (Option B)

Shower Drain Installation (Option B)

Base Installation Sub-Structure (Option B)

Securing the Shower Base (Option B)

Base Installation Finishing Steps (Option B)

Acrylic Wall Panel Installation

Wood Batten Preparation and Installation

Steps for preparing and attaching wood battens to the wall.

Acrylic Wall Panel Assembly

Applying Silicone and Drilling Holes

Instructions for sealing grooves and creating mounting holes.

Securing Acrylic Wall Panels

Fastening Panels and Final Sealing

Tightly screwing panels together and applying final silicone sealant.

Shower Door Installation Overview

Shower Door Installation Preparation

Door Opening Orientation

Guidance on setting up for left or right door opening.

Shower Head Placement Recommendation

Advice on shower head placement to prevent leaks.

Shower Door Frame Installation

Fixed Panel Seal Strip and Frame Attachment

Attaching the fixed panel seal strip and connecting the frame.

Fixed Panel Installation

Securing Fixed Panel with Clamps

Using clamps and screws to secure the fixed panel.

Inserting Fixed Panel Seal Strip

Adding the seal strip to the fixed panel.

Wall Track and Frame Positioning

Inserting Wall Tracks

Placing wall tracks onto the assembled frame.

Positioning Assembled Frame on Base

Aligning the frame assembly with the shower base.

Shower Frame to Wall Mounting

Marking and Drilling Wall Tracks

Marking wall locations and drilling holes for tracks.

Inserting Wall Anchors

Installing anchors if studs are not present.

Securing Shower Frame

Attaching Wall Tracks with Hardware

Fastening the wall tracks using washers, screws, and covers.

Shower Door Components Installation

Securing Frame to Wall Tracks

Connecting the shower frame to the wall tracks with hardware.

Installing Door Seal Strips

Attaching seal strips to the door panels.

Attaching Door Wheels

Mounting the top and bottom door wheels.

Hanging and Securing Shower Door

Hanging Door by Top Wheels

Gently hanging the door using its top wheels.

Securing Bottom Wheels

Engaging the bottom wheels into the frame track.

Door Leveling and Adjustment

Ensuring Proper Door Level and Seal

Adjusting top rollers to ensure the door closes properly and seals.

Handle Installation

Final Sealing and Drying

Applying Silicone Sealant

Applying silicone sealant around components and allowing it to dry.

Maintenance and Care

Product Warranty Information

Related product manuals