10400359-004 ©2011-2014 Overland Storage, Inc. Page 2 of 5
Add-on/Spare DIMM Instructions
Prepare the Unit
Power Off and Disconnect
1. Power off the unit/cluster:
• SnapServer: Press the Power button.
• SnapScale: There are two power-off options available.
• Shut off the entire cluster by using the Web
Management Interface (
Maintenance > Shutdown/
Restart > Shutdown
).
By shutting down the entire cluster, no peer sets
will need to be rebuilt when it is reactivated.
However, the cluster will be offline and unavailable
during the repairs. This option is recommended
when all nodes are having memory added.
• Shut off just the affected node by briefly pressing
the Power button on a node.
By shutting down only the node, the cluster remains
online and active. However, some peer sets will be
operating with either less (3x replication) or no (2x
replication) redundancy while the node is down and
afterwards when the peer sets are being rebuilt.
This option is recommended when only one node is
having memory added.
2. When all the LEDs are off, disconnect the power cords.
3. Disconnect all the cables from the unit.
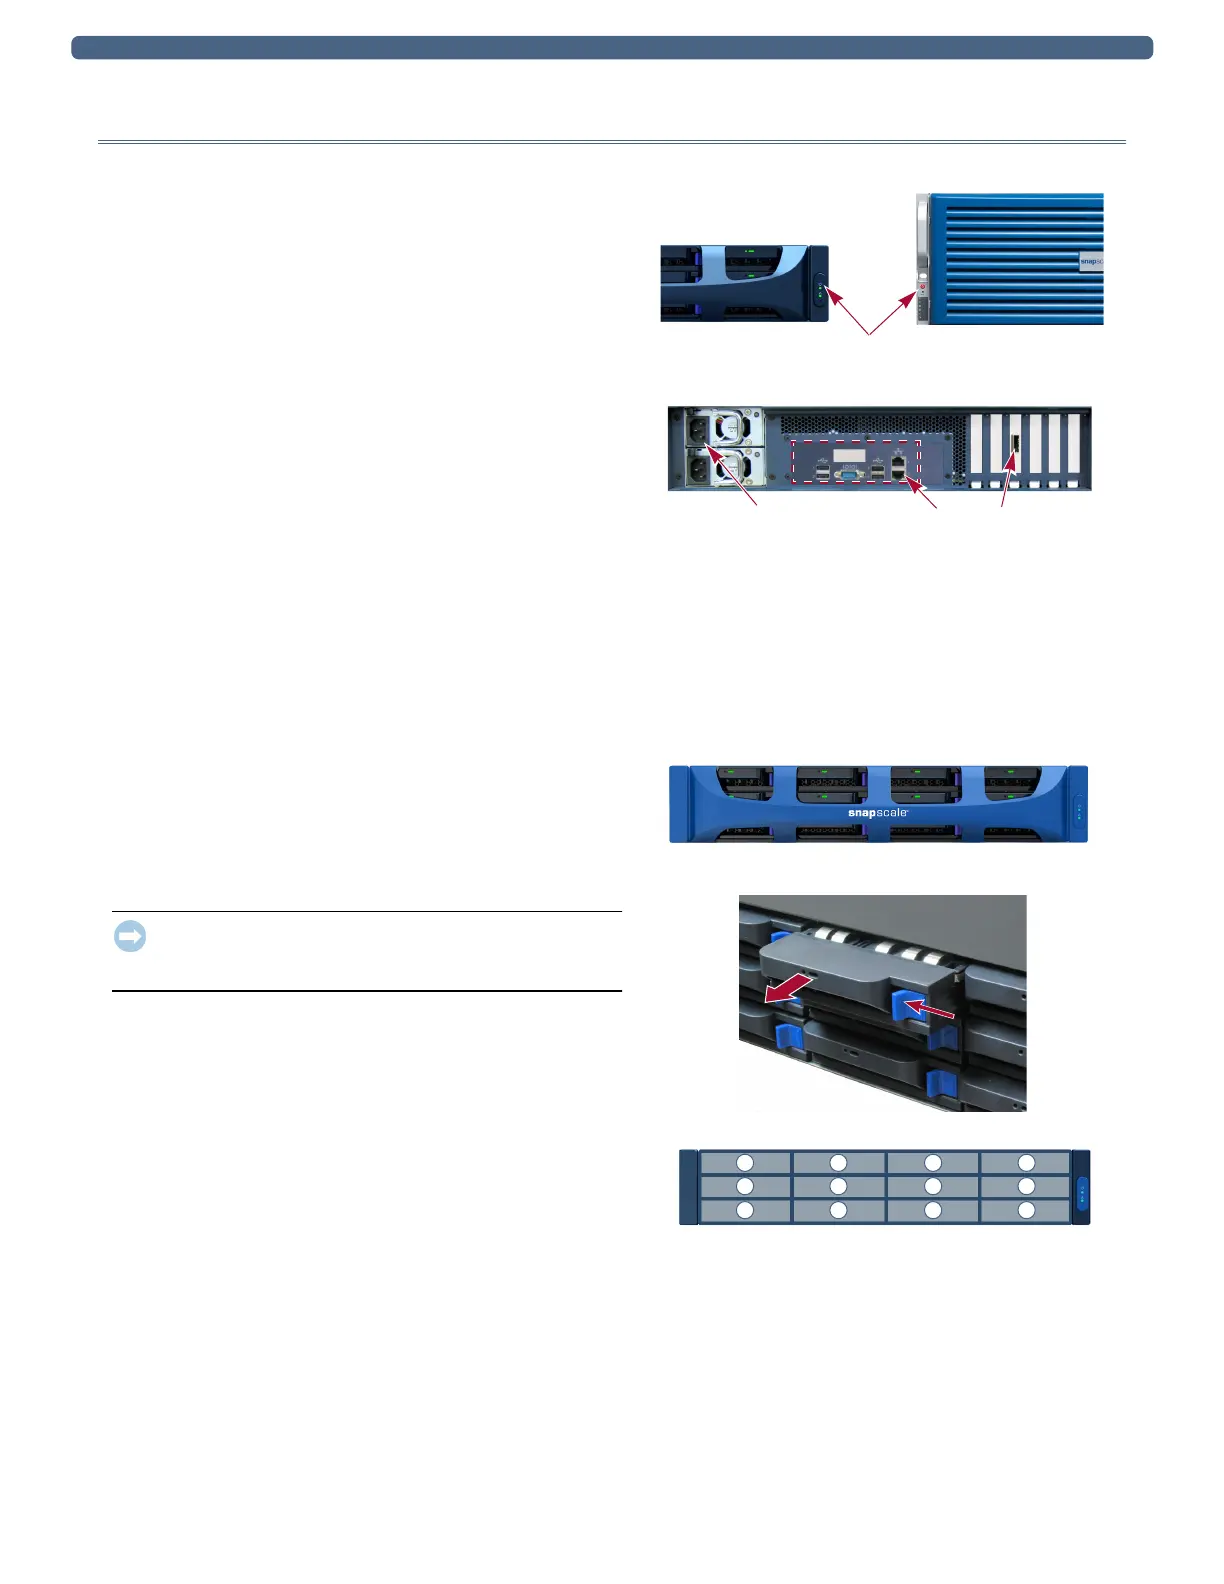
Remove the Front Bezel
Carefully take hold of the front bezel and pull it straight out
from the appliance until the magnets release. Set it aside.
Remove the Drives
IMPORTANT: Overland recommends that you remove the disk
drives to reduce the unit’s weight prior to removal. They must
be replaced in the same bays when done.
NOTE: Do not remove the disk drives from their carriers. Doing so
voids the drive warranty.
Remove all the drive carriers, noting from which bay they were
removed. Blank carriers can be left in place.
1. Press the release button on the right side of the carrier.
2. Using the built-in handle, pull the drive carrier out.
3. Set the carrier on an secure surface.
4. Repeat Steps 1–3 for all the remaining drive carriers.
Power Button
X2 Node X4 Node
Power Sockets Cable Ports
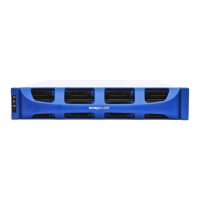
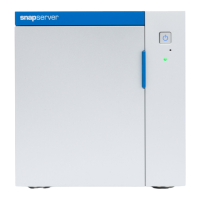
SnapServer DX2
1
5
9
2
6
10
3
7
11
4
8
12