EN
• To clean the projector lens, use the glasses tissue or soft fabric in order
not to scratch the lens.
•
Clean ventilating holes and projector loudspeakers with a brush on
a regular basis, otherwise the ventilation may get blocked
High temperature
•
When the projector is active, make sure the ventilating holes of the
device are not covered. For this reason do not place it on soft surfaces
and do not cover with fabrics.
• Do not look into the lens when it operates.
Additional information
• Do not rub any liquids in and do not place heavy items on the projector.
• To guarantee stable heat dispersion, adjust the height of the project at
the lower area before you activate it.
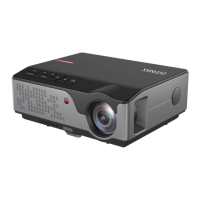
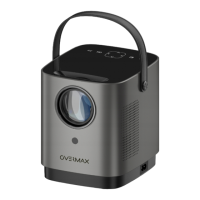
Description (fig. 1):
1. Base adjustment
2. Infrared receiver
3. Lens
4. VGA port
5. Main switch
6. Feeder port
7. Loudspeaker
8. Fan
9. Image sharpness knob
10. Image shape change knob
11. Loudspeaker
12. Volume adjustment
13. Projector assembly holes
14. Label
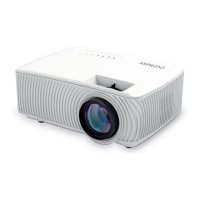
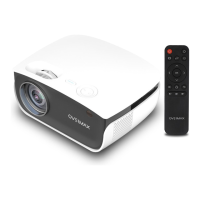
1. Outlook
Upper panel (see: fig. 2)
1. Confirm key.
2. Direction keys - when you press these keys, you can choose menu with
up/down keys and left/right keys.
3.
On/o switch - press the power key to switch the projector on or o. This
function and power key on the remote control have the same function.
4. Select the input signal source - AV / HDMI / VGA.
5. Options menu - press this key to set menu with arrow keys.
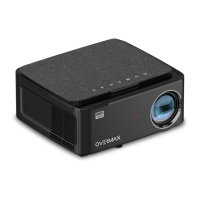
Rear panel (see: fig. 3)
1. IR signal receiver (remote signal)
2. VGA port