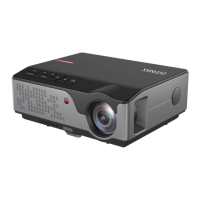
EN
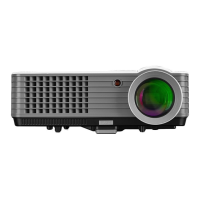
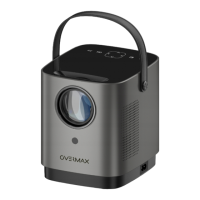
3. USB port
4. HDMI/HDMI2 port
5. Mini – Jack (audio input 3,5 mm)
6. AV port
Note! To avoid damage, connect the input cable properly before you switch
the projector on.
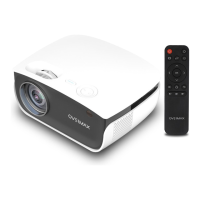
Remote control (see: fig. 4)
1. LED light
2. On/o key
3. Select source
4. Direction keys
5. Options menu
6. Homepage
7. Volume up
8. Volume down
9. Mute
10. Projection screen rotation
11. Confirm key
12. Exit
13. Previous slide key
14. Next slide key
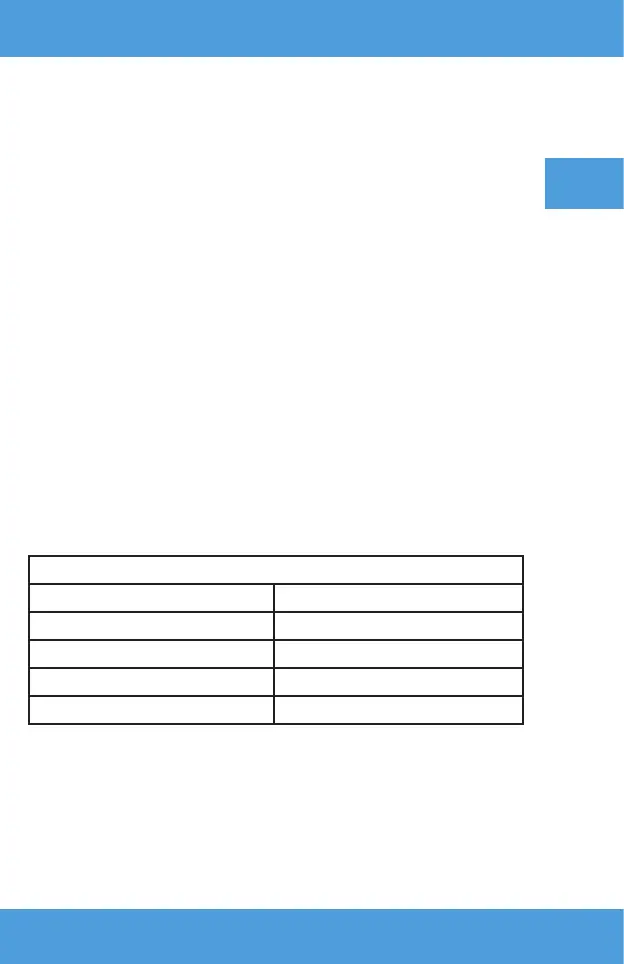
2. How to install
Standard settings (front projection).
Please read the table below to adjust the image size and projector distance
as well as pay attention to sample picture (see: fig. 6)
Shape coecient 16:9
Image size (inches) Distance (m)
50” 1.60
70” 2.24
100” 3.20
120” 3.85
If the distance between the projector and screen is lower than minimum
distance or is considerably longer, the image may be blurred.
How to adjust the image shape
Please see the trapezoid adjustment diagram (see: fig. 5)
X – wrong installation
✓ - correct installation