2
KOKO USER’S GUIDE
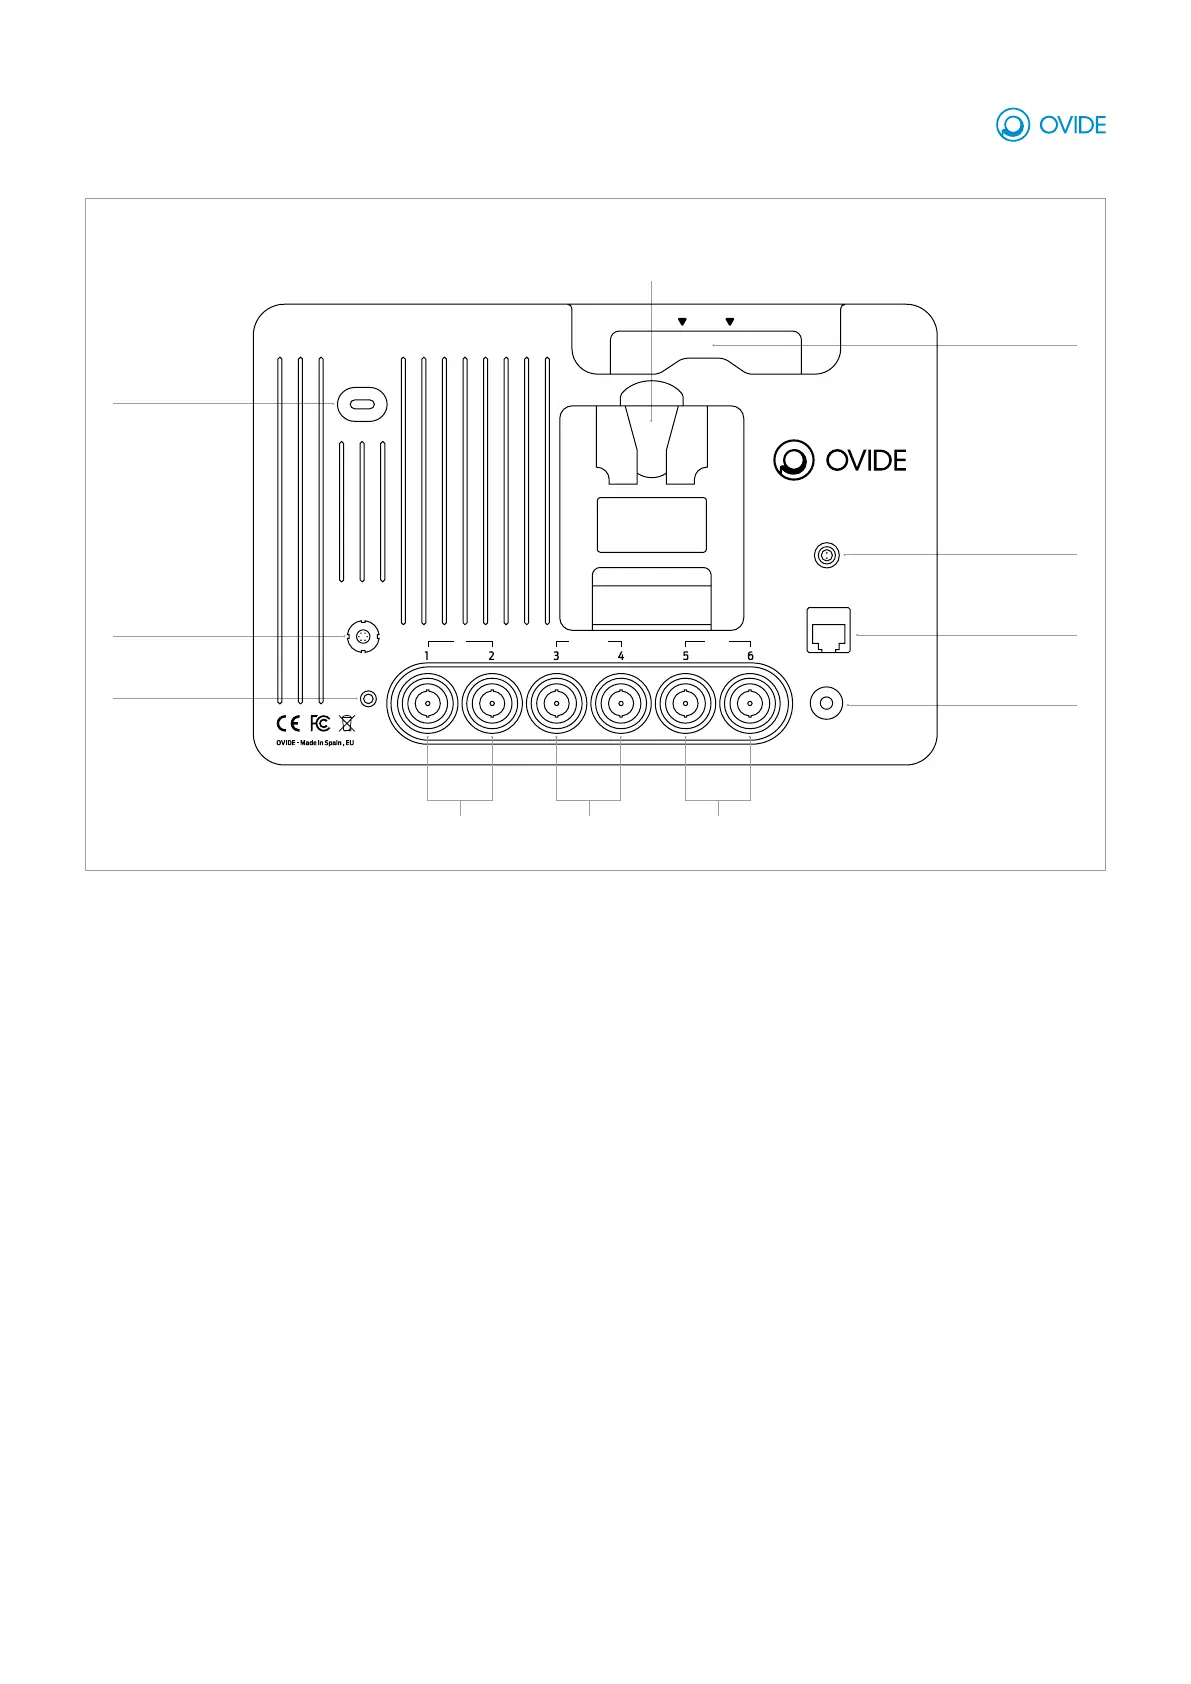
LOCATION AND FUNCTION OF PARTS
Power button: Press and hold to turn on or off
DC power connector: Connect the supplied DC power supply to the DC jack for mains power.
12G SDI 1&2 inputs: Input video signal via SDI.
12G SDI 3&4 in/out: Input or output video signal via SDI.
12G SDI 5&6 outputs: Input video signal via SDI.
Audio in/out: Analog audio input/output.
Headphones: 3.5mm output jack for the connection.
Media slot: Insert your SSD with the branding facing outwards, push it until you hear a click. To remove it, just pull it out.
Battery slot: Attach V or Gold Mount type batteries (depending on your Koko’s battery mount).
USB: For future expanded functionality.
Ethernet port: For future expanded functionality.
OVIDE KOKO IS A RECORDING MONITOR TARGETED AT VIDEO ASSIST AND DIT
Ovide Koko rear panel
Ethernet
Power button
DC power in
USB-C
Audio in/out
(bidirectional)
Headphones
3.5mm TRS
Removable SSD
Battery socket
(V or Gold mount)
Video outputsVideo in/out
(bidirectional)
Video inputs
DC IN
DISK
USB
LAN
POWER
OUTIN/OUTIN
EAR
AUDIO
IN/OUT