3
KOKO USER’S GUIDE
FIRST USE
SETTING UP
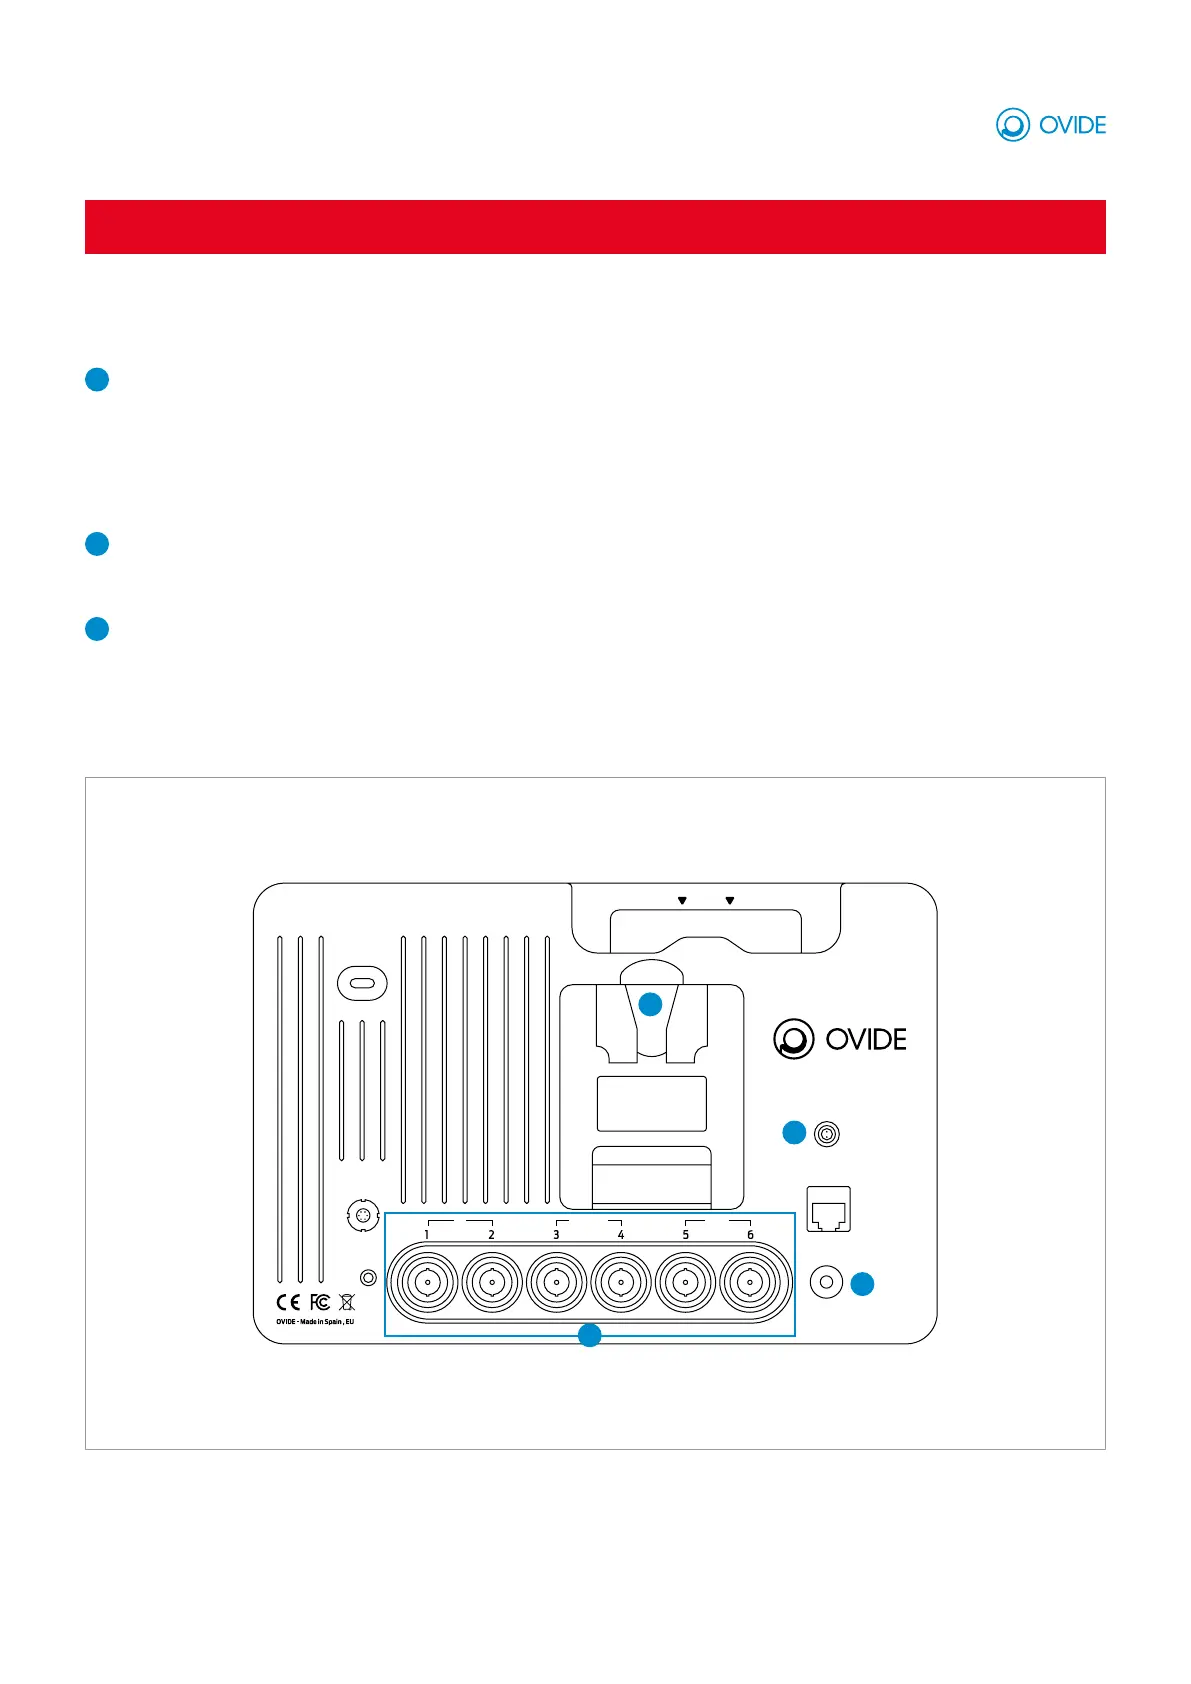
Ovide Koko rear panel
DC IN
DISK
USB
LAN
POWER
OUTIN/OUTIN
EAR
AUDIO
IN/OUT
1
2
2
3
1
Video connections
IMPORTANT: Ovide Koko suports progressive (P) SDI formats. Legacy PsF (eg 1080pSF) or interlaced (eg 1080i) formats aren’t supported.
1 and 2 inputs: Connect SDI video signal from your camera/s .
3 and 4 inputs: These are bidirectional 12 SDI connections, you can choose to input or output video signal.
5 and 6 inputs: Connect any monitor via SDI to output video.
2
Powering on
Connect power to the monitor using a V-Monunt of Gold Mount battery (depending on your Koko’s mount) or connect the included DC
power supply.
3
Switch on
Press the power button, you will see the Ovide logo and then it will start in record mode, showing you the 4 SDI inputs (views).
IMPORTANT: Formart your SSD to ExFAT