07INSTALLATION
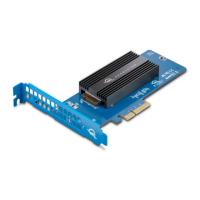
5. While holding down the M.2 drive so that it is level with
the top of the drive post, use the flat-top screw from the
included packet, to affix the drive to the post.
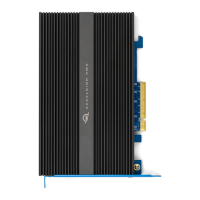
6. (Optional) This step is not required if your M.2 drive ships
with a heat sink from the manufacturer.
Flip the card over, and, making sure the heat sink is
oriented as shown (top-side down with logo visible) set the
card on the heat sink such that the four screw locations
(highlighted) line up properly. Then, affix the screws (two
of them are found in the included packet). IMPORTANT: As
you set the card on the heat sink, the bracket should not
rest on the work surface but over the edge. This will allow
the heat sink and card to lie completely flat on the work
surface.
This completes the M.2 installation process. See Section
2.2 for recommendations on installing the card into a
computer or PCIe chassis
5
6