OWC EXPRESS DEVICE SETUP
2
2.1 Assembly
NOTE: The pictures used in these instructions depict the USB 3.1 Gen 1 version of
the OWC Express. The exact same steps are used for the USB 2.0 version; only the
shape of the connector on the outside of the enclosure is dierent. In addition, your
Express enclosure may be black rather than silver.
1. First, remove the top cover from the Express enclosure. Inside the bottom case
you will see a small plastic bag containing the screws needed for assembly. Remove
the bag and set aside the screws for now.
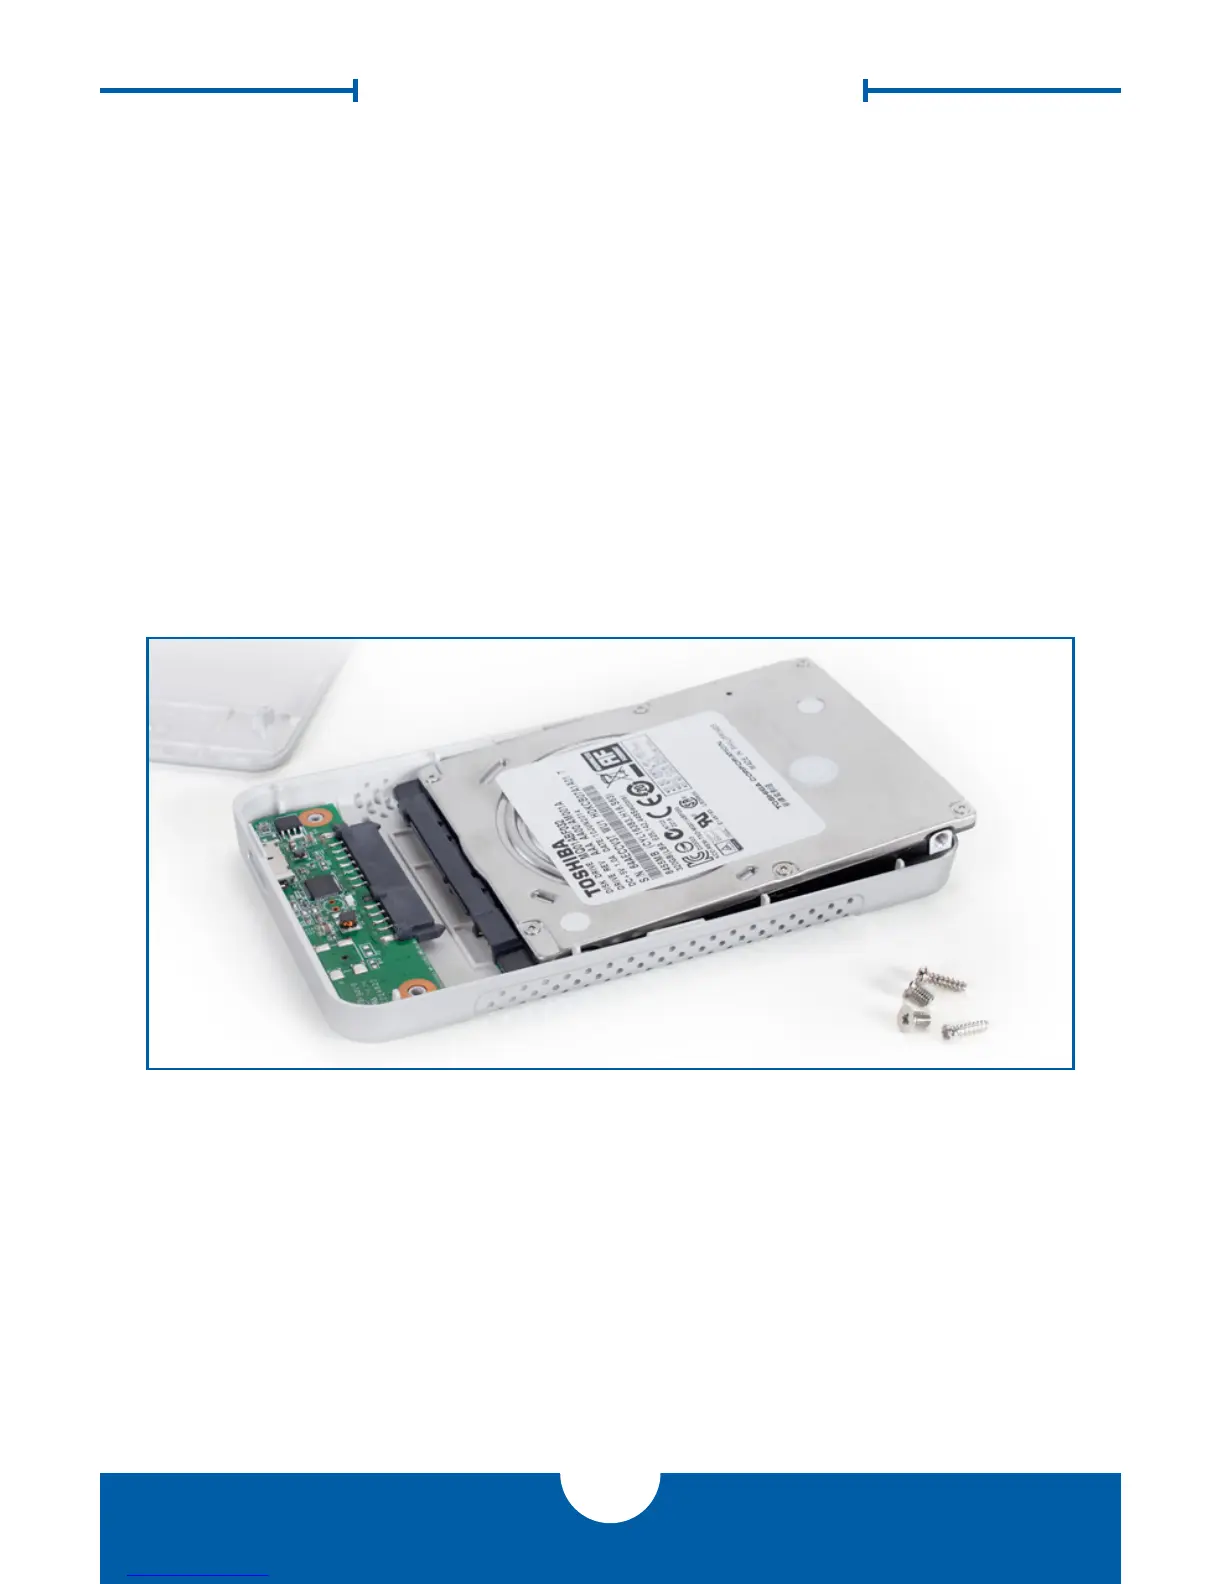
2. Install the 2.5” SATA drive (up to 9.5 mm tall). As shown below, insert the drive
into the bottom case of the OWC Express at a shallow angle, lining up the SATA
connector on the drive with the connector in the case. Make sure the drive is seated
fully in the connector inside the bottom case, then proceed to the next step.
Continue to the next page.
DEVICE SETUP