OWC Mercury Elite Pro Dual mini Chapter 2 - System Setup
2.2 RAID Conguration
To adjust the RAID conguration on your OWC Mercury Elite Pro Dual mini,
you need to gain access to the internal bridge board. Visit Section 2.1; Hard
Drive Assembly & Installation to review the basic steps in this procedure.
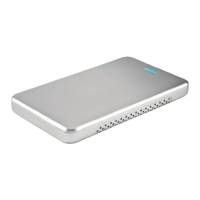
Once you remove the back
of the OWC Mercury Elite Pro
Dual mini, you will be able to
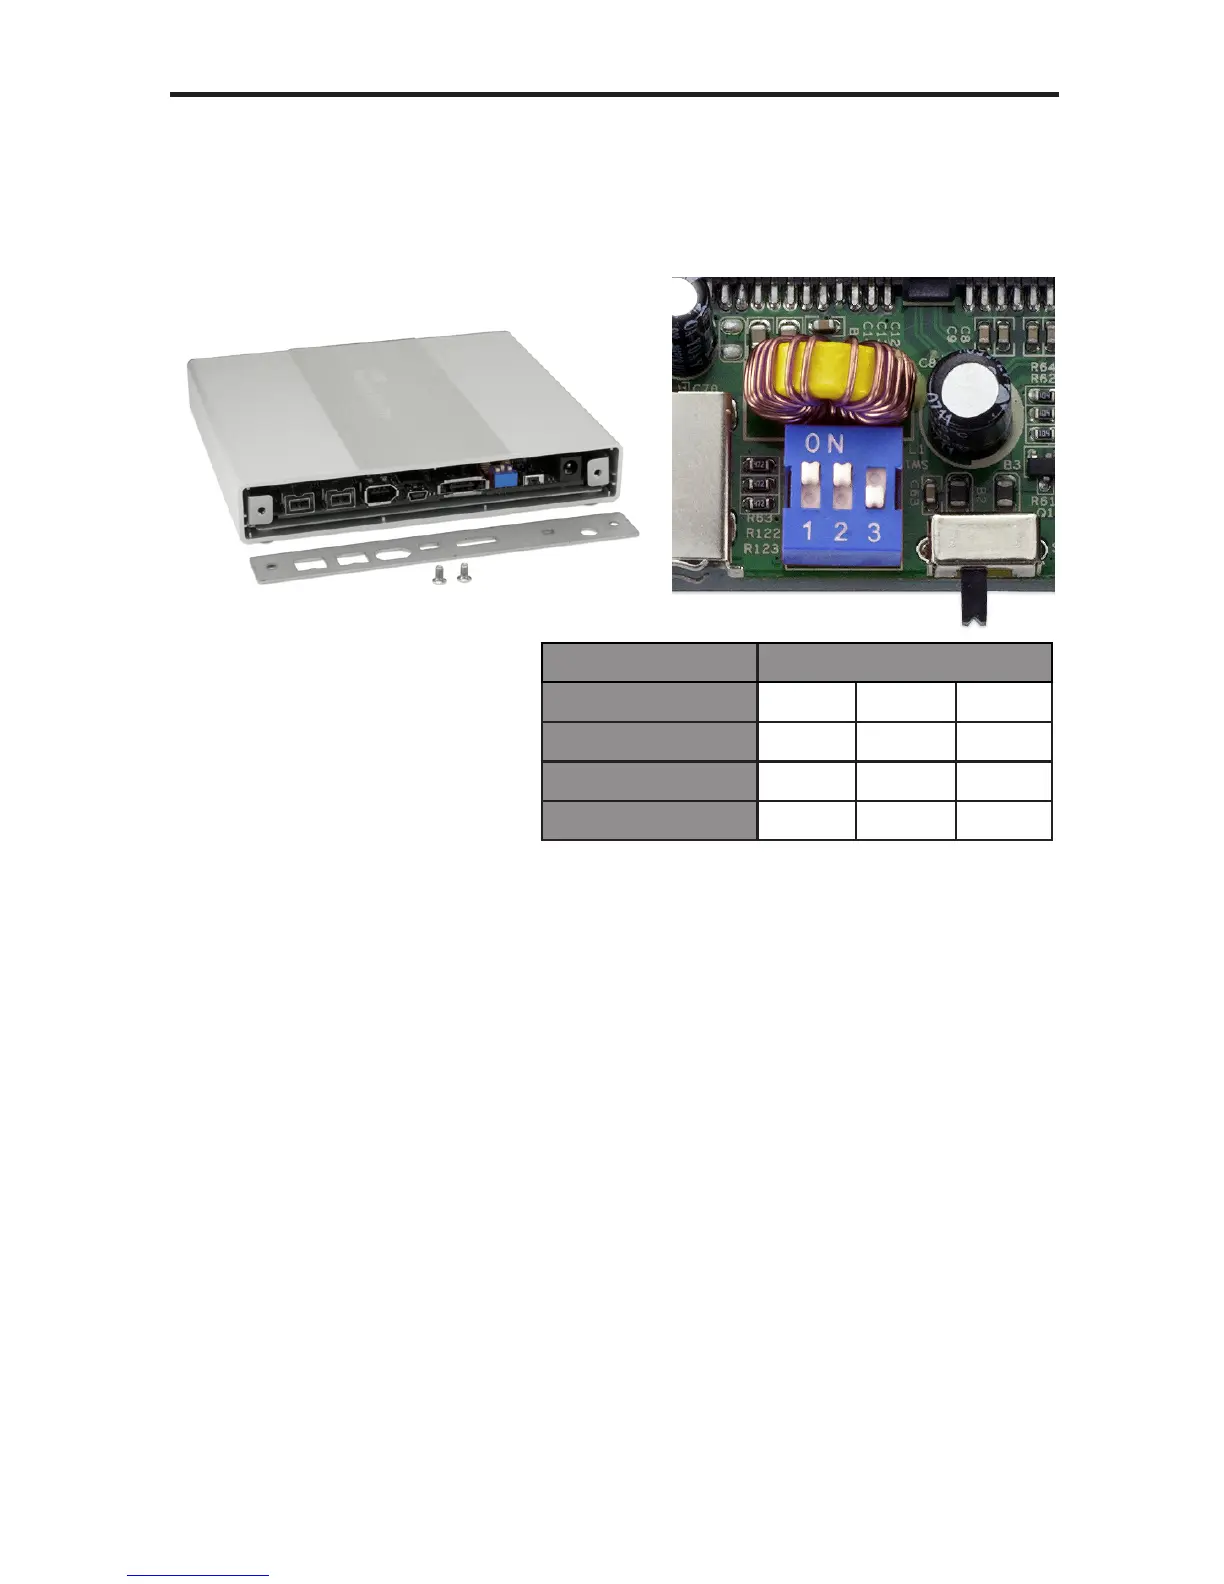
see the blue DIP Switch block
at the rear of the bridge card,
next to the power switch.
You need to adjust the DIP
switches to change the RAID mode.
Since hard drives have been introduced with capacities greater than 2.2TB,
the industry has worked to resolve known capacity addressing limitations
that date back to the original design of the PC.
These limitations are caused by 32-bit denitions used for partition sizes
and logical block addresses (LBAs) resulting in a maximum addressable
capacity size of 2.199TB.
The most direct way to resolve this issue is to use Long LBAs. However,
Long LBAs are only supported in 64-bit operating systems, like Mac OS X,
Windows 7 and Windows Vista. Users of older operating systems wishing to
use these high-capacity drives will need to limit the drive size to under 2.2TB
to be able to use the storage solution.
To limit the OWC Mercury Elite Pro Dual mini’s maximum drive capacity to
2.2TB, ip the dip switch #1 to the o position. The default position is up, or
ON meaning volumes larger than 2.2TB are able to be created.
MODE SW#1 SW#2 SW#3
SINGLE DRIVES ON OFF OFF
RAID 0 STRIPE ON ON OFF
RAID 1 ON ON ON
SPAN ON OFF ON

 Loading...