12
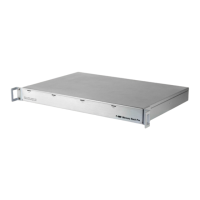
Step 3 – by default the Setup Assistant will open, walking you through a few screens to help get your new system setup. One of these is
the Migration Assistant screen (below). While this is optional after a clean OS install, for this guide we assume that you have data to move
to your new drive, either from a Time Machine or Carbon Copy Cloner backup. It is also possible to migrate data by connecting your
original drive via external enclosure using the ‘From a Mac, Time Machine Bacup, or startup disk’ option.
Step 4 – What you do next will depend on the type of backup you have. If you have a Time Machine drive, connect it to your Mac then
select the ‘From a Mac, Time Machine Backup, or startup disk’ option (shown above), and click continue. Follow the remaining prompts to
select your Time Machine backup volume and migrate your selected data. Note: to learn more about the Migration Assistant, please see
this page. When you’re finished migrating your data, follow any remaining prompts for the Setup Assistant to finish that process.
If you’re using Carbon Copy cloner, you can connect that disk to the host computer and select it by choosing the ‘From a Mac, Time
Machine backup, or startup disk’ option and following the prompts. More information is available here.
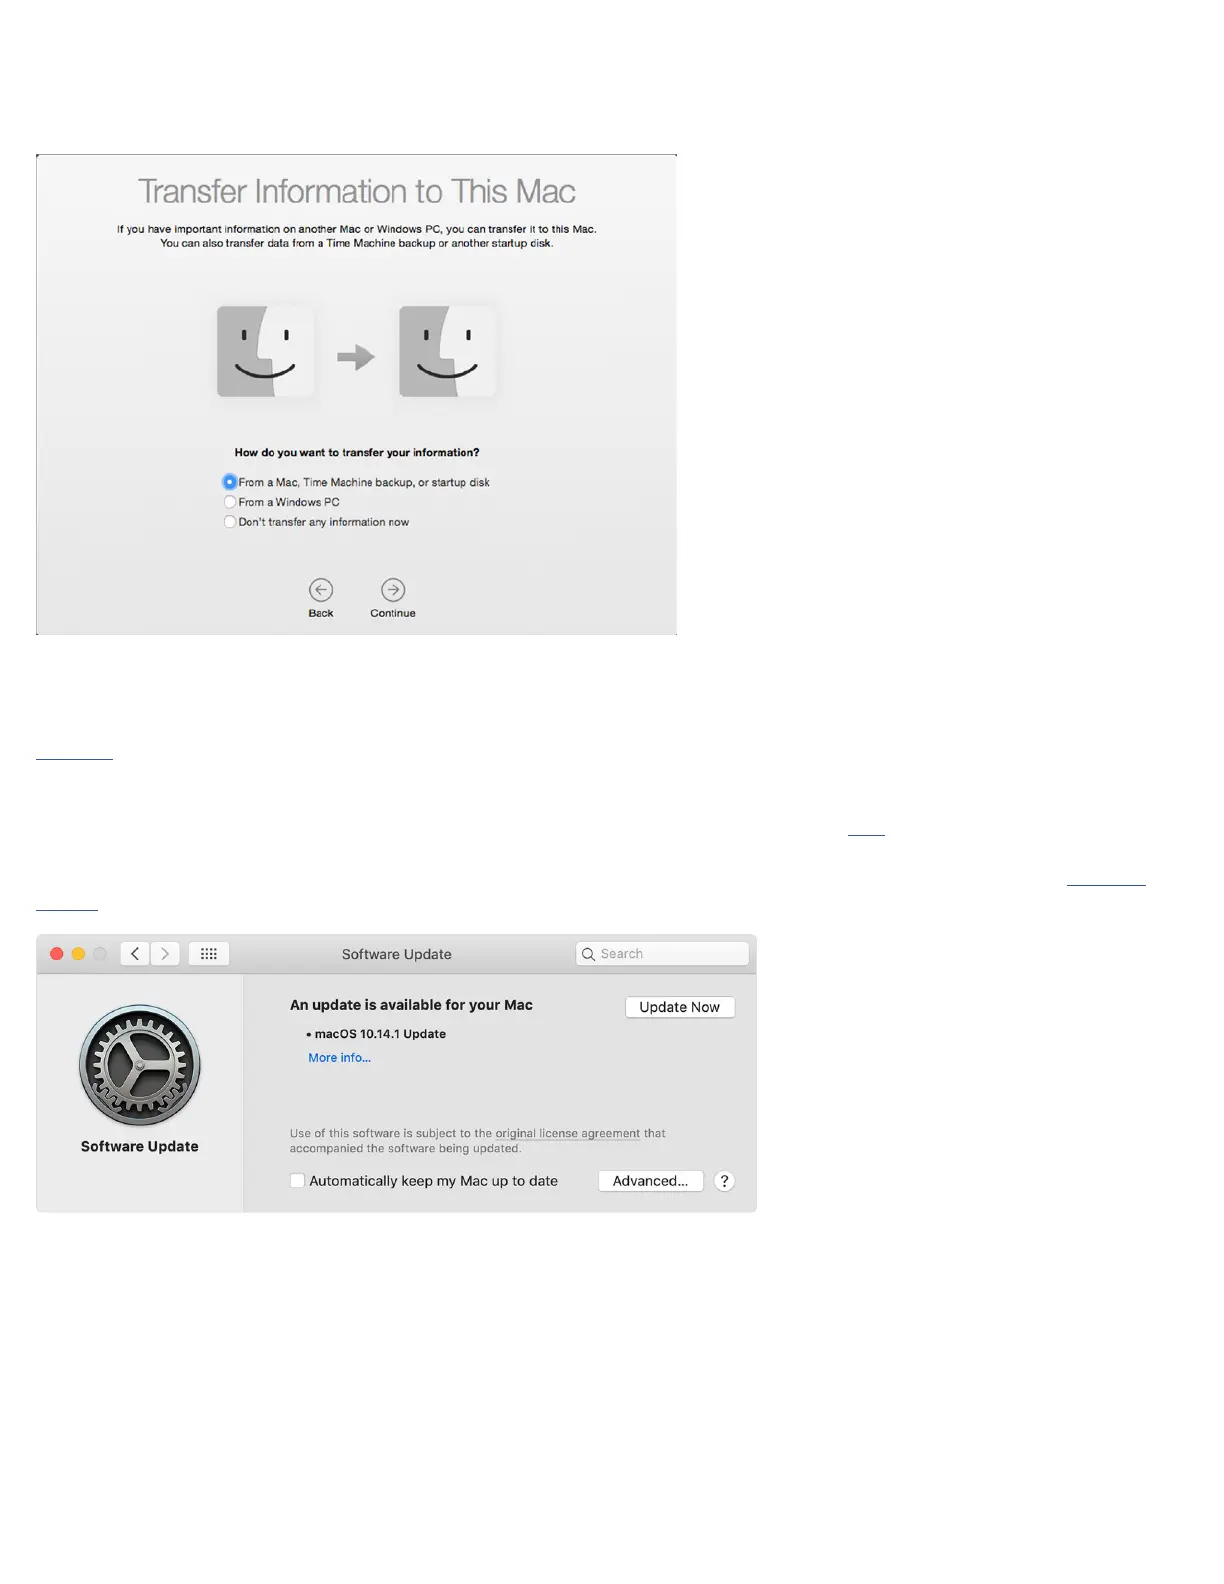
Step 5 (optional) – once the process of installing the OS and migrating data is complete, we strongly recommend you run Software
Update to make sure your system resources and apps are fully up-to-date.
 Loading...