Page #3OWC Mercury Optical Drives Installation Manual
Remove the battery from the PowerBook and place it aside.
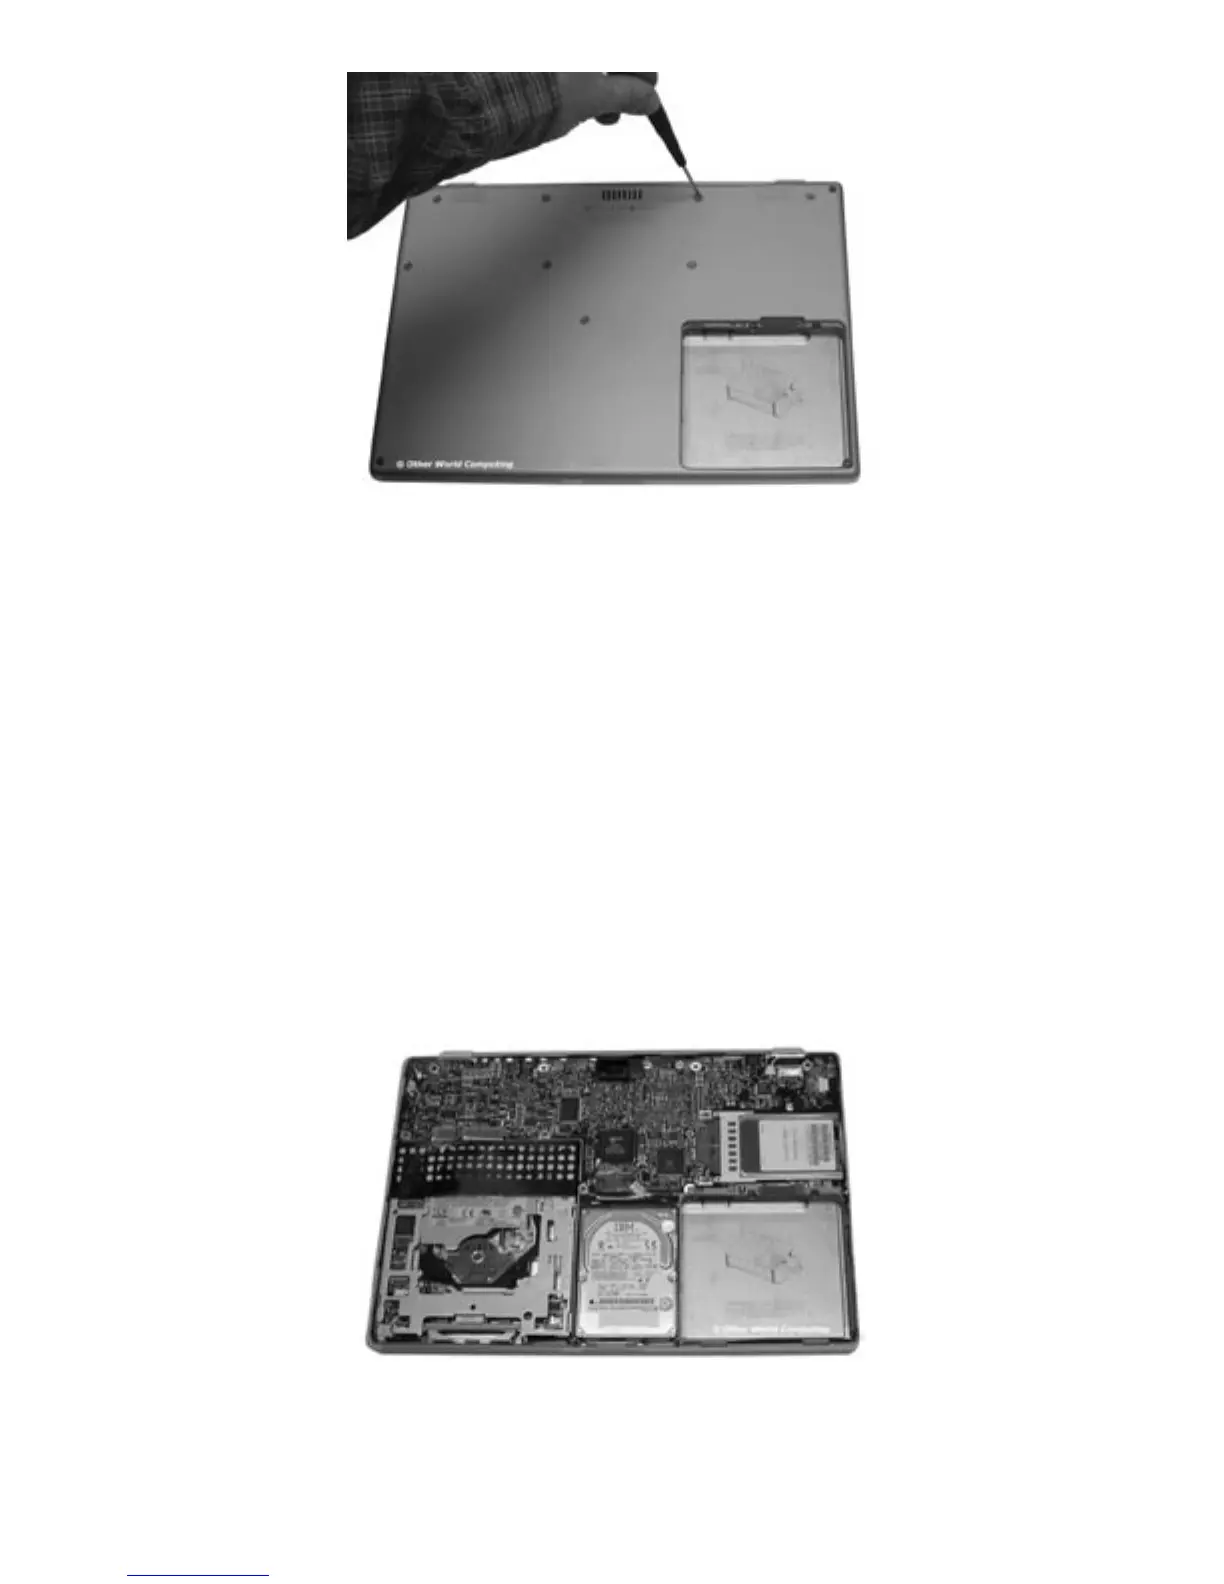
Remove the screws from the bottom of the computer. Depending on the model of
computer you have, it will either use #1 Phillips screws or Torx T-8 screws. Some of
these can be difcult to remove, be patient and use even force to unscrew them. Do
NOT slip and either damage the screw head or scratch the bottom of the PowerBook.
Gently remove the bottom of the PowerBook and expose the logic board / HD / CD
Drive. Note on the bottom left is the object of this upgrade, the CD-ROM drive. You may
want to take a few moments and remove any dust or lint that has become trapped inside
of the computer, especially at the top center, the cooling fan.
If you own a PowerBook G4 400 - 667MHz(VGA)
system without a combo DVD-CD/RW drive installed,
please continue with this section.
For 667Mhz(DVI) - 1GHz systems, or for machines
that already have a combo DVD-CD/RW drive, please
turn to page 11.