Page #4OWC Mercury Optical Drives Installation Manual
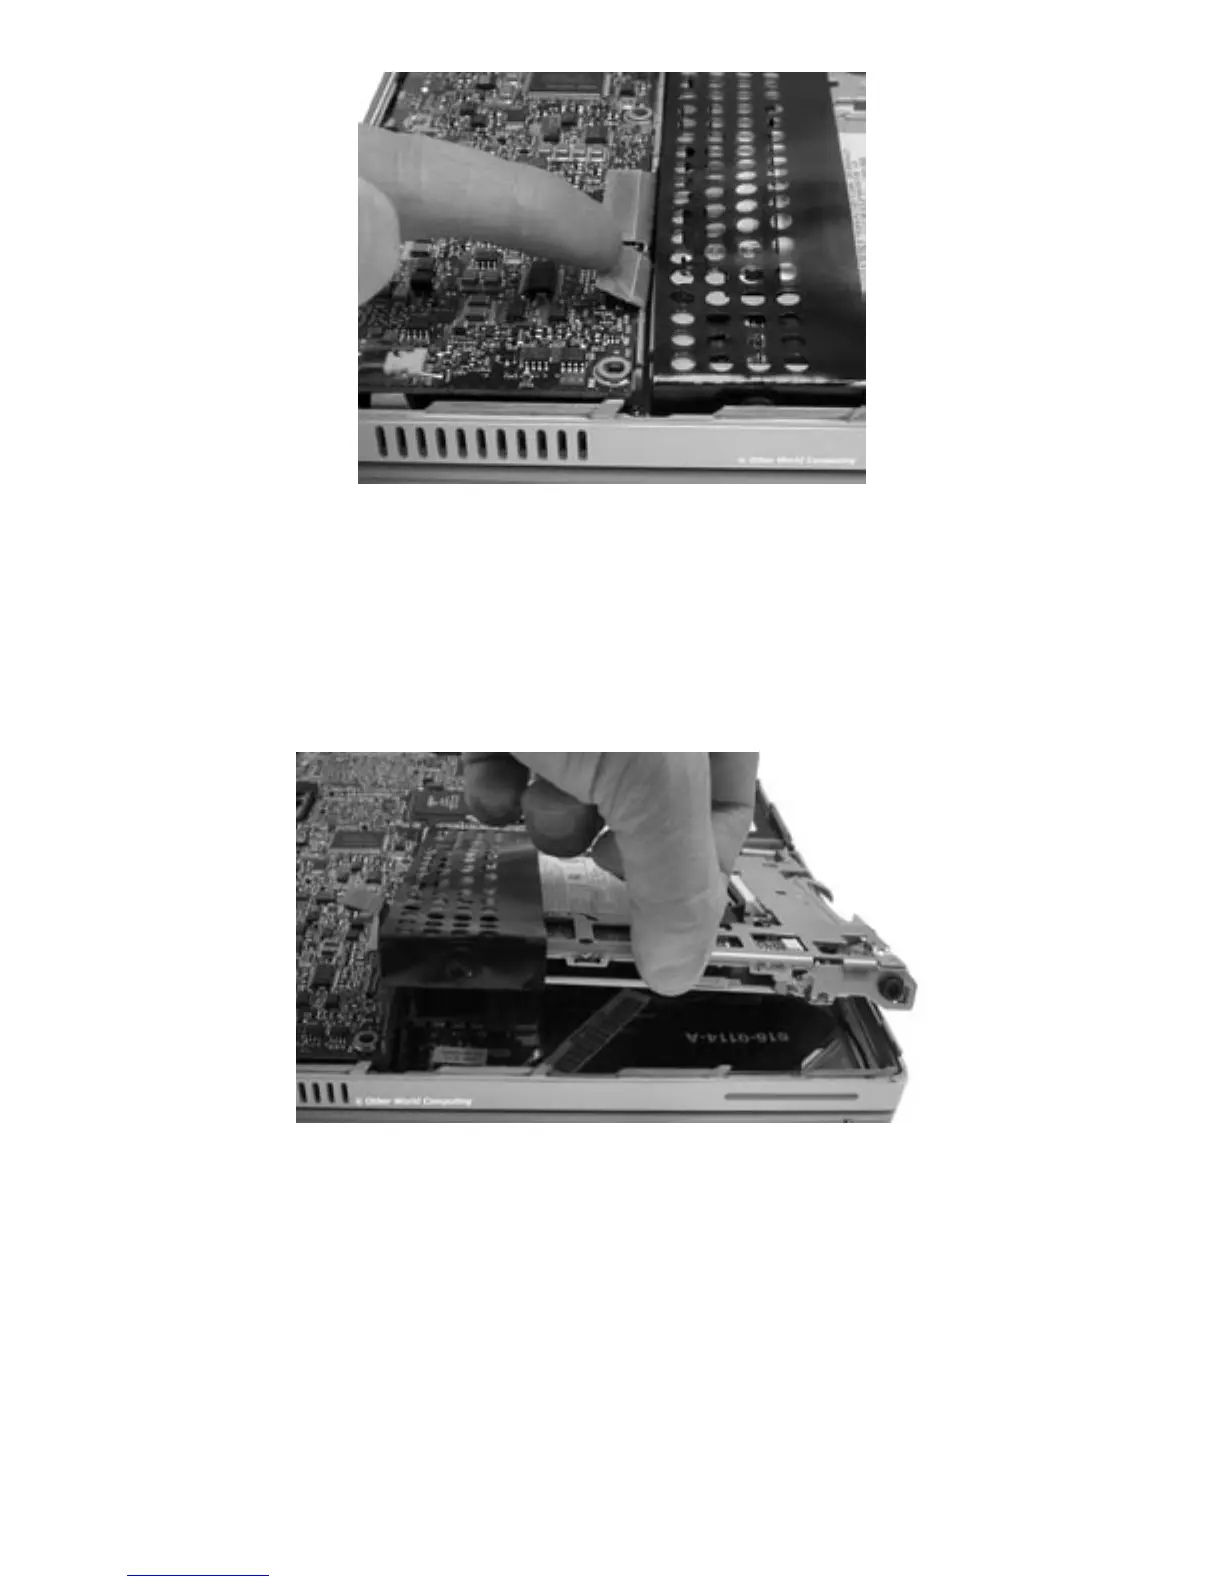
Begin removing the CD-ROM drive by detaching the cable that controls it from the main
logic board as shown. You may nd a yellow piece of tape covering the cable you need to
remove, gently peel it off of the logic board, you can reattach it once the installation is
complete. Your ngernail is probably the best choice to remove this cable from the logic
board, you only need lift it up enough to dislodge it from the connector.
Once the cable has been unhooked, you can then grasp the side of the CD-ROM drive as
shown and gently lift it out of the computer. You’re lifting on the side of the drive, not
the front. Notice the 2 screws and rubber grommets attached to the CD-ROM drive, they
aren’t captive held into the frame of the computer, they are held in by compression once
the bottom is attached to the computer.
Lift the drive up and pull toward you, the entire mechanism will slide out.
NOTE: If you feel resistance, you may have a piece of tape holding the thin black
plastic shield down at the rear of the drive. The only way to remove this adhesive is to
physically break the plastic shield, it’s not very difcult to do. If you’re lucky, you can
peel the plastic away from the adhesive but don’t be concerned if you break the plastic
shield.