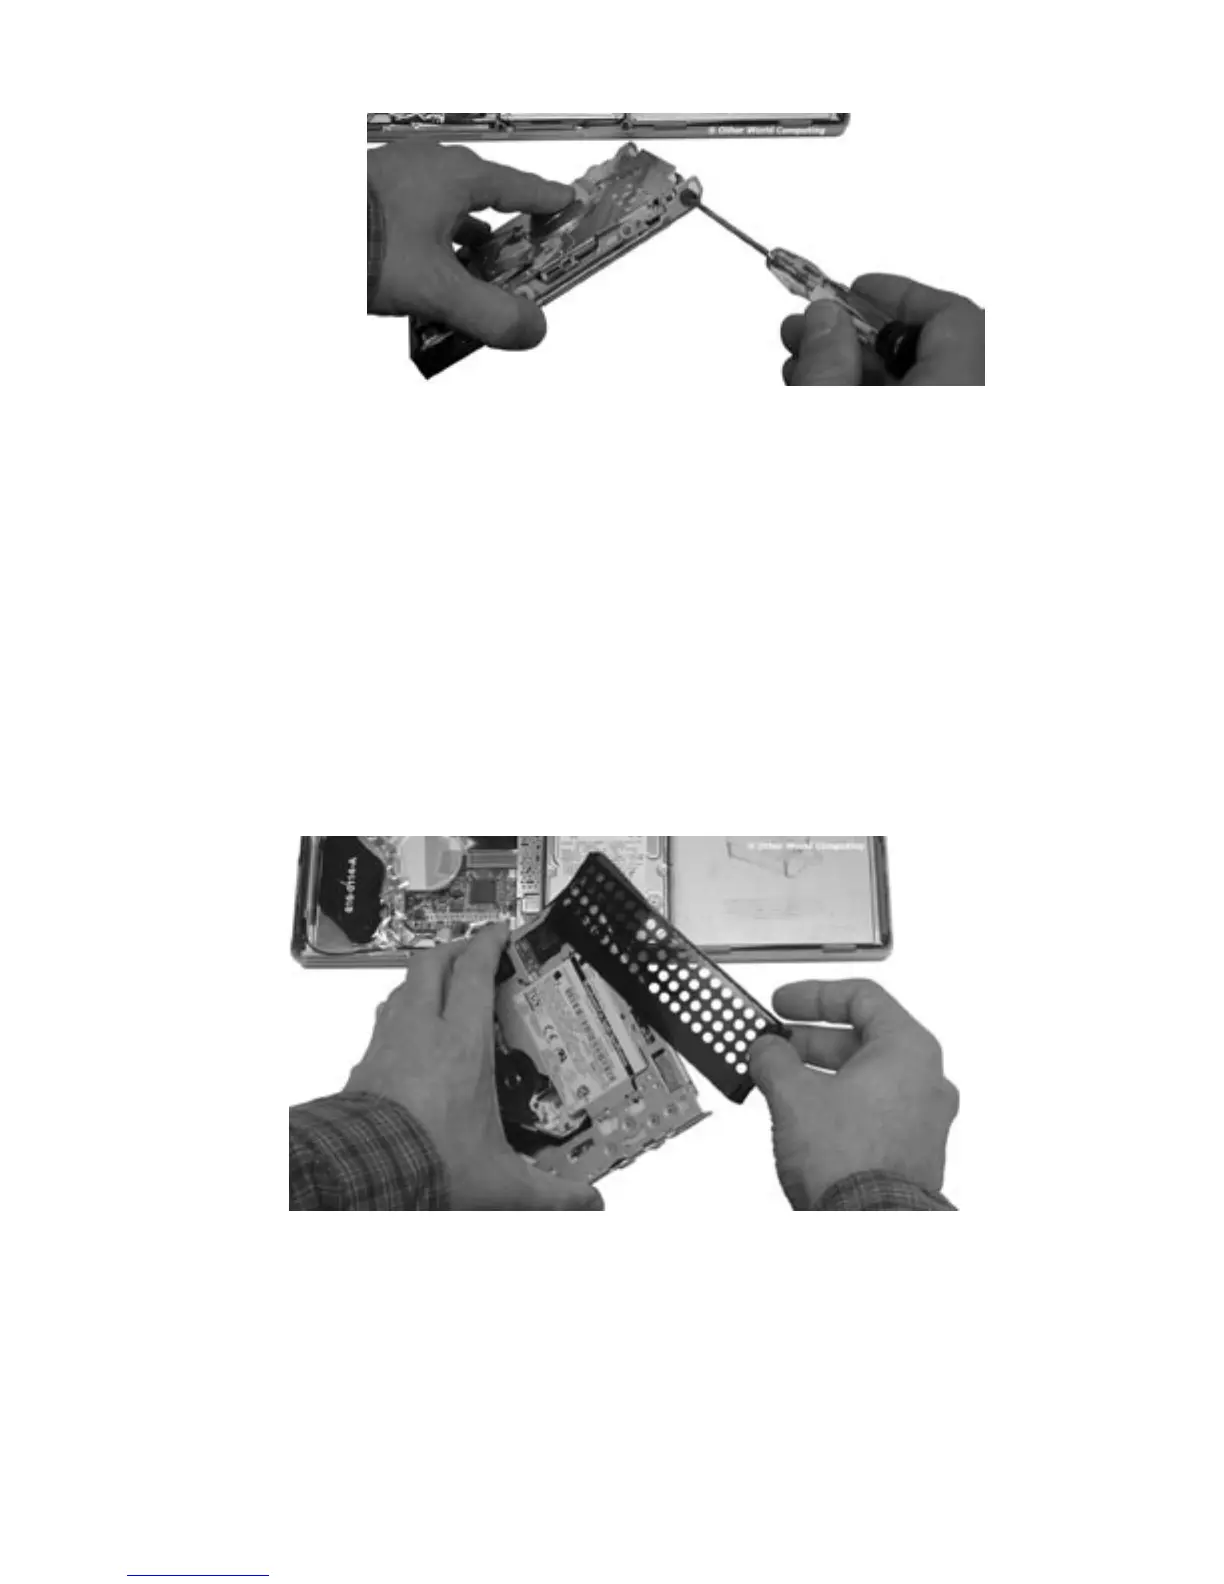
Page #6OWC Mercury Optical Drives Installation Manual
Use the Torx T-8 screwdriver to remove the 4 screws and grommets that are at the
corners of the drive. You will notice that the screws are all identical, but there are 3
different types of grommets.
• Two are half-moon shaped and go on the left side of the drive (they are the ones
that are compressed to hold in place when the lid is closed).
• One is a standard round washer that goes at the front right of the drive, right next to
the hard drive.
• One is a captive grommet, which is round and ts into a hole at the top right of the
CD bay.
Place these screws and grommets in order when you remove them to avoid having to
determine which one goes where upon reassembly.
Once the screws have been removed, slide the thin plastic drive shield off of the
CD-ROM mechanism. If you had to tear any part of it to remove because of it being
stuck inside of the machine, take a moment and examine where it was torn and use a
bit of tape to repair it.