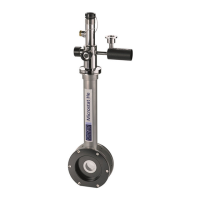
Microstat He Manual
For low temperature operation, remove the “christmas tree” adaptor (ribbed metal connector for plastic hose) clamped to the NW16 fitting
on the transfer siphon exhaust port. Attach a pumping line directly between this fitting and a rotary pump (for example, the EPS40 pump).
Make sure that an oil-mist filter is attached to the exhaust of the pump. The outlet of the oil-mist filter can either be connected to a Helium
recovery system or vented to the atmosphere.
5.6 Electrical connections to the temperature controller
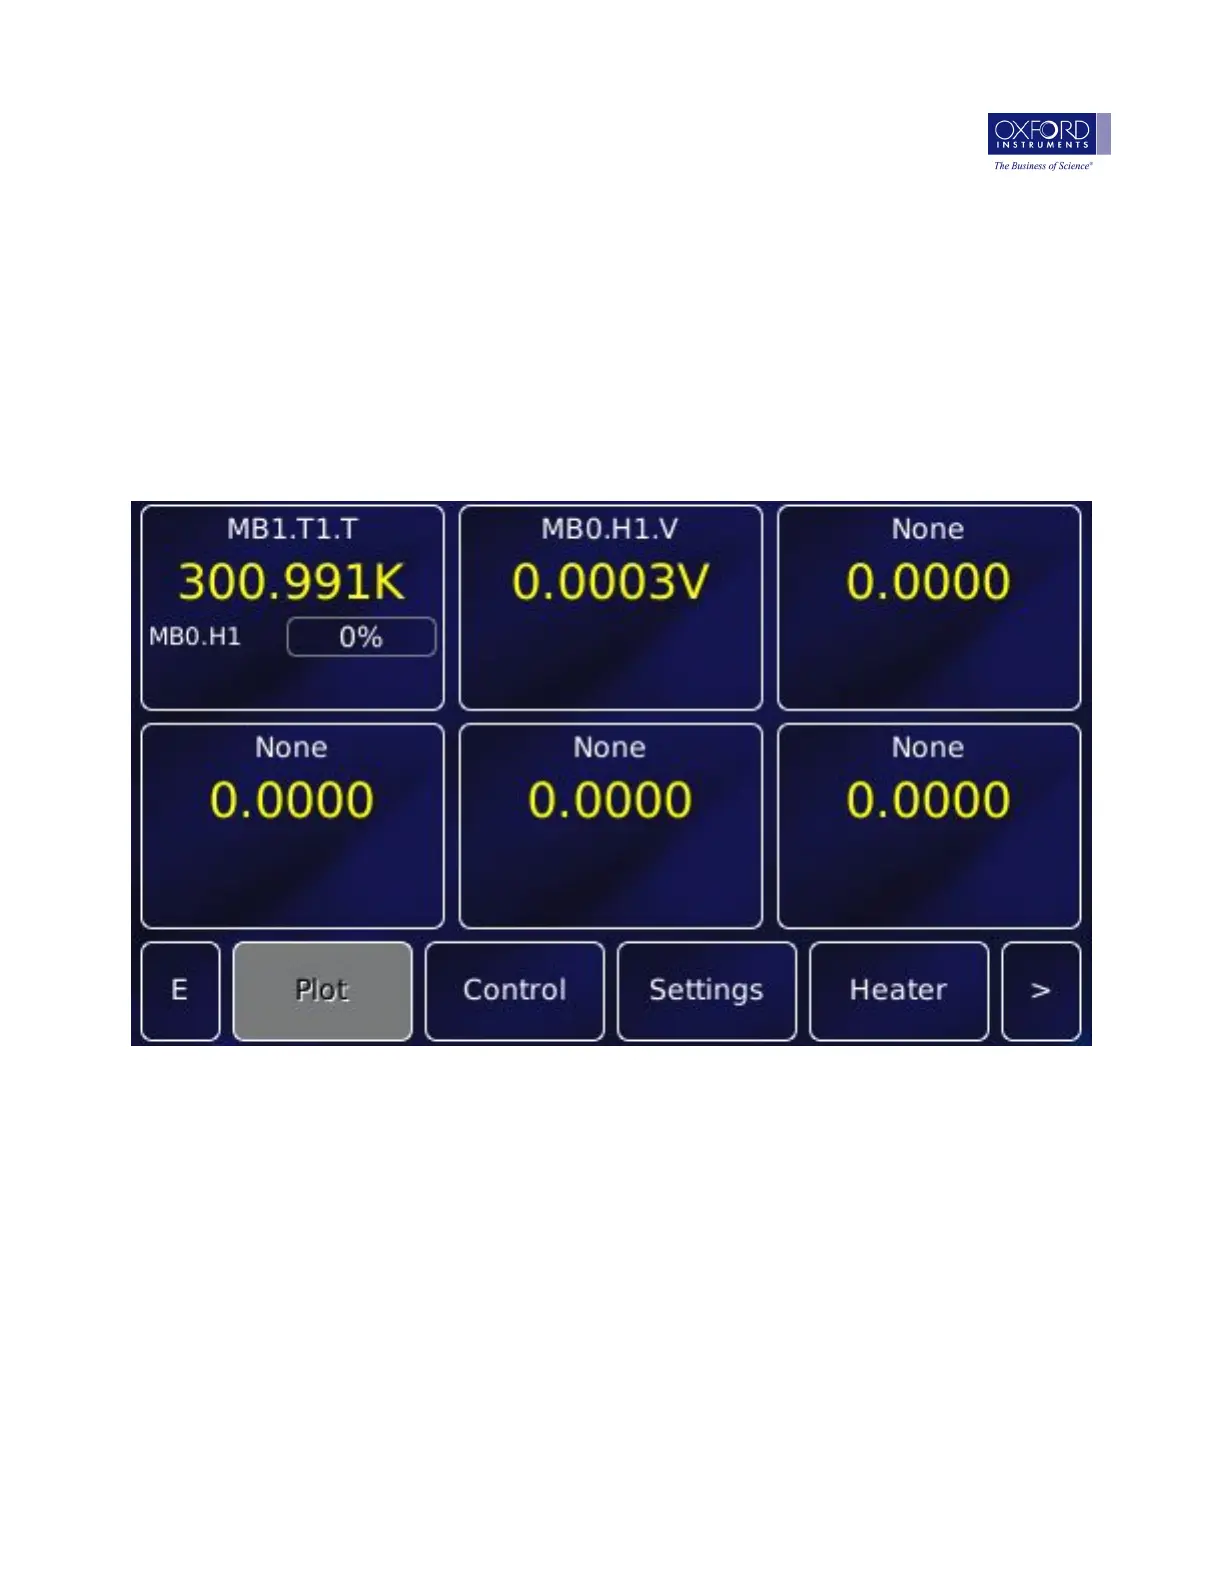
The Mercury iTC has been configured by Oxford Instruments to suit the system ordered. When you first switch on the Mercury iTC you
will see the instrument home screen, similar to that shown below:
Figure 5.1: Mercury home screen
The Mercury iTC temperature controller should be connected to the cryostat as follows:
• The sensor/heater cable CQB0090 is connected between the ten pin seal on the cryostat and the “Sensor/Heater” socket on the
temperature controller.
• If your transfer tube has an automatic needle valve, connect the needle valve cable CWA0112 between the seven pin seal on the
transfer tube needle valve motor and the “Auxiliary” socket on the back panel of the Mercury iTC.
• The indicated temperature should now read approximately 295K (room temperature).
5.6.1 Temperature and voltage limits
If you have bought a cryostat and temperature controller together from Oxford Instruments, the temperature controller will have been set
up in the factory:
• To prevent you from accidentally exceeding the maximum safe operating temperature of the cryostat
© 2017 Oxford Instruments Nanoscience MAN-MHE-1.1.0 (28ff3d8) Sep 2017 18