Do you have a question about the Ozito MWR-135 and is the answer not in the manual?
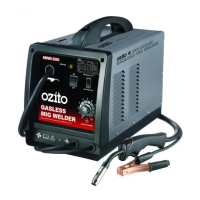
Details the model name, type, and key specifications of the Ozito MIG Welder.
Emphasizes reading all instructions to prevent electric shock, fire, and serious injury.
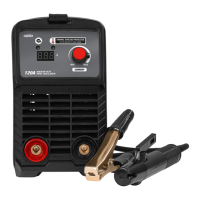
Lists input voltage, current range, duty cycle, wire size, insulation type, and weight.
Diagrams and labels identifying front and back welder parts.
Welder designed for home projects and DIY fabrication.
Basic safety for mains-powered equipment, voltage check, and cord care.
Guidance on using suitable, undamaged extension leads up to 25m.
Maintaining clean areas, environment, children, dress, footing, and alertness.
Checking for damage, using correct equipment, and unplugging for service.
Proper cord use, storage, tool cleaning, and repair by qualified persons.
Supervision of users and replacement of damaged supply cords.
Protect eyes/face, wear protective clothing, avoid contaminated surfaces, flammable materials, and galvanized metals.
Not for persons with reduced capabilities; recommends RCD (30mA).
Mitigating fumes, glare (mask required), heat (gloves), and sparks with proper dress.
Connects torch positive to negative terminal, earth clamp negative to positive.
Connects torch positive to positive terminal, earth clamp negative to negative.
Importance of securely tightening terminals to prevent overheating.
Connecting gas hose to welder, checking for leaks, and adaptor use.
Steps to install a 0.2kg welding wire coil onto the drive shaft.
Steps to install a 5.0kg welding wire coil using an adaptor.
Critical step to match roller size to wire diameter for proper feeding.
Identifies the main parts of the wire drive roller mechanism.
Steps to set the pressure roller and inspect the drive roller size for correct assembly.
Reassembly of the drive roller and bracket, with a warning against over-tightening.
Fine-tuning pressure for consistent wire feed and troubleshooting slipping.
Importance of preventing wire kinks, bends, and preparing the end for feeding.
Step-by-step guide to feed welding wire through the MIG torch assembly.
Controls wire feed rate and welding current via the speed control knob.
Setting the voltage level using the switch; caution against mid-operation changes.
How to use the ON/OFF switch and understand the overload protection LED.
Factors to consider when choosing the appropriate welding wire.
Warnings about high voltage, need for qualified personnel, and power disconnection.
Instructions for cleaning the power source interior with a vacuum cleaner.
Guide to cleaning drive rolls and their grooves using a wire brush.
Information on how to order common spare parts and their part numbers.
Explanation of symbols used in the manual and on the equipment.
Advice on environmentally friendly disposal of tools and packaging.
A list of all components provided with the welder.
Steps for making a warranty claim and contacting customer service.
Details the 3-year warranty, exclusions, and actions that invalidate it.
| Welding Current Range | 20-135A |
|---|---|
| Electrode Diameter | 1.6-3.2mm |
| Protection Class | IP21S |
| Insulation Class | H |
| Duty Cycle | 10% @ 135A, 60% @ 55A |
| Input Voltage | 230 - 240 V ~ 50 Hz |