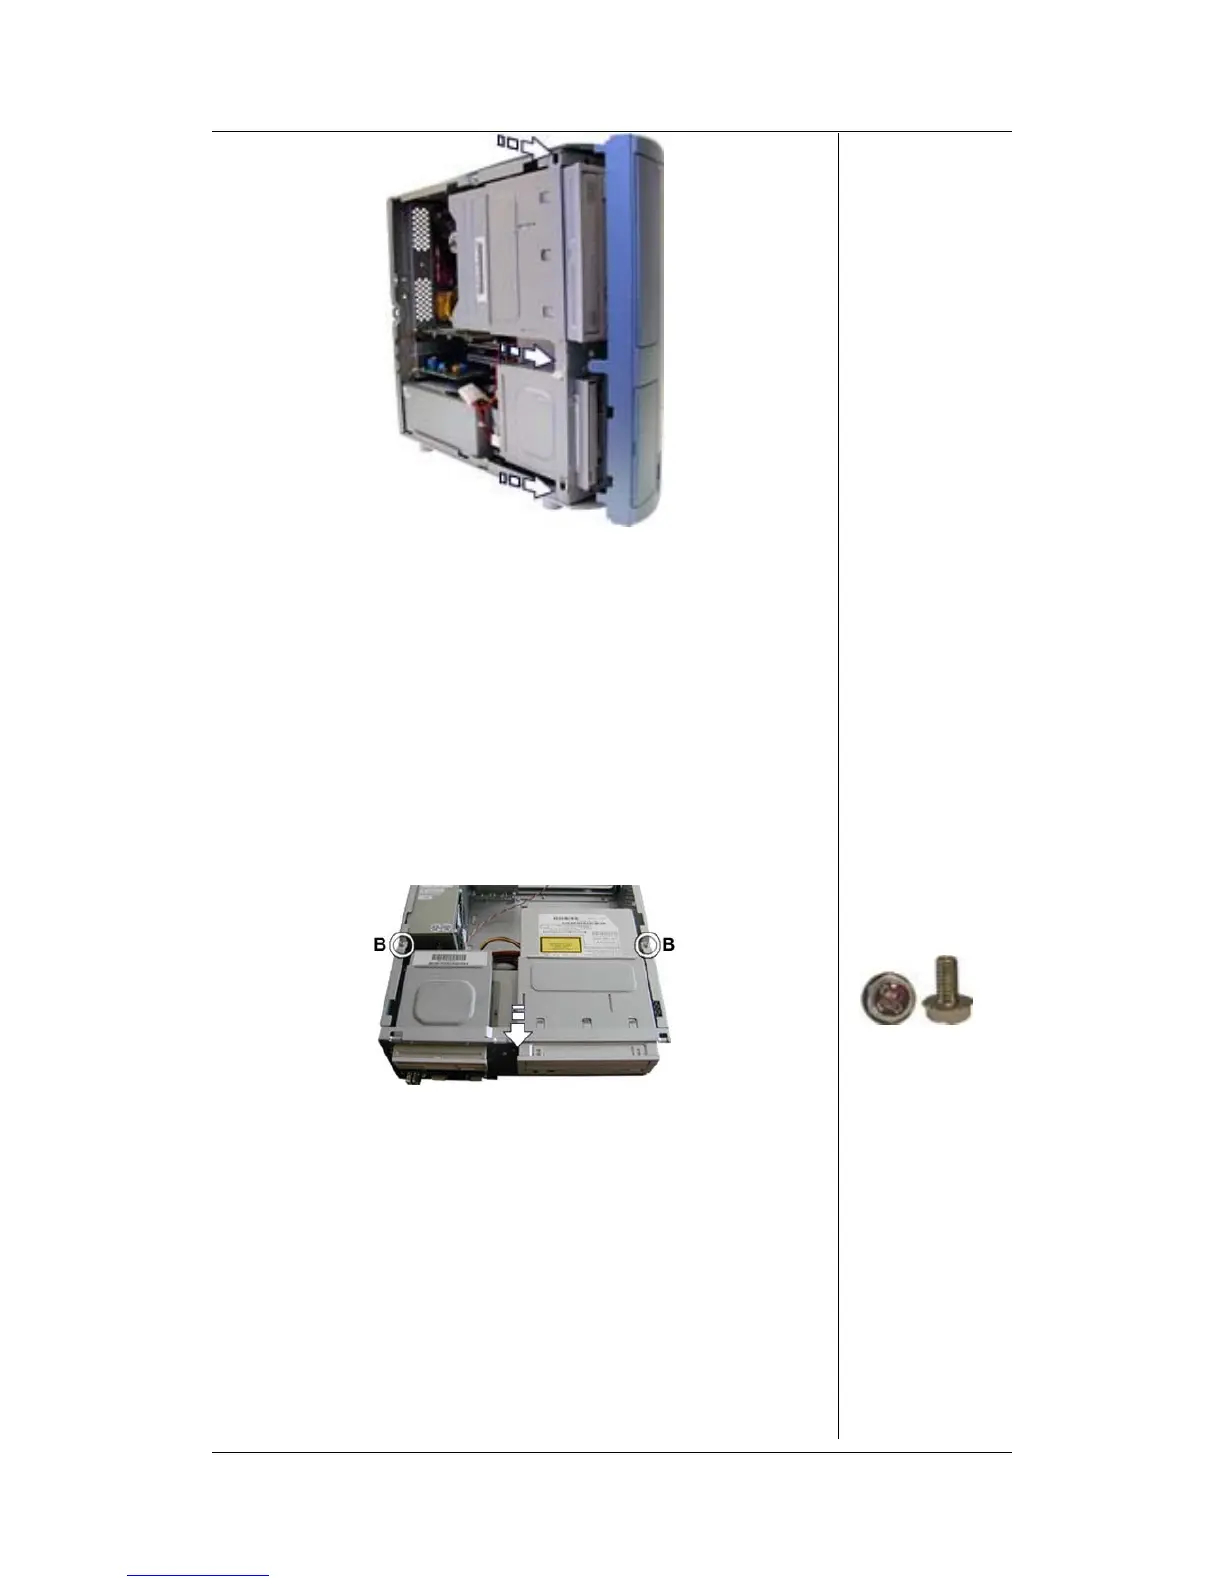
Fig. 6: Removing the front bezel
Removing the Drive Bracket
To remove the drive bracket containing the DVD/CD-ROM,
and the floppy disk drive, first open the chassis (see section
Opening the Chassis), remove the front bezel (see section
Removing the Front Bezel), and follow these steps:
1. Lay down the chassis on its side.
2. Disconnect all power and data cables from the drives
installed.
3. Remove the screws that hold the drive bracket to the
chassis.
Fig. 7: Removing the drive bracket
4. Slide the drive bracket out of the chassis.
Removing the DVD/CD-ROM Drive
To remove the DVD/CD-ROM drive, first open the chassis (see
section Opening the Chassis), remove the front bezel (see
section Removing the Front Bezel), remove the drive bracket
containing the DVD/CD-ROM and floppy disk drive (see the
section Removing the Drive Bracket), and follow these steps:
1. Remove the screws holding the DVD/CD-ROM drive.
2. Slide the DVD/CD-ROM drive out of the drive bracket.
iDesign Disassembly Manual - 5




 To Next Page