Page 4 PALSTAR
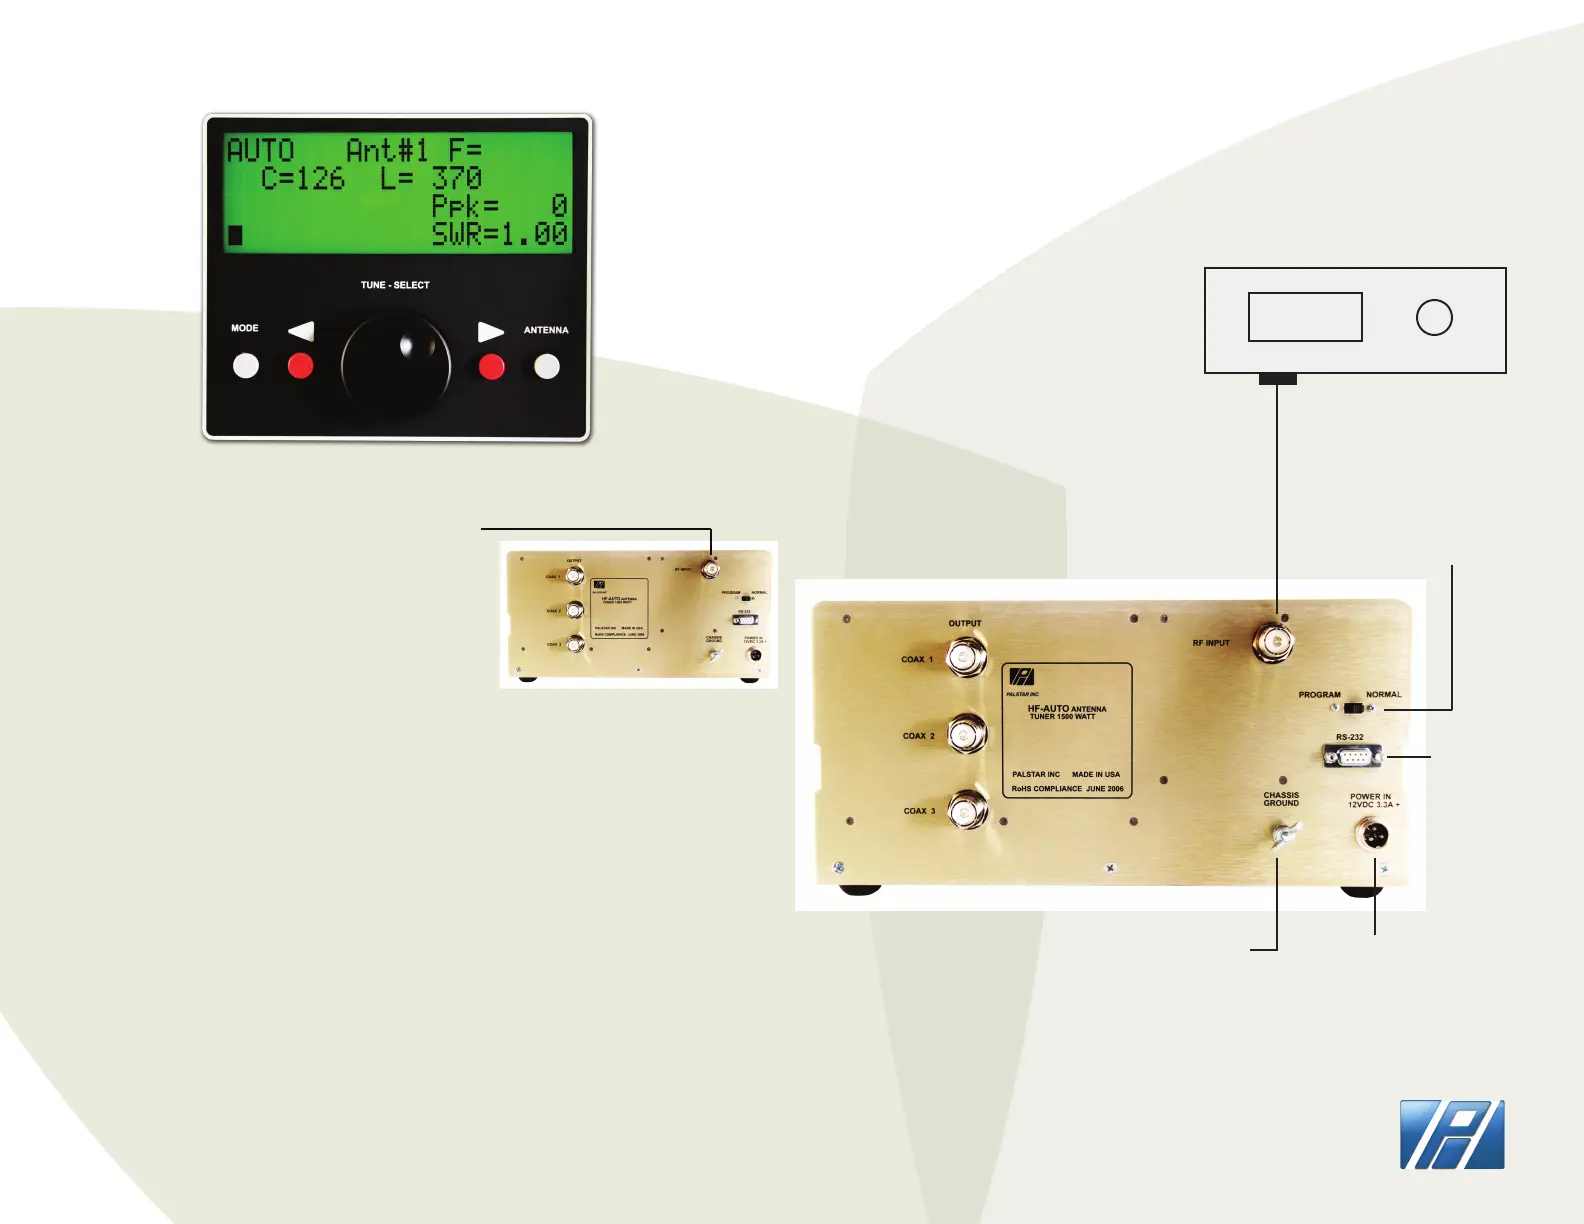
1. CONNECT the transceiver to the RF INPUT
chassis connector at the rear of the back panel
2. CONNECT a dummy load to one of the coax
outputs or your desired antenna
3. APPLY a single tone level greater than 5 watts
(use FM MODE) typically 5 to 50 watts
4. DISPLAY will indicate Frequency, Power Level,
SWR, and Numerical value for C and L
NOTE: To execute a tune sequence at another band or frequency lower the
power of the transceiver or any other transmitting device to low power
and change frequency and the tuner will immediately follow to the
new location. You can also click the PTT button on your microphone in FM
MODE and accomplish the same at the lowest power level
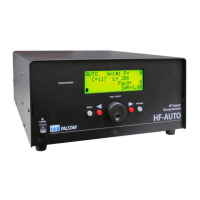
TUNING THE HF-AUTO
Applying only a short burst of single tone power to the HF-AUTO will
allow the tuner to pretune to a memory segment containing the desired
frequency. ANOTHER application of RF Power must be applied to complete
the nal tune condition where high power may be applied. You can also
apply single tone power continuously until the nal tune cycle has compled
and get the same result. Trying to tune at high power without executing the
nal tune condition could damage the tuner.
PLACE TUNER IN AUTO MODE WITH GREY MODE BUTTON
REAR PANEL OF HF-AUTO
ANTENNA OUTPUTS
OUTPUT
14.200
TRANSCEIVER
FIRMWARE UPDATE/
PROGRAM SWITCH
RS-232
DC INPUT
12 - 13.8
VDC
CHASSIS GROUND
WING-NUT
@ 4 AMPS
 Loading...