Sound IS THIS THING ON?
Selecting sound inputs
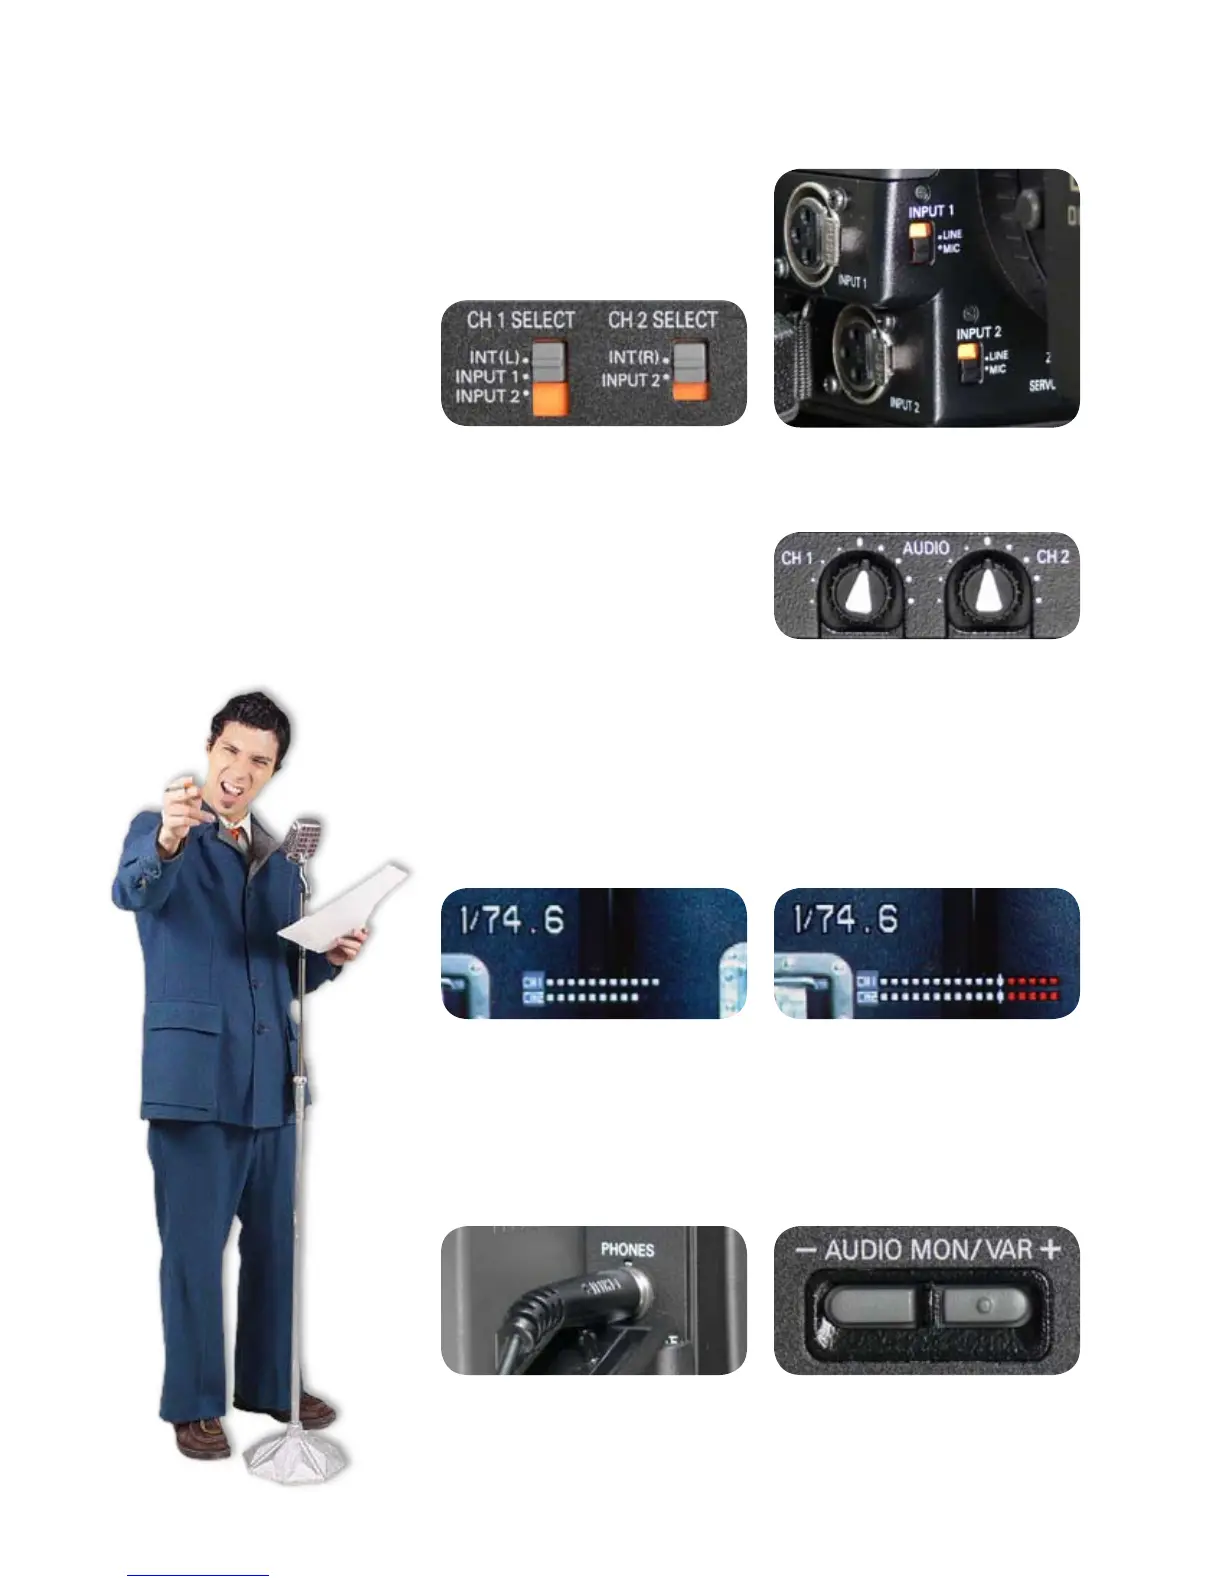
Two sources of audio can be recorded to the camera simultaneously.
Sound can be gathered from the camera’s internal microphone, an
external microphone, a line level source such as an audio mixing
board or CD player, or any combi-
nation of two of those sources.
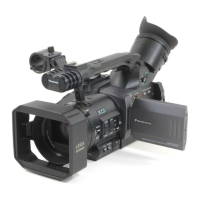
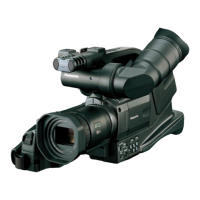
Routing audio signals is controlled
by two switches behind the LCD
panel and two switches on the
front of the camera.
Setting the audio level
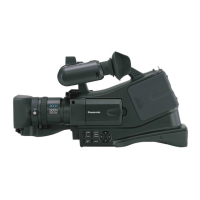
To set an appropriate audio level, use the AUDIO dials on the side of
the camera. The CH 1 dial controls the level for the source selected
with the CH 1 SELECT switch and the CH 2 dial controls the level for
the source selected with the CH 2 SELECT switch.
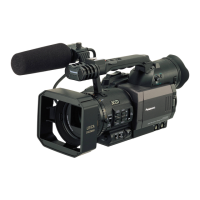
Two switches behind LCD panel
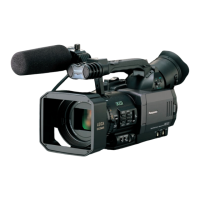
Two switches on front of camera
Monitoring the audio level
Use the audio meter on the viewnder to monitor the audio levels.
Adjust the AUDIO dials so that the loudest sounds register just below
the red zone. If you’re seeing a lot of red in the meters, adjust the
AUDIO dials to lower the input level.
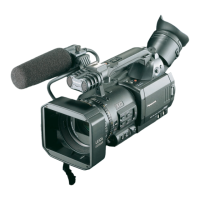
To monitor audio quality, plug headphones into the headphone jack
on the back of the camera. You can control the headphone volume
by pushing the - AUDIO MON\VAR + buttons. NOTE: Changing your
headphone volume will not change the audio levels going to tape.
Always use the audio meter to judge appropriate levels.
Easy-to-follow audio setup chart on next page
6
 Loading...