Preparation
31
Setting the date and time/Recharging the built-in battery/Adjusting the LCD monitor
The [CLOCK SET] value in the setup menu is
recorded in the content (clip) and affects the thumbnail
playback sequence. Before recording, be sure to
check and set [CLOCK SET] and [TIME ZONE].
This example shows how to adjust the calendar to
17:20 on October 10, 2009.
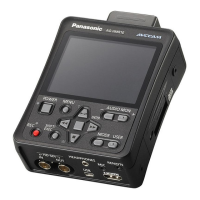
1
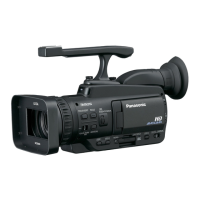
Press the portable recorder’s [POWER]
button for 2 seconds or longer to turn on
the power. (Page 26)
2
Press the [MENU] button.
Using the setup menus (Page 29)
3
Select [OTHER FUNCTIONS] → [TIME ZONE],
and then press the [ENTER] button or
.
4
Press the [ENTER] button twice to display
the setting screen. Press
to set the time
difference from Greenwich Mean Time, and
then press the [ENTER] button. (Page 92)
5
Press to return to the [OTHER FUNCTIONS]
setup menu, then select [CLOCK SET] →
[YES] and press the [ENTER] button.
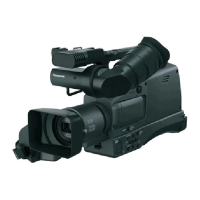
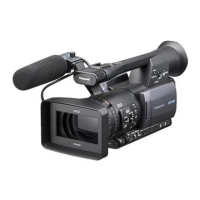
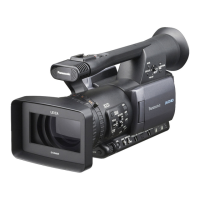
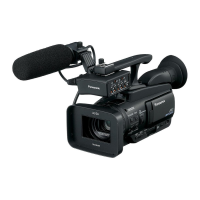
Before recording with this portable recorder, first set the date and time and adjust the LCD monitor in the setup menus.
Setting the date and time
6
Press to select [OCT].
7
Press to move the cursor to the next
item, and then press
to select [10].
8
Repeat steps
6
and
7
to set the remaining items.
The date can be set to any date between •
January 1, 2001 and December 31, 2039.
“--.--.----” is displayed for any date beyond •
December 31, 2039.
Time is displayed in the 24-hour format.•
9
When settings are complete, press the [ENTER]
button, select [YES] on the confirmation screen,
and then press the [ENTER] button again.
(Continued on the next page)
 Loading...