Do you have a question about the Panasonic AW-SW350P and is the answer not in the manual?
Introduces the AW-SW350, its functions like image transfer, external power, and intercom.
Details key features like multiple inputs, outputs, frame synchronizer, and genlock support.
Covers essential safety and operational guidelines including handling, environment, and maintenance.
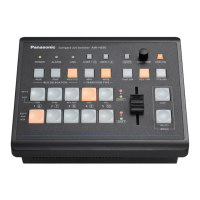
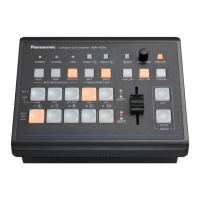
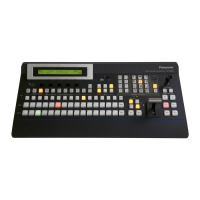
Explains the function of the Power Indicator and Power Switch for system power management.
Describes wipe pattern selection and functions of the Setting Switch (SF0-SF2, MWR, INT, FRZ).
Details controls for key synthesis (GAIN, CLIP, KEY AUTO) and source selection (VIDEO IN 5, Frame Memory).
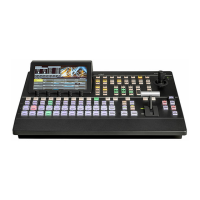
Details the COLOR switch for background selection and the wipe direction selection switch.
Explains controls for transition time adjustment and key synthesis (GAIN, CLIP).
Explains KEY AUTO function and selecting sources (VIDEO IN 5, Frame Memory) for key synthesis.
Details intercom volume adjustment and Genlock phase controls (H, SC, SC FINE).
Describes A-Bus/B-Bus input selection and the Freeze indicator (FRZ) status.
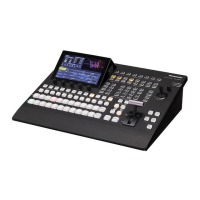
Explains MIX/WIPE switches, AUTO TAKE operation, and Fader Lever functionality.
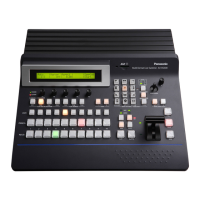
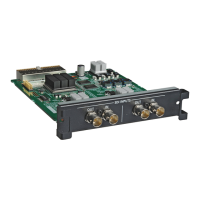
Introduces the rear panel and details the five composite video signal input jacks.
Details video/Y/C signal inputs, composite/Y/C outputs, and preview output connector.
Explains Genlock input/BB output, Black Burst output, and external auto take input.
Describes the USB port for connecting a PC to transfer image data for the switcher.
Explains configuration via Setup switches and the DC 12V power input terminal.
Details the Tally & INCOM connectors for camera control units and intercom communication.
Introduces the function for transferring images from a PC via USB to the AW-SW350.
Lists the system requirements for the host computer to run the USB image transfer program.
Specifies supported image file formats (BMP, JPEG) and required USB cable type.
Provides a step-by-step guide for installing the device driver using the CD-ROM and Found New Hardware Wizard.
Explains how to specify the driver directory and load the driver during installation.
Instructs to verify successful driver installation via the Device Manager.
Guides on installing .NET Framework and running the AW-SW350 USB application setup.
Confirms the completion of the AW-SW350 USB application installation.
Guides on connecting the host computer and starting the AW-SW350 USB application.
Explains how to open and select image files (BMP, JPG, JPEG) for transfer using the application.
Details how to specify the start or cutout position of an image based on its pixel dimensions.
Explains selecting RAM/RAM+ROM for saving and initiating image data transfer via USB.
Details connecting the switcher without external sync, with frame synchronizer ON.
Explains connecting the switcher with external sync, with frame synchronizer OFF.
Illustrates connecting the AW-SW350 to a Windows PC via USB cable for data transfer.
Shows an example connection with pan/tilt heads, control panel, and multi-port hub.
Provides instructions and warnings for mounting the Live Switcher in a rack.
Details switcher phases (video signal, BB) and genlock adjustment ranges for system upgrades.
Specifies the Mini DIN connector type for tally and intercom connections.
Lists detailed technical specifications including power, video I/O, functions, and performance metrics.
Lists the standard accessories provided with the AW-SW350, such as connectors and software.
| Type | Video Switcher |
|---|---|
| Power Supply | AC 100-240V, 50/60Hz |
| Frame Rate | Up to 60 fps |
| Video Input | 4x SDI, 4x HDMI |
| Audio Input | Embedded audio from SDI and HDMI inputs |
| Audio Output | Embedded audio on SDI and HDMI outputs |
| Control | RS-422 |
| Effects | Mix |