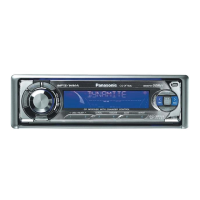
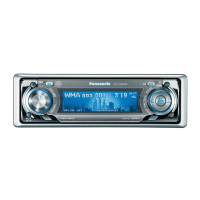
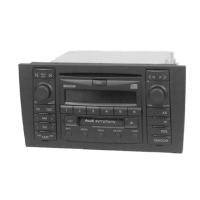
Do you have a question about the Panasonic CQ-DRX900U and is the answer not in the manual?
Maintain low volume to stay aware of road and traffic conditions.
Avoid water exposure to prevent electrical shorts, fire, or damage.
Cool vehicle interior before use after parking in direct sunlight.
Operate with a 12V, negative ground battery system (North American standard).
Do not insert coins; keep metallic objects away from the disc mechanism.
Do not attempt self-repair; consult authorized service centers for assistance.
Install horizontally with front end up, not exceeding a 30° angle.
Details the location and meaning of identification labels found on the unit.
Instructions for preparing the remote control, including battery installation.
Details battery type, life, and essential safety precautions for battery handling.
Basic functions: powering on/off, adjusting volume, and changing audio source.
Step-by-step guide to set the unit's clock time using the remote control.
Operating the center speaker and adjusting the panel tilt angle.
Opening/closing the front panel and changing the unit's display modes.
How to select radio mode, change bands, and tune radio stations.
Options for changing the display information during radio operation.
Saving favorite radio stations manually or automatically.
How to recall stored radio stations using preset buttons.
Inserting discs, ejecting, track selection, and track search functions.
Options for changing the display information during CD playback.
Using Scan, Random, and Repeat functions for CD playback.
Selecting discs, tracks, and performing track search in the CD changer.
Options for changing the display information during CD changer operation.
Using Scan, Random, and Repeat functions for the CD changer.
Configuring the spectrum analyzer display options and variety.
Adjusting the display brightness level using the dimmer function.
Using Mute or Attenuator to temporarily reduce volume.
Adjusting audio tone using preset equalizer patterns or manual graphic EQ.
Saving custom graphic equalizer settings into memory (presets 1-5).
Accessing pre-saved recommended tone quality settings (preset 6).
Adjusting sound balance between speakers and sound image position.
Utilizing Super Bass and SDBB for enhanced bass output.
Adjusting center speaker volume and sound delay for optimal imaging.
Configuring subwoofer volume, sense of distance, and bass cutoff frequency.
Selecting sound space modes like Stadium, Concert Hall, or Vocal.
Configuring unit beep sounds and navigation audio muting.
Adjusting analyzer speed and mute/attenuator key functions.
Adjusting display contrast and managing AUX-IN source availability.
Configuring the security indicator and panel tilt function.
General installation overview, warnings, and required hardware list.
Lists necessary tools and guides identification of vehicle wiring leads.
Detailed steps for connecting wires and performing final operational checks.
Important safety precautions to follow during the installation process.
Instructions for removing, storing, and installing the removable face plate.
Setting up the security indicator to blink when the face plate is removed.
Detailed diagram showing all electrical connections for the unit.
Preliminary checks and cautions before diagnosing problems.
Resolving problems related to power loss or lack of audio output.
Troubleshooting issues with the unit's panel, radio reception, and CD playback.
Resolving problems with CD sound skips, tone quality, and non-ejection.
Diagnosing problems with sound settings and remote control operation.
Interpreting and resolving specific error messages for CD and changer.
Guidance on professional servicing and replacing the unit's fuse.
Instructions for using the reset switch to restore default settings.
Proper methods for cleaning the unit and handling CDs.
Notes on holding, storing, and cleaning CDs to prevent damage.
| Brand | Panasonic |
|---|---|
| Model | CQ-DRX900U |
| Category | Car Stereo System |
| Language | English |
