E
Erin OdomJul 29, 2025
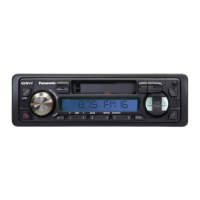
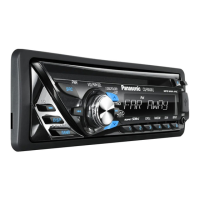
What to do if my Panasonic CQ-RG131U Car Receiver radio has static?
- Aalexis85Jul 29, 2025
If your Panasonic Car Receiver radio has static, it could be due to the antenna not being hooked up properly (hook up the antenna). Alternatively, you might be close to high power lines (move away from high power lines).