-
8
-
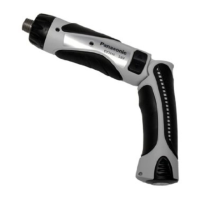
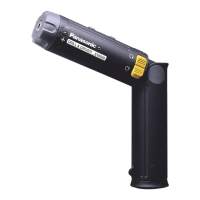
Starting the control panel
1. Release the hold switch.
2. To illuminate the control panel
1 Release the lock button
2 Press (Control panel is lit.)
● The count display lamp and “UP” or
“DOWN” are illuminated.
Setting the count functions (Screw
count setting/Count system setting)
1.
Press while the control panel is
illuminated.
Each time is pressed, the screw
count setting and count system set-
ting switch and flash.
● Screw count setting
→Countdisplaylampflashes.
● Count system setting
→“UP”or“DOWN”flashes.
2. Screw count setting
Set the number of screws with
or
.
● The range can be set within 0 – 99.
● 0 is not counted.
Count system setting
Press
. “UP” or “DOWN” will begin
to flash. Next select (“UP”) or
(“DOWN”).
● Press and hold the ( ) or ( )
buttons while setting the torque to
vary the value continuously.
< Count System “UP” >
● Displays the count for the number
of screws driven.
(
Set number
)
The settings are activated by pushing
.
● When the set number of screws is
reached, the buzzer sounds and
the count value resets to zero.
< Count System “DOWN” >
● Displays the count for the remain-
ing number of screws to be driven.
(
Set number
)
● When the set number of screws to
be driven is reached, the buzzer
sounds and the count value resets
to original set number.
3. The settings are activated by pushing
.
● The previous setting will be cleared.
4. To prevent changes in the set values
due to operational errors.
ON
● Turn the HOLD switch
to ON.
Convenient function settings (buzzer
sound setting/double tightening
counting prevention time setting)
1.
Press for 2 or more seconds while
the control panel is illuminated.
● Count display lamp “F1” is illumi-
nated.
Each time is pressed, the
buzzer sound setting and double
tightening counting prevention time
setting can be switched.
● “Buzzer sound setting”
→“F1”isilluminated.
● “Double tightening counting pre-
vention time setting”
→“F2”isilluminated.
2. Buzzer sound setting
The buzzer sound can be selected
with when “F1” is illuminated.
Operation
Display Sound Frequency
b3 High pitched sound
(Approx. 4 kHz)
b2
Medium pitched
sound (Approx. 3
kHz)
b1 Low pitched sound
(Approx. 2 kHz)
b0 No sound (OFF)
● If is pressed, the buzzer sound
saved from the previous setting is
displayed.
Double tightening counting preven-
tion time setting
Press
to illuminate “F2” and select
the time with .