9.3.2. Indoor unit Installation
39
The mounting wall is strong and solid enough to prevent it from
vibration.
1. Mount the installation plate on the wall with four
installation plate fixing screws.
(If mounting the unit on the concrete wall,consider
using anchor bolts.)
Always mount the installation plate horizontally by
aligning the mark-off line with the thread and use a
level gauge.
2. Drill the piping hole with 70mm
hole-core drill.
•
•
•
•
•
•
Line according to the arrows marked on the lower left and
right side of the installation plate.
To drill a hole in the wall and install a sleeve for tube ass’y
Drill a 70mm hole sloping downward toward the outside of
the wall.
Insert the sleeve for tube ass’y through the hole.
Fix the bushing to the sleeve.
Extrude 15mm of the sleeve then cut
.
When the wall is horrow please be sure to use the sleeve
for tube ass’y to prevent dangers caused by mice biting
the connecting cable.
Finish by sealing the sleeve with putty or caulking
compound at the final stage.
Caution
Indoor
Outdoor
15mm
5-7mm
70mm
The lower left and right side of installation plate
Left rear piping
Right rear piping
Center
Center
Wall
Indoor
Outdoor
7 0mm 7 0mm
5-7mm
Fig.5
Fig.6
Fig.7
70mm
70mm
Installation
plate
105mm
145mm
Screw
2
E
C
B
A
B
Thread
Weight
1
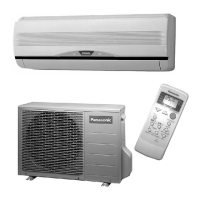
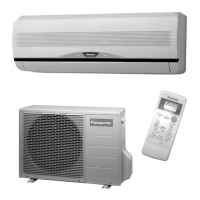
CS-PA7DKD / CU-PA7DKD / CS-PC7DKD / CU-PC7DKD