9.6. Connecting piping and the cable to outdoor unit
9.6.1. Connecting the piping to outdoor unit
1. Align the center of the piping and sufficiently tighten the flare nut with fingers.
2. Finally tighten the flare nut with torque wrench until the wrench clicks.
When tightening the flare nut with torque wrench, ensure the direction for tightening follows the arrow of the wrench.
Caution
When connecting the piping, always use a torque wrench.
Other tools may cause damage to the flare nut because
of improper force.
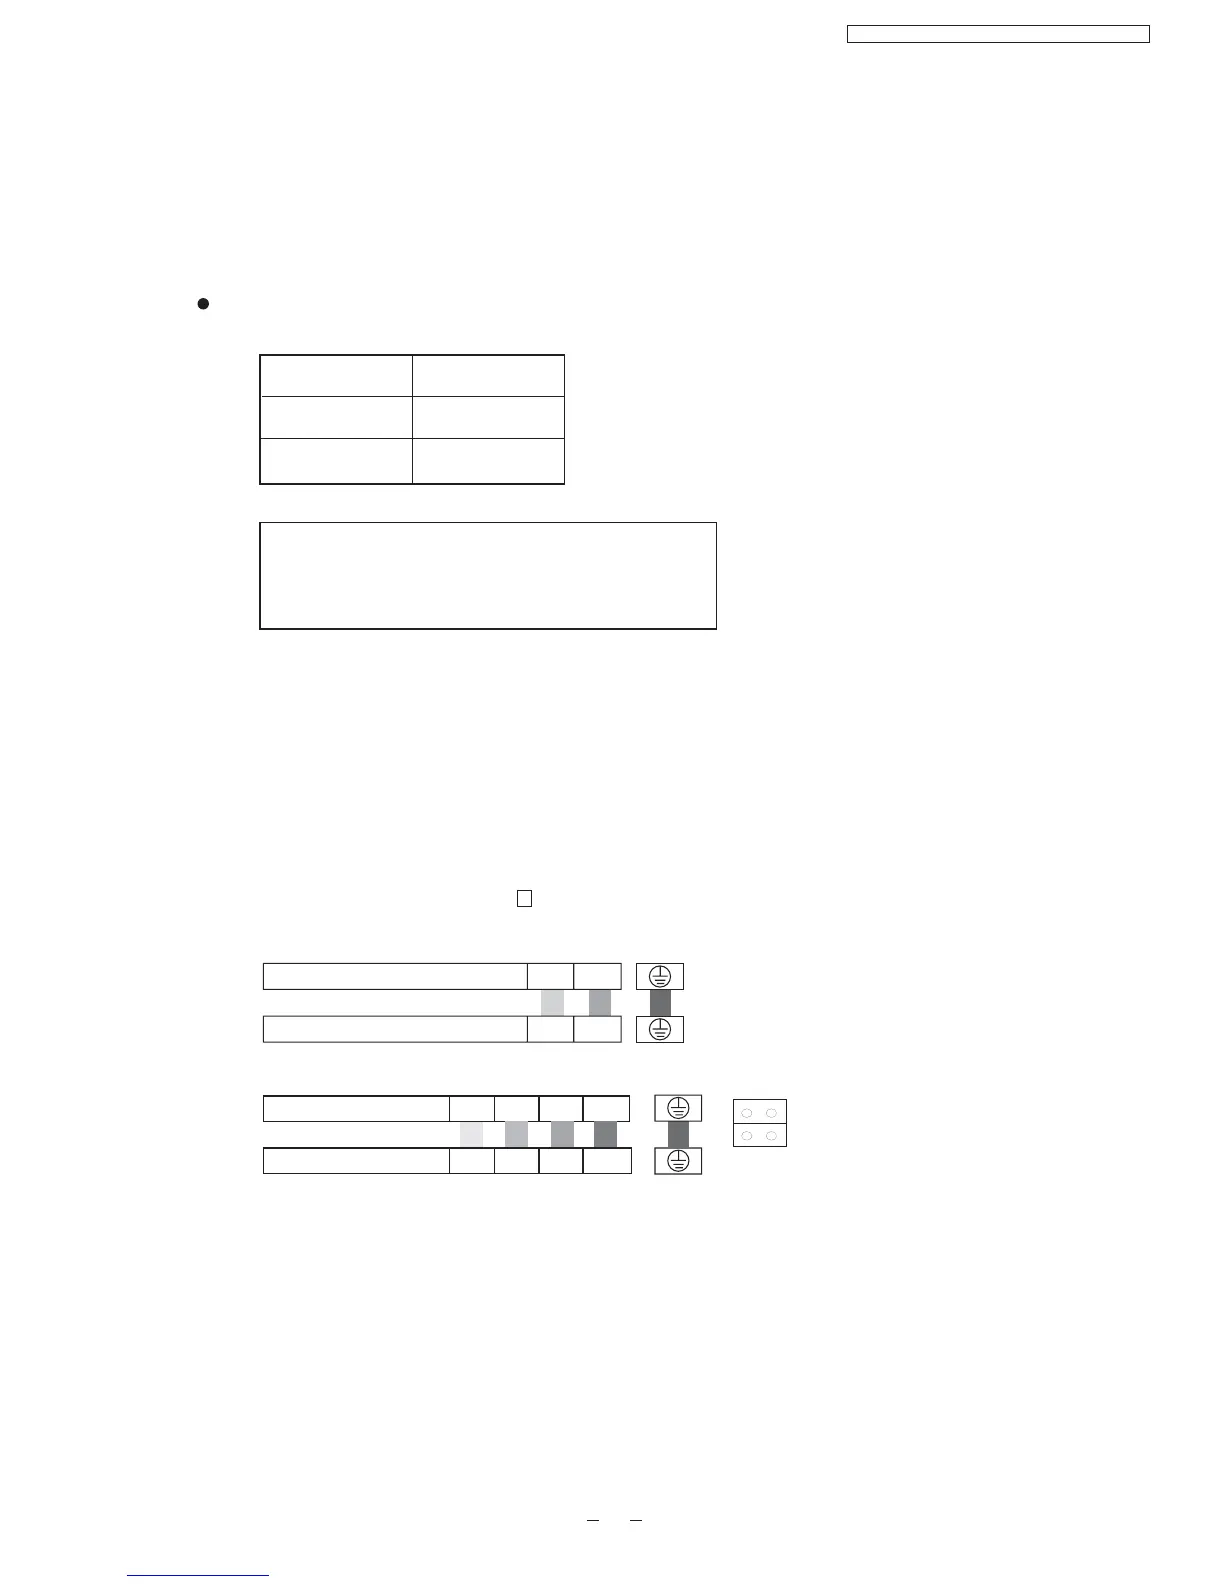
Piping side Torque
Liquid side 1/ 4"
Gas side 3/8”
18N
.
m
42N
.
m
3. Ensure not to let the piping exposed to air.
9.6.2. Connecting the cable to the outdoor unit
1. Remove the control board cover of the outdoor unit from the unit by loosening the screw.
2. Connecting cable between indoor unit and outdoor unit shall be approved polychloroprene sheathed 3 (PC7DKD,
PC9DKD) or 5 (PA7DKD, PA9DKD)x 1.5 mm flexible cord, type designation 245 IEC 57 or heavier cord.
For PA7DKD, PA9DKD the attached wire 6 with two connectors should be applied.
2
45
3. Secure the cable onto the control board with the holder ( clamper ).
4. Attach the control board cover to the original position with the screws.
Indoor Connecting Terminal
Outdoor Connecting Terminal
Colours of wires
1(L) 2(N)
1(L) 2(N)
CS/CU-PC7DKD,CS/CU-PC9DKD
1(L) 2(N)
3
4
1(L) 2(N)
3
4
Indoor Connecting Terminal
Outdoor Connecting Terminal
Colours of wires
Connector
CS/CU-PA7DKD,CS/CU-PA9DKD
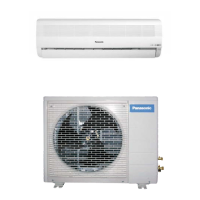
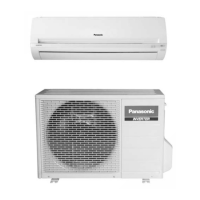
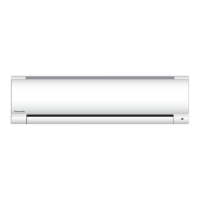
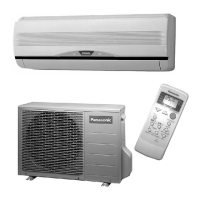
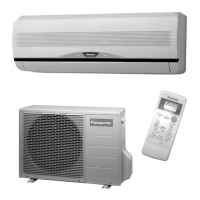
CS-PA7DKD / CU-PA7DKD / CS-PC7DKD / CU-PC7DKD