11.6. How to Assemble the
expandable Panels
NOTE: This procedure applies to left and right of a assembling
expandable panel.
•
Attach the top angle to the cabinet using screw type B
(3pcs).
•
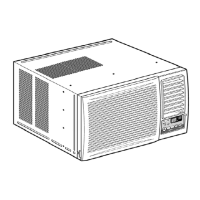
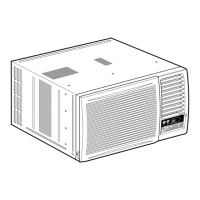
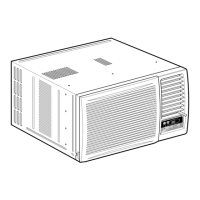
Insert expandible panels to cabinet sides as shown.
•
Secure the first fold of expansion panel to cabinet using
screw typeC (3 each).
11.7. Cabinet Installation
1. Cut the “Sealing Ribbon” to the proper length,and attach it
along the bottom edge of the bottom window sash.
2. To prevent condensation water from dripping inside, the
cabinet should be installed level or very slightly tilted to the
outside.
3. Secure the cabinet using screws.
•
Expand the expandable panel fully into the grooves of
the window frame, secure the expandable panel, left
right and top mounting frames to the bottom of the
window sash using 6 screws
•
Secure the cabinet using wood screws type A.
•
Cut the window sash foam seal to the proper size and
seal and the opening between the top of the inside
window sash and the outside window sash.
Note: If a gap exits between te unit and window sash,
you may use “Sealer“ supplied with the installation kit for
a better seal.
11.8. Chassis installation into the
cabinet
1. Slide the chassis into the cabinet.
2. Reinstall the cabinet to chassis by using screws. (from rear
cabinet).
11.9. Installation of the front frille
Depending upon the location of the AC outlet, route the AC
cord to either the left or right side while installing the front grille.
19
CW-XC100VK / CW-XC120VK

 Loading...