73
RQT9011
Change the setting to match the equipment you are connecting with,
or to match the title when there are both PAL and NTSC titles on the
HDD.
1 While stopped
Press [FUNCTION MENU].
2 Press [3, 4] to select “To Others”
and press [OK].
3 Press [3, 4] to select “Setup” and
press [OK].
4 Press [3, 4] to select “Connection”
and press [1].
5 Press [3, 4] to select “TV System”
and press [OK].
6 Press [3, 4] to select the TV system
and press [OK].
≥PAL (factory preset)
–Select when connecting to a PAL or Multi-system
television. Titles recorded using NTSC are played as PAL
60.
–Select to record television programmes and PAL input from
other equipment.
–[HDD] Select when playing a PAL input title recorded on the
HDD.
≥NTSC
–Select when connecting to a NTSC television. Television
programmes cannot be recorded properly.
–Select to record NTSC input from other equipment.
–[HDD] Select when playing a NTSC input title recorded on
the HDD.
7 Press [2, 1] to select “Yes” and
press [OK].
To return to the previous screen
Press [RETURN].
To exit the screen
Press [EXIT].
∫ To change the setting all at once (PAL!#NTSC)
While stopped, keep pressing [∫] and [< OPEN/CLOSE] on the
main unit simultaneously for 5 or more seconds.
[Note]
≥This unit cannot record NTSC signals to discs that already have
PAL signal recordings. (However, both types of programmes can
be recorded onto the HDD.)
≥If “NTSC” has been selected, the GUIDE Plus+ system cannot be
used.
≥In the case of a power failure, the clock setting remains in memory
for approximately 60 minutes.
1 While stopped
Press [FUNCTION MENU].
2 Press [3, 4] to select “To Others”
and press [OK].
3 Press [3, 4] to select “Setup” and
press [OK].
4 Press [3, 4] to select “Others” and
press [1].
5 Press [3, 4] to select “Clock” and
press [OK].
6 Press [3, 4] to select “Off” of
“Automatic” and press [OK].
7 Press [2, 1] to select the item you
want to change.
The items change as follows:
Hour!#Minute!#Second!#Day!#Month!#Year
^-----------------------------------------------------------------------------------------J
8 Press [3, 4] to change the setting.
You can also use the numbered buttons for setting.
9 Press [OK] when you have finished
the settings.
The clock starts.
To return to the previous screen
Press [RETURN].
To exit the screen
Press [EXIT].
[Note]
If a TV station transmits a time setting signal, and when “Automatic”
in the Clock setting menu is set to “On”, the automatic time
correction function checks the time and if necessary it is adjusted
several times every day.
TV System
Setup
TV System
PAL
NTSC
Disc
Picture
Sound
Display
Tuning
Connection
Others
OK
RETURN
SELECT
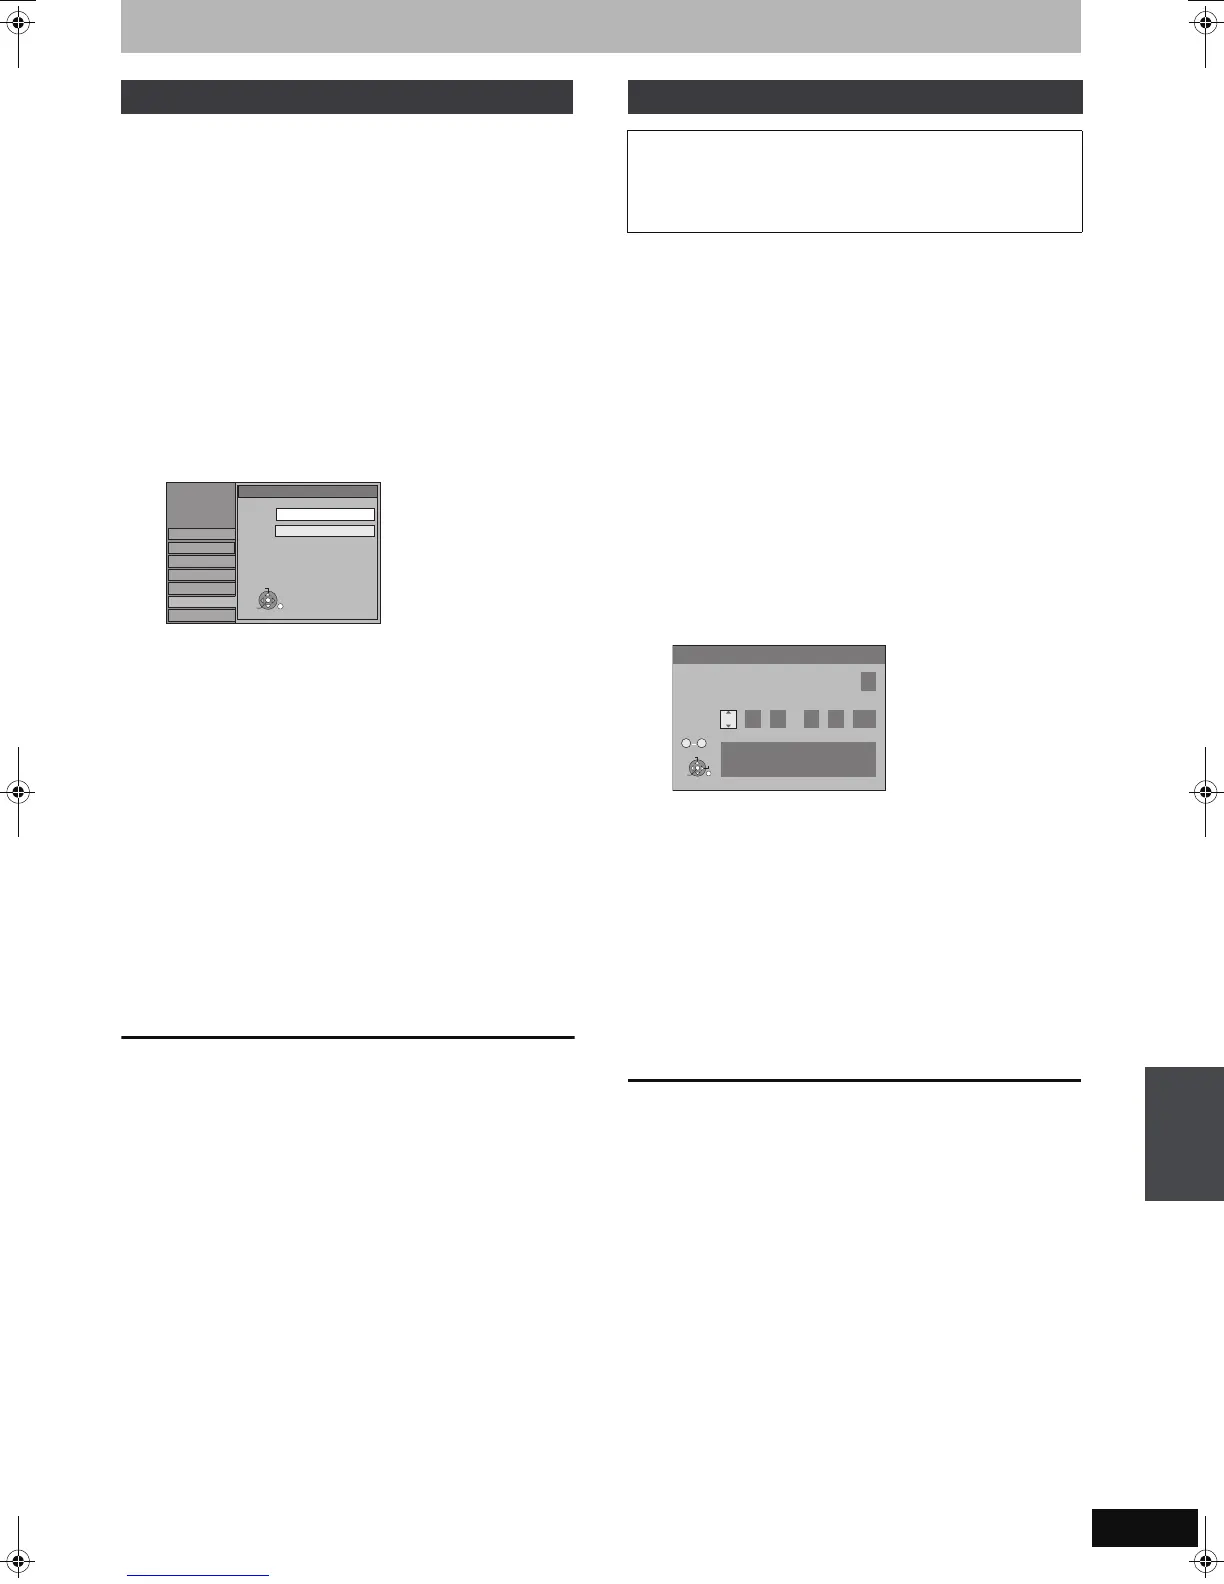
Manual Clock Setting
Usually, the unit’s setup function (➡ 20) automatically adjusts the
clock to correct time. Under some reception conditions, however,
the unit cannot set the clock automatically.
In this case, follow the operation steps below to manually set the
clock.
Clock
Automatic Off
Time Date
15
:
45 :
39
1
. 8
.
2007
Please set clock manually.
OK: store RETURN: leave
0 9
Number
OK
RETURN
SELECT
CHANGE
Changing the unit’s settings
EH770EC.book 73 ページ 2007年7月23日 月曜日 午後4時20分
 Loading...