RQT8020
12
Getting started
ENGLISH
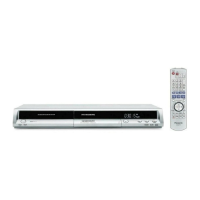
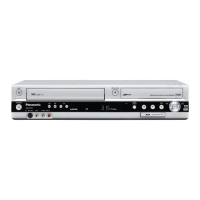
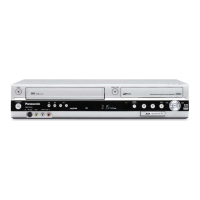
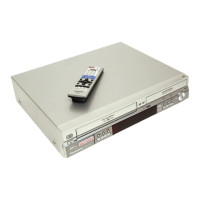
Refer to the control reference on page 10.
STEP 2 TV Tuning
When connecting to a television with the corresponding
terminal (➔ page 8).
This unit’s Auto-Setup function automatically tunes all available TV
stations.
1 Turn on the television and select the
appropriate AV input to suit the
connections to this unit.
2 Press [^ DVD] to turn the unit on.
The Country setting menu appears on the television.
3 Press [e, r] to select the country and
press [ENTER].
Auto-Setup starts. This takes about 5 minutes.
Auto-Setup is complete when you see the clock setting
menu.
4 Press [w, q] to select the item you
want to change.
This is a 24-hour clock.
The items change as follows:
Reset the clock regularly to maintain accuracy (➔ page 40).
(Monthly accuracy +/– 15 seconds.)
5 Press [e, r] to change the setting.
You can also use the numbered buttons for setting.
6 Press [ENTER] when you have
finished the settings.
The clock starts and the television displays the channel being
received.
To stop partway
Press [RETURN].
■ To confirm that stations have been tuned
correctly (➔ page 38)
■ To restart Auto-Setup (➔ page 39)
You can also use the following method to restart Auto-Setup.
When the unit is on and stopped
Press and hold [2 CH] and [CH 1] on the main unit until the
Country setting screen appears.
• All the settings except for the ratings level, ratings password and
time settings return to the factory preset. The timer recording
programmes are also cancelled.
When connecting to a television with the corresponding
terminal (➔ page 8).
This unit’s Auto-Setup function automatically tunes all available TV
stations.
1 Turn on the television and select the
appropriate AV input to suit the
connections to this unit.
2 Press [^ DVD] to turn the unit on.
Auto-Setup starts. This takes about 5 minutes.
Auto-Setup is complete when you see the clock setting
menu.
3 Press [w, q] to select the item you
want to change.
This is a 24-hour clock.
The items change as follows:
Reset the clock regularly to maintain accuracy (➔ page 40).
(Monthly accuracy +/– 15 seconds.)
4 Press [e, r] to change the setting.
You can also use the numbered buttons for setting.
5 Press [ENTER] when you have
finished the settings.
The clock starts and the television displays the channel being
received.
To stop partway
Press [RETURN].
■ To confirm that stations have been tuned
correctly (➔ page 38)
■ To restart Auto-Setup (➔ page 39)
You can also use the following method to restart Auto-Setup.
When the unit is on and stopped
Press and hold [2 CH] and [CH 1] on the main unit until the
Auto-Setup screen appears.
• All the settings except for the ratings level, ratings password and
time settings return to the factory preset. The timer recording
programmes are also cancelled.
Auto-Setup
For Australia and N.Z.
 Loading...