19
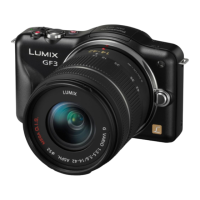
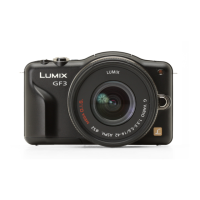
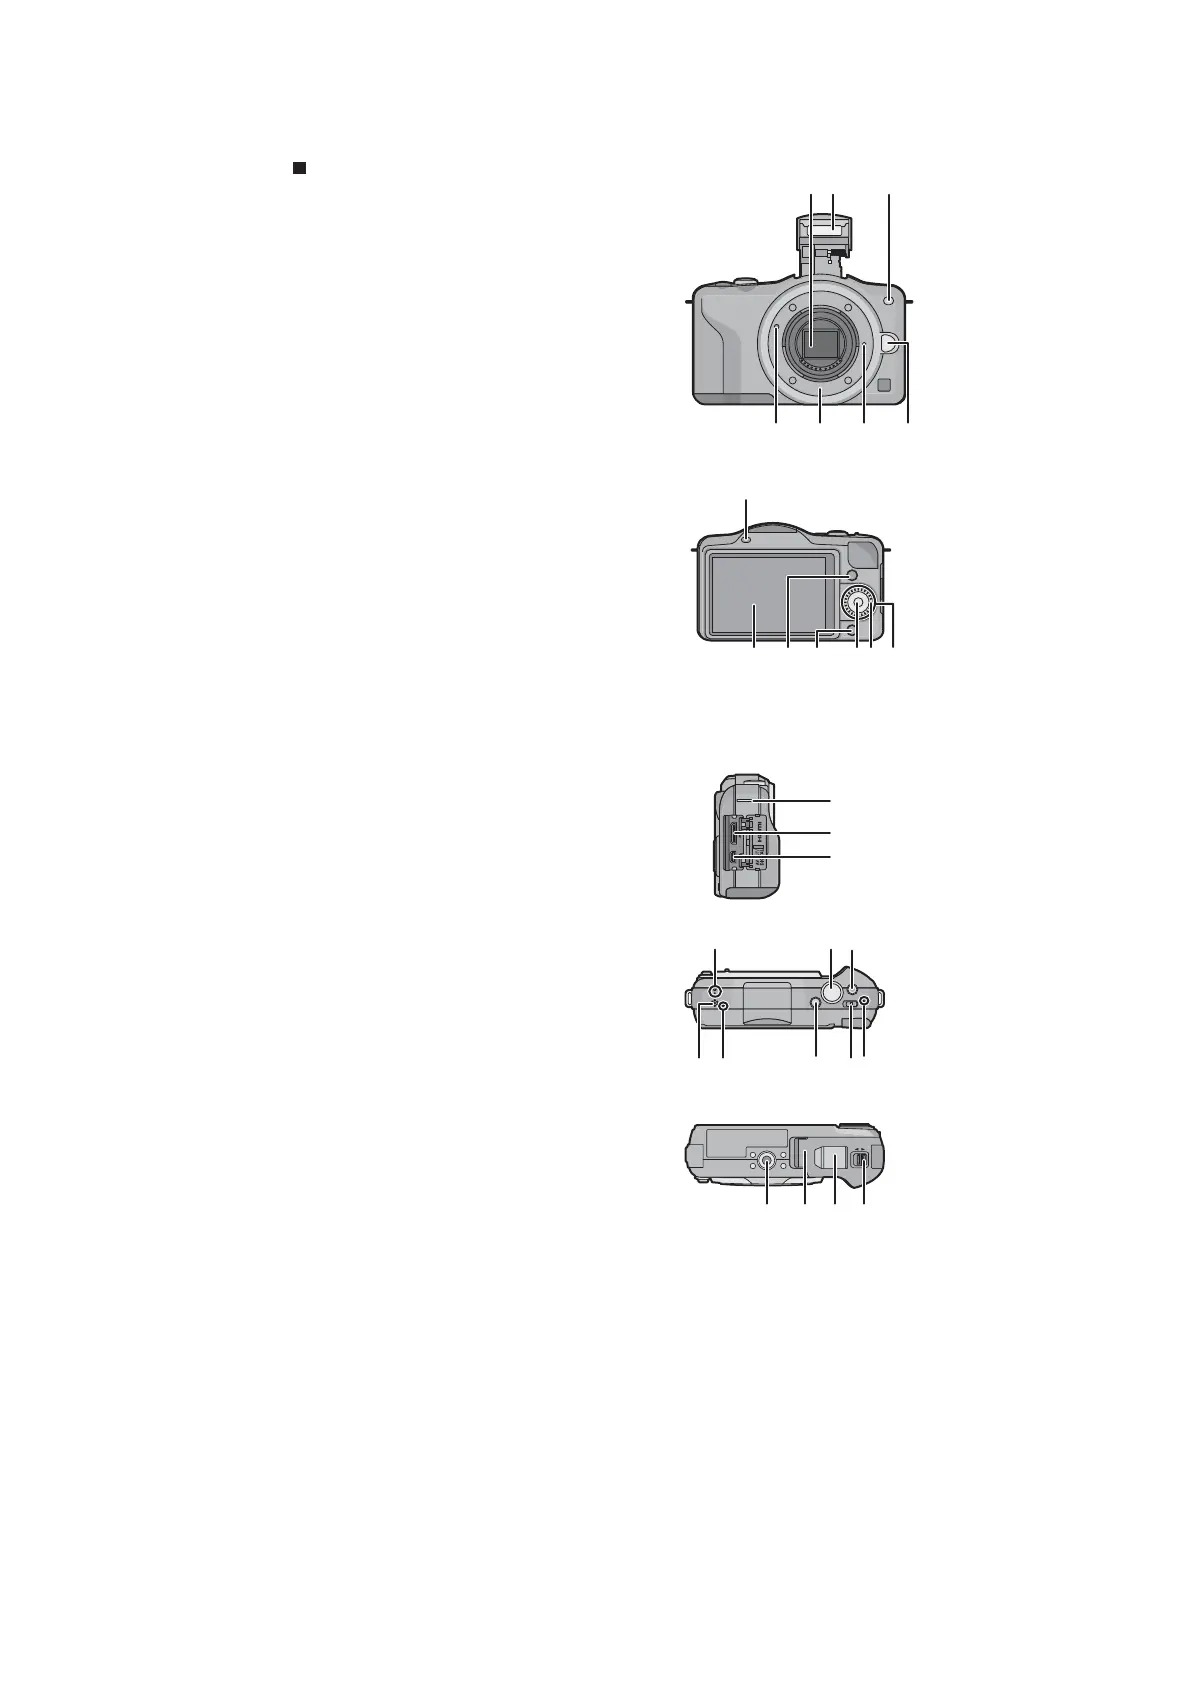
5 Location of Controls and Components
Camera body
1 Sensor
2Flash
3 Self-timer indicator/
AF Assist Lamp
4 Lens fitting mark
5 Mount
6 Lens lock pin
7 Lens release button
8 Flash open button
9 Touch panel/LCD monitor
10 Playback button
11 [Q.MENU/Fn] button/
Delete/Return button
12 [MENU/SET] button
13 Control dial
14 Cursor buttons
/Exposure Compensation button
/WB (White Balance)
/AF Mode button
/[DRIVE MODE] button
This button in picture record mode will allow the
user to select between the following options.
Single/Burst/Auto bracket/Self-timer
1
2
3
4567
15 Shoulder strap eyelet
Be sure to attach the shoulder strap when
using the camera to ensure that you will not
drop it.
16 [HDMI] socket
17 [AV OUT/DIGITAL] socket
18 Microphone
Do not cover the microphone with your
fingers.
19 Shutter button
20 Motion picture button
21 Speaker
Do not cover the speaker with your fingers.
22 Focus distance reference mark
23 Intelligent Auto button
24 Camera ON/OFF switch
25 Status indicator
26 Tripod receptacle
27 Card/Battery door
28 DC coupler cover
When using an AC adaptor, ensure that the
Panasonic DC coupler (optional) and AC
adaptor (optional) are used.
Always use a genuine Panasonic AC
adaptor (optional).
It is recommended to use a fully charged
battery or AC adaptor when recording motion pictures.
If while recording motion pictures using the AC adaptor and the power supply is cut off
due to a power outage or if the AC adaptor is disconnected etc., the motion picture being
recorded will not be recorded.
29 Release lever
15
16
17
LOCKOPEN
27 28 2926