Do you have a question about the Panasonic DMR-BWT850 and is the answer not in the manual?
Safety advice regarding the power cord and plug.
Precautions regarding the safe handling and use of batteries.
Guidelines for safe and optimal placement of the unit.
Step-by-step guide on how to replace the fuse in the AC mains plug.
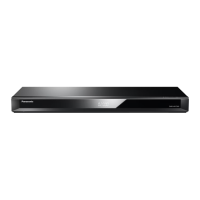
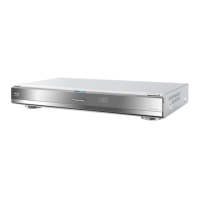
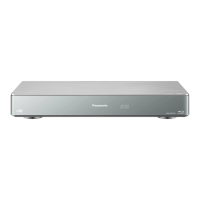
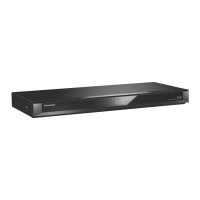
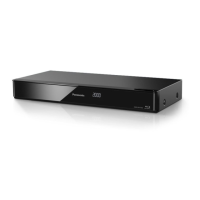
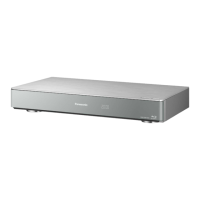
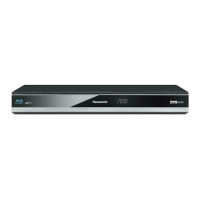
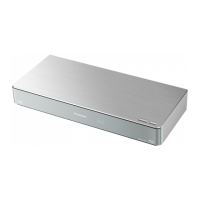
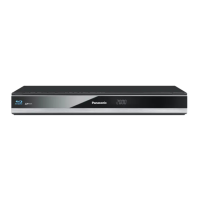
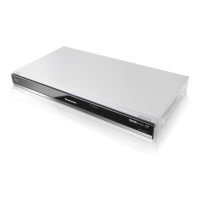
List of included accessories for the unit.
Instructions on how to insert batteries into the remote control.
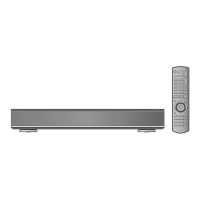
Overview of the remote control and its buttons.
Description of the unit's display indicators.
Illustrates the basic connections for aerial and power.
Explains the digital audio output connection and settings.
Details on connecting the unit to a network via LAN.
Details on connecting the unit to a network via Wi-Fi.
Instructions for operating the TV using the remote's TV function.
Step-by-step guide for the initial automatic setup process.
Lists the functions accessible through the FUNCTION MENU.
How to select channels using various methods.
Instructions on how to show or hide subtitles.
How to specify the duration for recording.
How to change the recording mode after initial recording.
Instructions for editing existing timer recordings via the TV Guide.
Steps to cancel a scheduled timer recording via the TV Guide.
Explains the video menu screen for playing HDD content.
How to select and play titles recorded on the HDD.
How to bundle selected titles into a group.
How to unbundle titles from a group.
Describes the screen displayed when media is inserted.
Shows how video files are listed for playback.
Steps for editing recorded titles, including renaming.
Procedure for removing recorded titles from storage.
How to delete specific parts of a title.
How to preview the point where a title will be divided.
Procedure to insert media or connect external devices.
How to choose titles for copying.
Procedure to insert a disc into the unit.
How to choose titles from the media for copying.
Specifies the direction of data transfer for copying.
Selects the recording mode for the copy operation.
Overview of the photo menu and its options.
Explains icons used in the photo playback interface.
Instructions for editing photo folders.
Steps for editing individual photos.
How photos are automatically copied to the HDD.
Process for manually selecting and copying photos.
How to play music from a CD.
Procedure for playing music files stored on the HDD.
Controls for playback, search, and other music functions.
Steps for copying music files to the HDD.
Procedure for deleting music files.
How to use the unit as a DLNA server to share content.
Steps required before setting up DLNA functionality.
Explains the control panel for client playback operations.
Lists playable video formats and codecs.
Lists playable photo formats.
Steps required to set up the unit as a Media Renderer.
How to establish a temporary Wi-Fi Direct connection.
Instructions for using Miracast to display content on TV.
Steps required to set up TV Anywhere functionality.
Steps required to access network services.
Process for registering a USB HDD for HD video copying.
Details on limitations for USB HDD usage.
Instructions on how to connect a USB HDD to the unit.
Procedure for safely disconnecting the USB HDD.
How VIERA Link automatically switches TV input and power.
How VIERA Link turns off the unit when the TV is in standby.
Common operations and settings available in the playback menu.
List of supported languages for subtitles and menus.
Options for picture display when the unit is paused.
Setting for smooth motion playback of film-like content.
Options for tuning TV channels and managing favorites.
How to edit the channel list, hide channels, and assign numbers.
Procedure for adding new channels manually.
How to restrict viewing/playback of channels based on age.
How to select the playback method for 3D content.
How to restrict Internet access for BD-Live functions.
Process for registering a USB HDD with the unit.
Options for managing USB HDDs, including deletion and formatting.
Options for picture display when the unit is paused.
Settings for converting multi-channel audio to 2-channel sound.
How to configure audio output signals.
Sets how long channel information is displayed.
Adjusts the brightness of the front panel display.
Options for adjusting 3D video playback settings.
Settings related to HDMI video output and compatibility.
Initiates the automatic network setup process.
Configuration options for LAN and wireless network connections.
Allows viewing network content on the TV via a smartphone.
Restricts access to Network Service.
Information about device ID and password for service registration.
Enables or disables DLNA server and Media Renderer functions.
Allows changing the unit's name on the network.
Lists registered devices and options to register/deregister.
Allows faster startup from standby mode.
Sets the unit to automatically enter standby mode.
Controls network wake-up and DLNA server functionality in standby.
How to change the remote control code for multiple devices.
How to manually set the unit's clock.
Procedure for setting or changing the PIN for parental control.
How to play back 4K videos and photos.
Instructions for copying 4K videos and photos.
Methods for updating the unit's software via broadcasts or internet.
How to perform an immediate software update.
How to name a disc.
How to protect discs from accidental deletion.
Procedure for formatting discs and SD cards.
Setting to choose whether to show the Top Menu after finalising.
What happens after a disc is finalised.
Steps to create a Top Menu for disc display.
How to deactivate the HOLD function.
How to select characters using the on-screen keyboard.
Procedure to finish text entry and return to the previous screen.
Standard aspect ratio display.
Enlarges image by cutting black bars on the sides.
Enlarges image by cutting black bars on the top/bottom.
Steps to troubleshoot when the unit fails to operate.
Procedure for ejecting a disc when it cannot be removed normally.
Troubleshooting steps for a non-responsive remote control.
How to fix incorrect screen aspect ratios.
Troubleshooting for a black screen issue.
Solutions for issues with 3D video output.
Steps to resolve audio issues like no sound or distortion.
Troubleshooting steps for recording failures.
Solutions for issues with timer recording functionality.
Steps to troubleshoot playback errors.
Advice for discs that won't play on other devices.
Troubleshooting for editing failures, often due to lack of space.
Troubleshooting for issues with TV Guide data display.
Steps to resolve network access issues for DLNA devices.
Troubleshooting for video frame drops over Wi-Fi.
Message indicating remote control code mismatch.
Indicates the unit is in a recovery process after a power interruption.
Message indicating a malfunction, prompts for restart or dealer contact.
Physical dimensions, mass, power, and operating environment.
Table showing recording times for different modes and media.
How personal data is stored and managed.
Explanation of disposal and recycling symbols for products and batteries.
Legal notices and trademarks related to software and technologies.
Mentions Wi-Fi, Wi-Fi Direct, Miracast trademarks.
Methods for updating the unit's software via broadcasts or internet.
How to perform an immediate software update.
| Brand | Panasonic |
|---|---|
| Model | DMR-BWT850 |
| Category | Blu-ray Player |
| Language | English |