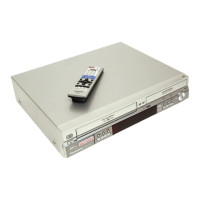
RF
IN
RF
OUT
AC I N
AV IN RF IN
DVD/VHS COMMON OUT
DVDޓPRIORITY OUT
124 3
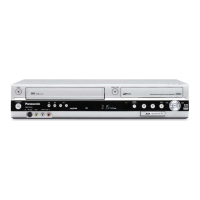
RF
IN
RF
OUT
AC I N
AV IN RF IN
DVD/VHS COMMON OUT
RF
OUT
Satellite
IN
RF
IN
IN1
AV OUT
DVDޓPRIORITY OUT
2
346
7 5
1
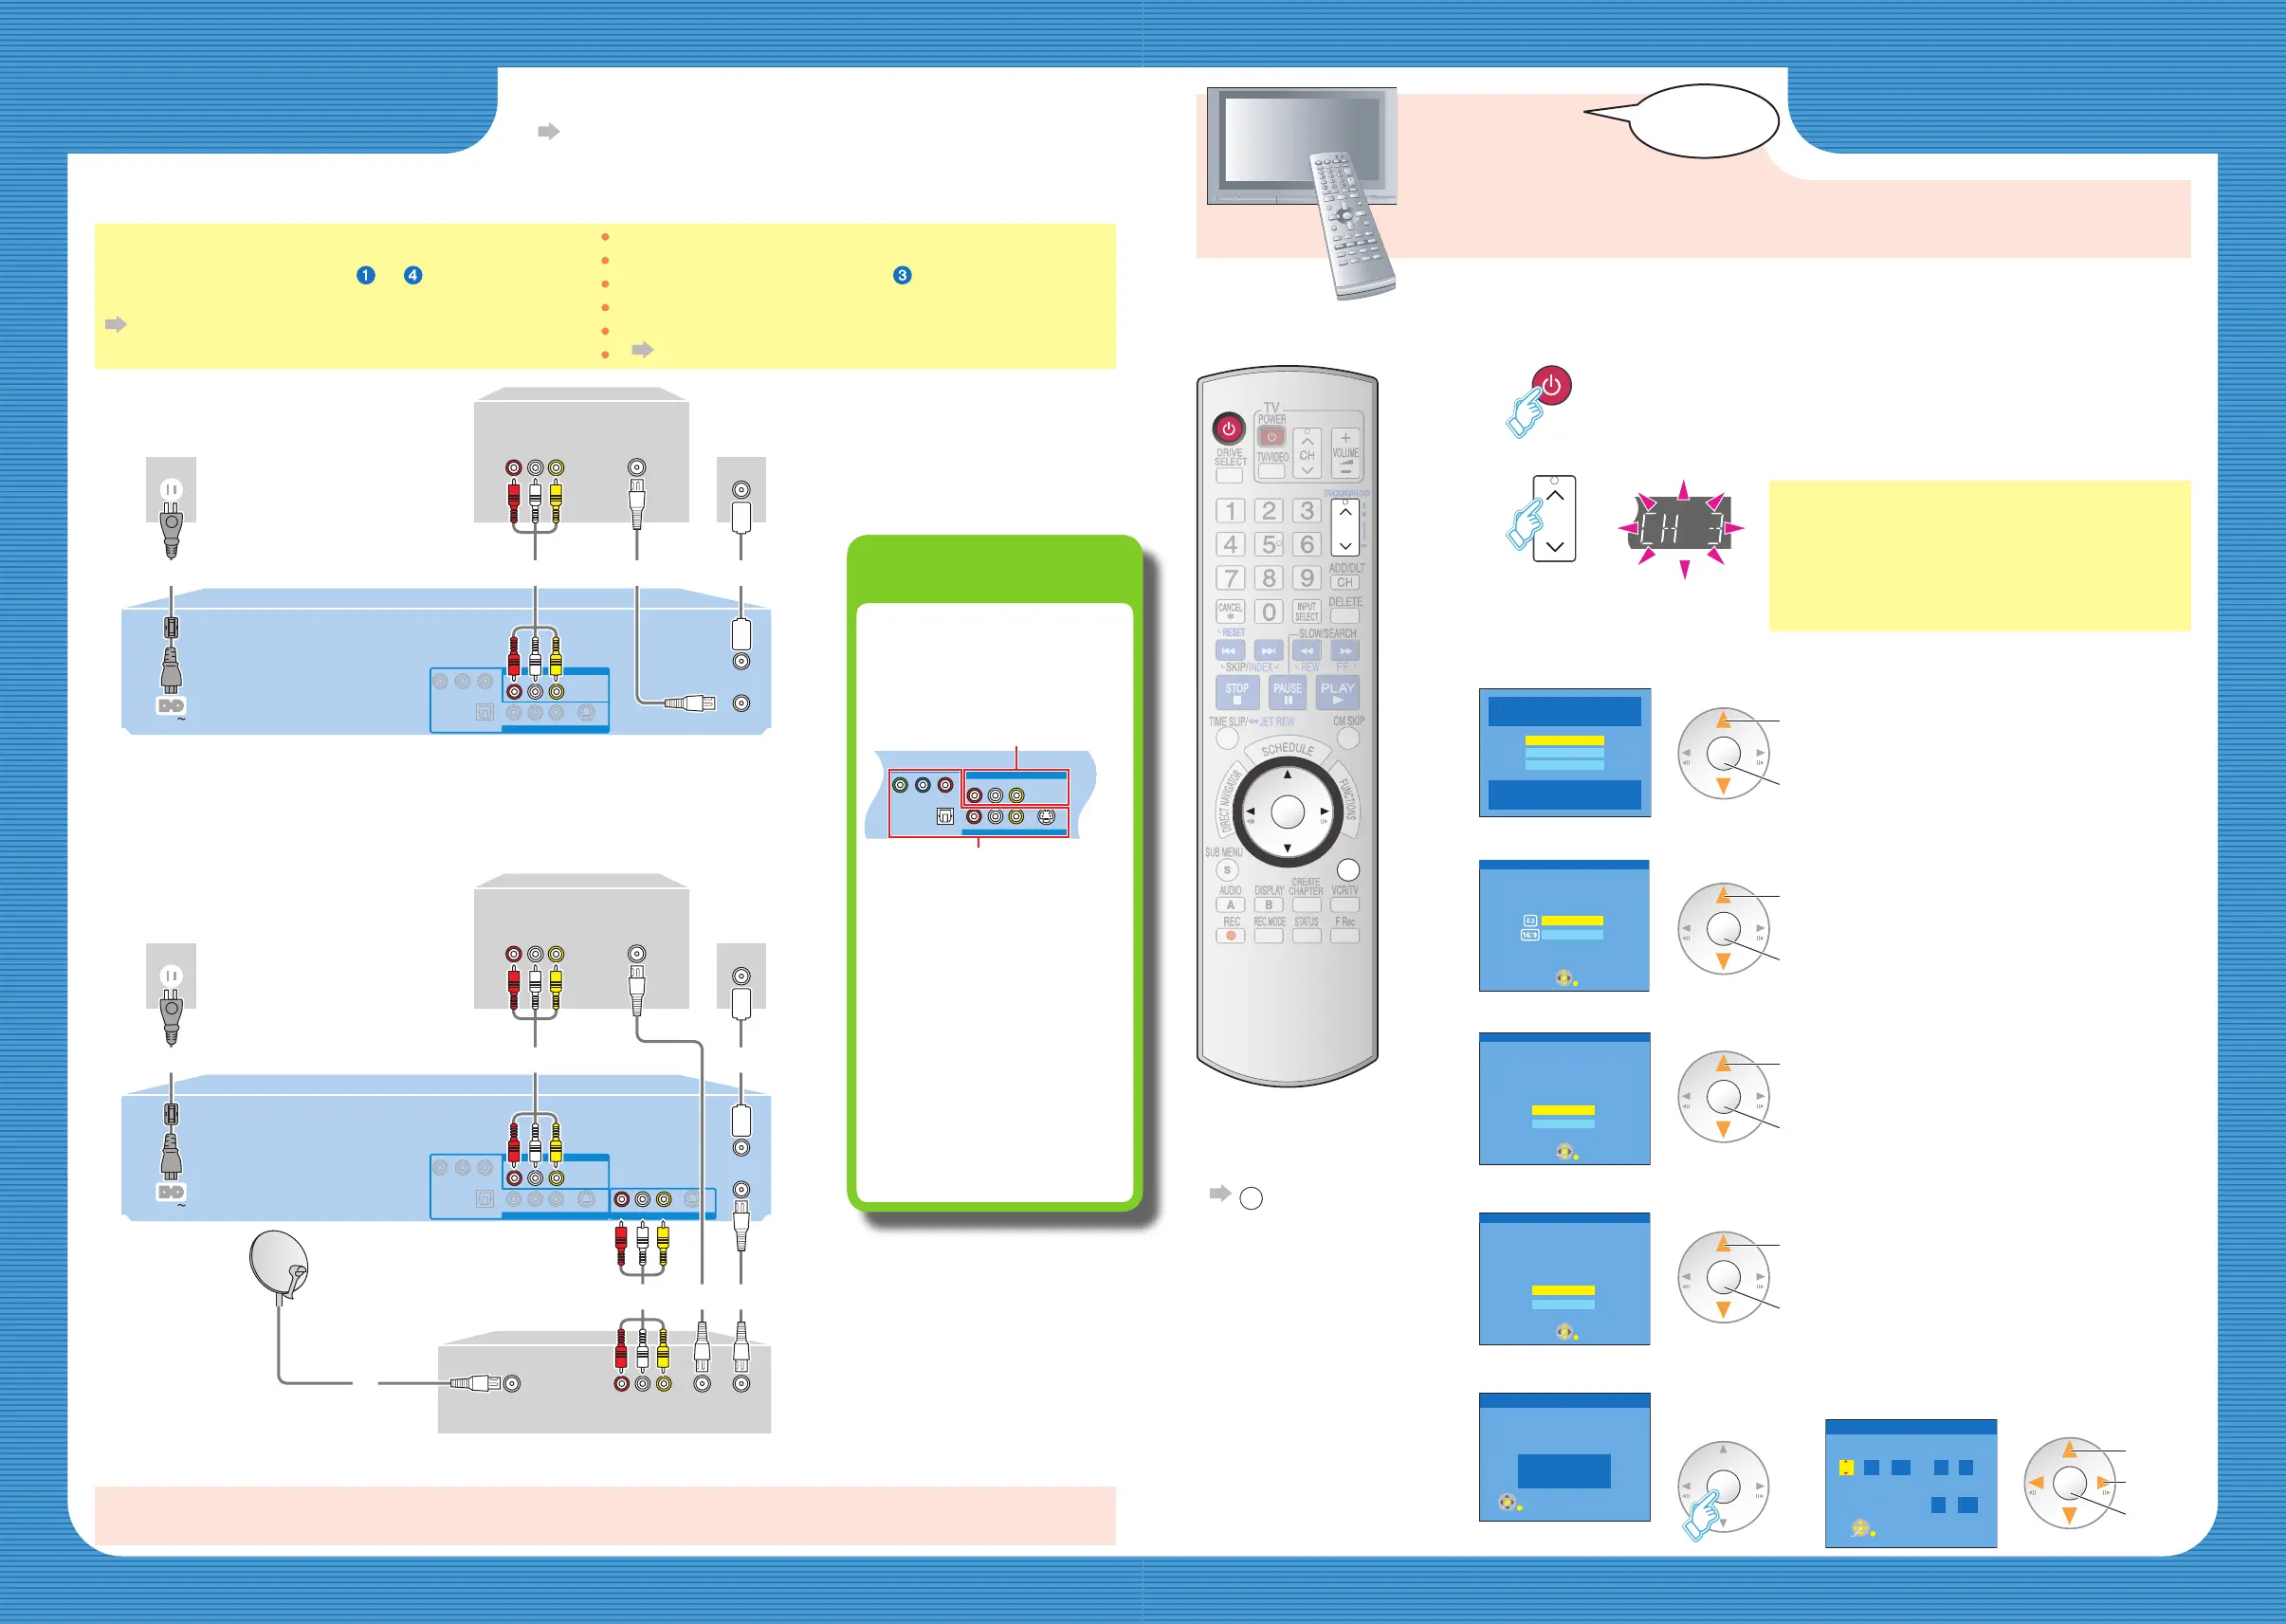
Connection (with Audio/Video cable)
Connect in numerical order to .
After this connection, set the RF output channel “OFF”.
Operating Instructions (P. 18).
Connection (without Audio/Video cable)
You do not need to connect “ ”.
After this connection, set the RF output channel “CH3”
or “CH4”.
Operating Instructions (P. 18).
Connection Setting
• Other connections (when you also want to connect an amplifi er, etc.).
Operating Instructions (P. 14–17).
With a TV
With a TV and cable box or satellite receiver
Preparing TV
1
Turn the TV on.
2
Switch input to “AV input” etc.
e.g. the TV/VIDEO or INPUT button
On your TV’s
remote control
• To return to an
previous screen
RETURN
3
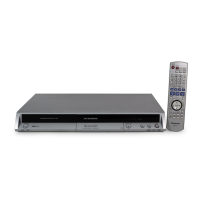
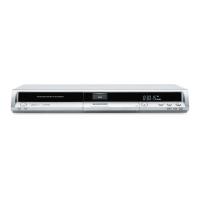
Turn this unit on.
Cable box or Satellite receiver
TV
TV
Satellite Antenna
(Satellite
receiver only)
Cable from wall/
antenna signal
(Included)
Cable from wall/
antenna signal
(Included)
(Included)
This unit
This unit
(Included)(Included)
(Included)
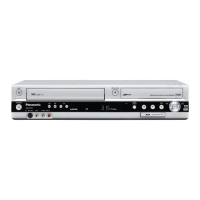
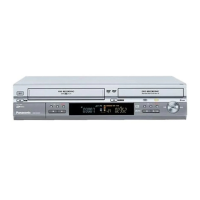
DVD output and
DVD/VHS output
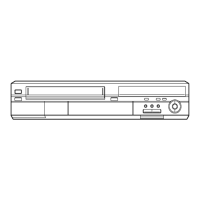
The unit has DVD/VHS
COMMON output terminals
and DVD PRIORITY output
terminals.
DVD/VHS COMMON OUT
For DVD/VHS COMMON
output terminals, both DVD
and VHS signals can be
output.
DVD PRIORITY OUT
You can also playback a tape
with the DVD PRIORITY
output terminal except while
recording, or making a
scheduled recording, on the
DVD.
DVD/VHS COMMON OUT
R-AUDIO-L
VIDEO
S VIDEO
Y
P
B
PR
OPTICAL
COMPONENT VIDEO OUT
DIGITAL AUDIO OUT
(PCM/BITSTREAM)
R-AUDIO-L
VIDEO
DVD PRIORITY OUT
DVD/VHS COMMON output
DVD PRIORITY output
4
Select an RF output channel number.
CH
RETURN
DVD/VHS
POWER
ENTER
CH
5
Select the language.
6
Select the type of TV you are using.
• If you make a mistake, press
RETURN.
7
Select “On”.
9
Complete the settings.
• When clock setting screen appears.(If time is
displayed...)
Select,
set
Select,
set
Select,
set
ENTER
Select,
set
next,
8
Select “Internal TV Tuner”.
Select,
set
Select Language
Seleccione el idioma
Sélection de Langue
Press ENTER
Pulse ENTER
Appuyer sur ENTER
English
Français
Español
Set Clock Automatically
Auto Clock Setting is complete.
4/4/2007 12:15 AM
DST............. On
Time Zone.... CST
ENTER
Set Clock Manually
/ :
/
SAT PM
Month Day Year
Hour Minute
1
1
12 00
2000
DST Time Zone
Off
EST
ENTER
Select TV type and press ENTER.
(Please refer to Operation Instruction
for details)
4:3 TV
16:9 Widescreen TV
ENTER
Aspect Ratio Selection
The unit can be turned on faster, in about
1 second. Please note that Quick Start
mode slightly increases power
consumption when the unit is off.
(See Operation instructions for details)
Turn Quick Start on ?
On
Off
ENTER
Quick start setting
Please select the source from which this
unit will record each time it is turned
on. Note: Selecting "Internal TV Tuner"
will start the Auto Channel Clock
Settings process.
This one time process takes a few minutes.
Internal TV Tuner
Input
ENTER
Default Recording Source
DVD Connection Guides (This is in English only)
http://www.panasonic.com/consumer_electronics/dvd_recorder/dvd_connection.asp
Connection
(with Audio/Video cable)
Select “OFF”.
Connection
(without Audio/Video cable)
Select “CH3” or “CH4” which displays the
screen of step 5.
DMR-ES45VPSetupG.inddSec1:2-Sec1:3DMR-ES45VPSetupG.inddSec1:2-Sec1:3 2006/01/1016:30:522006/01/1016:30:52