Remember to check this next one carefully; many students have been returning with
dark video because they haven’t checked this next switch: on the opposite side of the
camera near the lens is the camera grip (the place your hand goes when you're shooting).
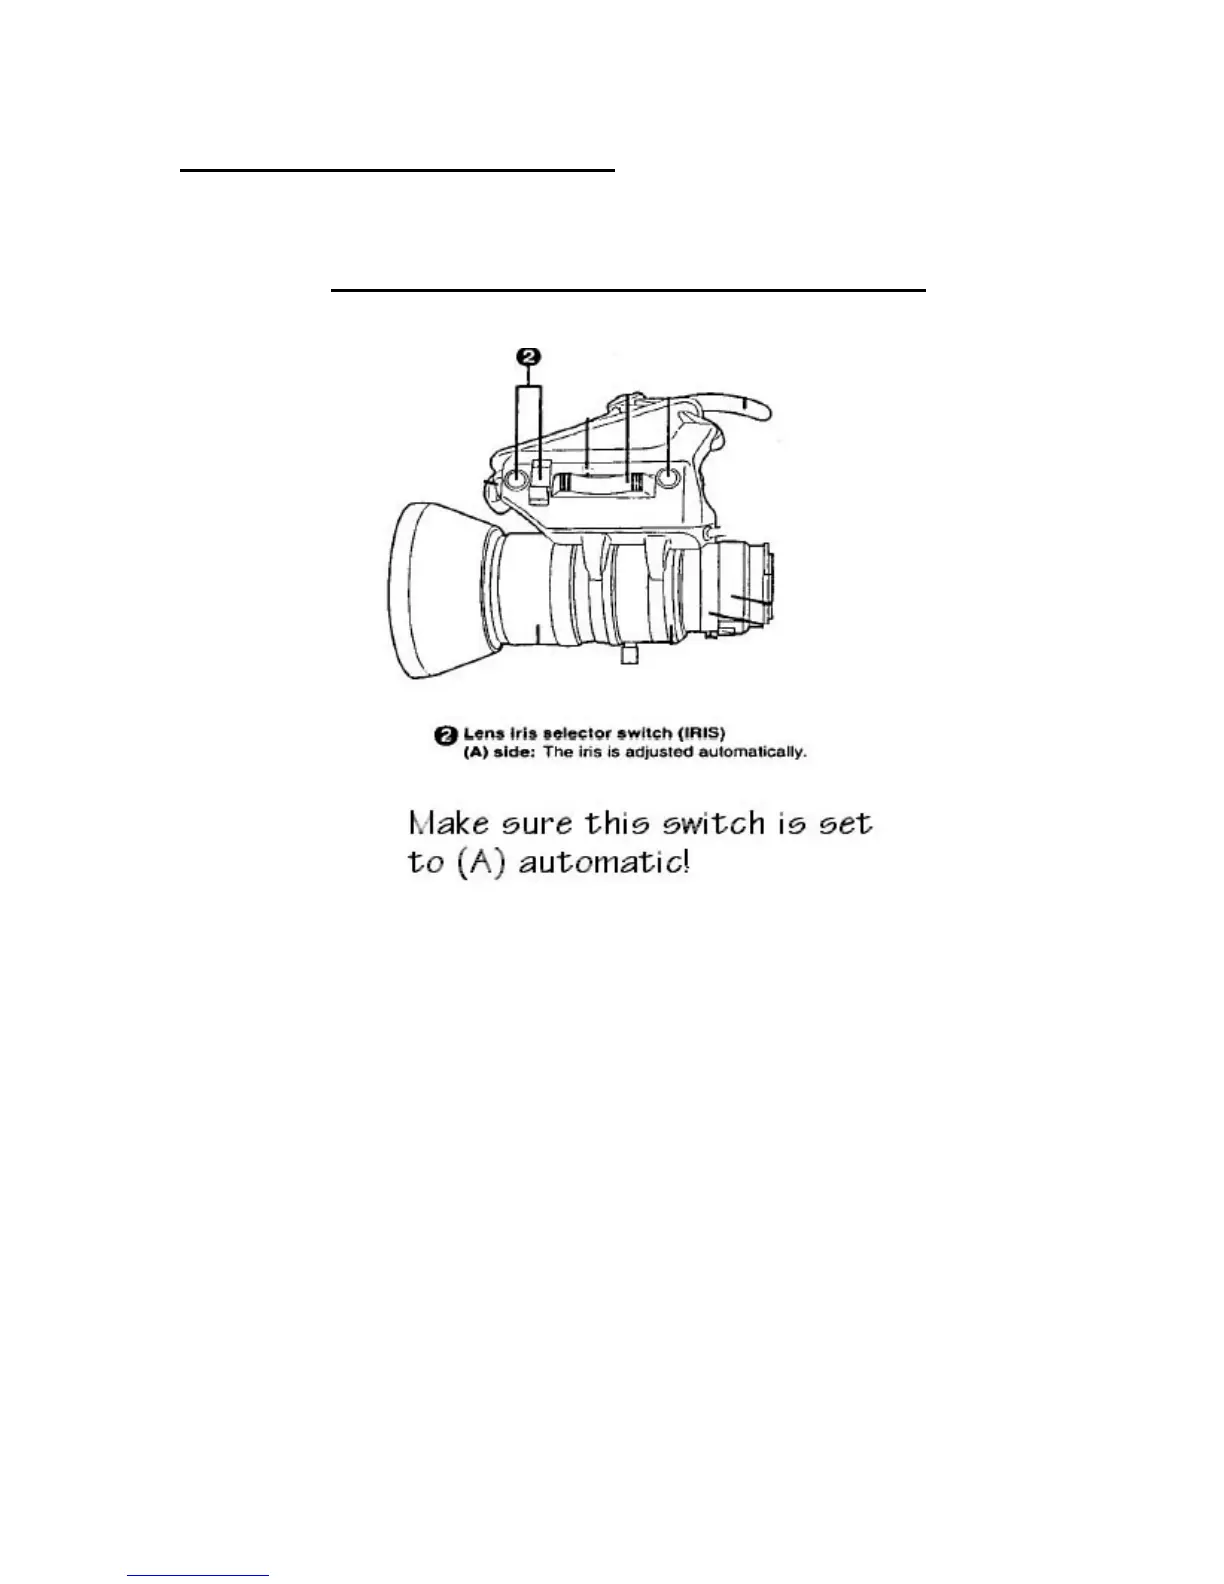
On this grip just in front of the zoom adjustment you'll see a switch that has an "M" and
an "A" option. Make sure the button is switched to "A"!!!! This
makes sure the Iris is always in automatic mode, which automatically lets in the proper
amount of light.
Loading Tape
After powering up insert your tape by hitting the eject button on the top of the
camera. Insert the tape into the camera with the writing on the tape upside-down and
facing away from the camera and manually shut the tape door (gently of course).
White Balance
White balance must be done every time you set up and every time the lighting
situation changes. Place a sheet of white paper in front of the camera in the same lighting
conditions in which you will be shooting. Zoom in and focus on the piece of paper so
that the white fills up the entire screen. On the bottom front of the camera, flick the
AUTO W/B BAL switch up to AWB. Your viewfinder will go black and then come back
to the picture. Continue to hold the white sheet of paper in front of the camera until the
white balance is completed in about 10 seconds.