RQT6627
16
Advanced operations
Using Graphical User Interface (GUI) screens
Play Menu
Display Menu
Unit information
A-B repeat [RAM] [DVD-A] [DVD-V] [VCD] [CD] [WMA] [MP3]
(When the elapsed play time is displayed)
Repeat a section between points A and B within an item.
[ENTER] (start point) ➜ [ENTER] (finish point)
To cancel: [ENTER]
≥Subtitles recorded around A and B may fail to appear.
≥The end of an item becomes point B when it is reached.
≥A-B repeat is canceled when you press [QUICK REPLAY].
Repeat mode
[RAM] [DVD-A] [DVD-V] [VCD] [CD] [WMA] [MP3]
(When the elapsed play time is displayed)
[JPEG]
[RAM]
PG: Program
A: All
S: Scene
§1
PL: Playlist
§1
OFF: Off
[DVD-A] [WMA] [MP3]
T: Track
G: Group
A: All
§2
OFF: Off
[DVD-V]
C: Chapter
T: Title
A: All
§2
OFF: Off
[VCD] [CD]
T: Track
A: All
OFF: Off
[JPEG]
G: Group
OFF: Off
§1
During play list play.
§2
During all group, program and random play.
If the Video CD has playback control
1. Press [∫] to clear “PBC” from the display.
2. Press the numbered buttons to select a track to start play.
3. Select an item to repeat.
To repeat only your favorite tracks/chapters
[DVD-A] [DVD-V] [VCD] [CD] [WMA] [MP3]
Start program play (➜ page 14) and display “A”.
Play mode display [DVD-A] [DVD-V] [VCD] [CD] [WMA] [MP3]
---: Normal play PGM: Program play
RND: Random play ALL: All group play ([DVD-A])
Marker
[RAM] : 999 positions
[DVD-A] [DVD-V] [VCD] [CD] [WMA] [MP3] [JPEG] :5 positions
[ENTER] (The unit is now ready to accept markers.)
To mark a position: [ENTER] (at the desired point)
To mark another position: [2, 1] ➜ [ENTER]
To recall a marker: [2, 1] ➜ [ENTER]
To erase a marker: [2, 1] ➜ [CANCEL]
[RAM]
To mark the eleventh point and beyond
1. Press [2, 1] to select the marker pin icon.
2. Press [3, 4] to select “11–20”.
≥You can select the next group when the
current group is full.
3. Press [1].
≥The markers are ordered by time. This
means that the marker numbers can change when you add
and erase markers.
≥If places have been marked (e.g., with a DVD video
recorder), they are displayed.
≥You can clear existing markers, but they are restored when
you open the disc tray or switch the unit to standby.
≥This feature doesn’t work while using a play list.
[Note]
≥This feature doesn’t work during program and random play.
≥Markers you add clear when you open the disc tray or
switch the unit to standby.
4:3 Aspect
Select how to show images made for 4:3 aspect screens on
a 16:9 aspect television.
Normal: Laterally stretches images made for a 4:3 screen.
Auto: Expands suitable 4:3 letterbox images to fill more of
the screen. Other images appear in full in the
center of the screen.
Shrink: Images appear in the center of the screen.
Zoom: Expands all images to fill the screen.
If your television has a similar feature, use it instead for a
better effect.
Zoom (➜ page 13)
To select preset aspect ratio
Press [ENTER] and then [2, 1] to select. Press [ENTER] to
finish.
Subtitle Position/Subtitle Brightness (➜ page 12)
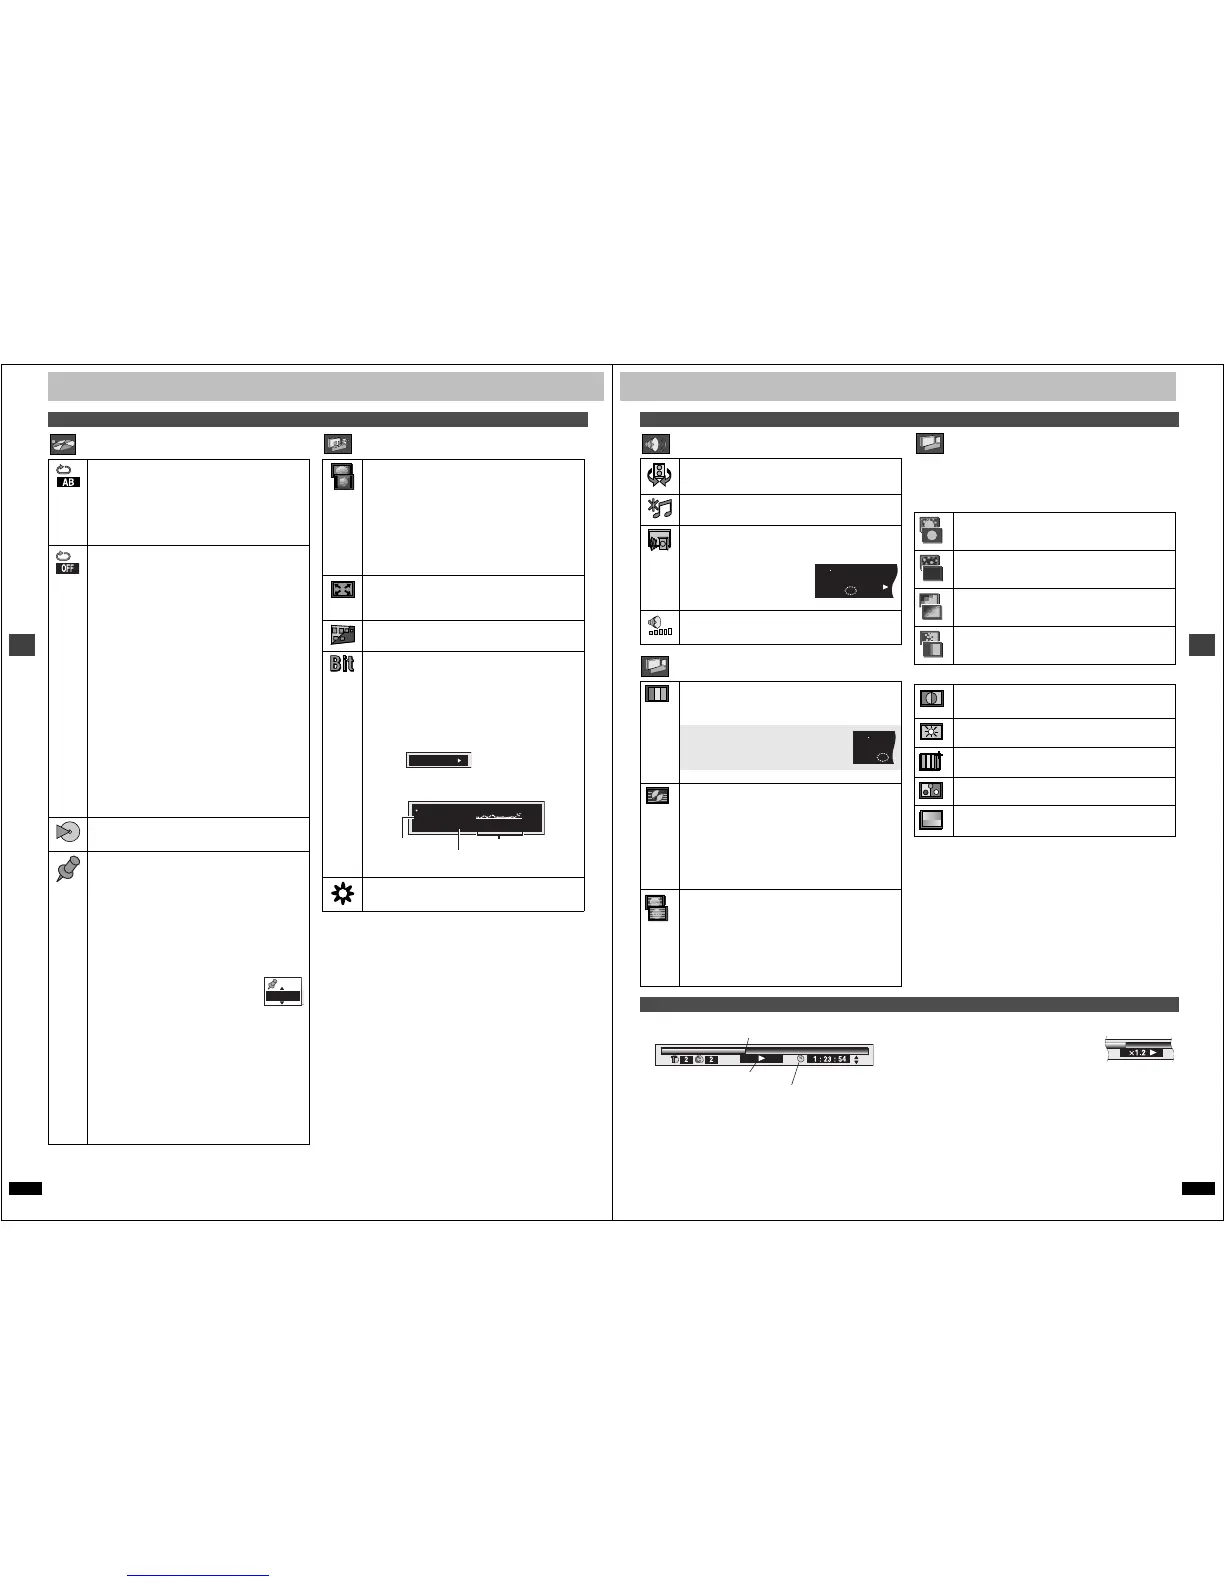
Bitrate Display on/off
[RAM] [DVD-A] (Moving picture part) [DVD-V] [VCD]
When you select “ON”:
During play: Shows the average bitrate (approximate
values) of the video being played
While paused: Shows the data volume of the frame and type
of picture (➜ page 21, Glossary—I/P/B)
While the display is on, press [2, 1] to change the display:
e [2, 1]
u
OSD Brightness (j3 to i3)
Adjust the brightness of the on-screen displays.
9.438 Mbps
Bitrate
Cur. 7.507 Mbps
Ave. 6.730 Mbps
5.0
Mbps
A record of bitrates for a
sampling period
Current bitrate
Average bitrate
RQT6627
17
Advanced operations
Audio Menu
Picture Menu
Picture Menu
∫ User mode
Press [1] while “U1”, “U2” or “U3” is highlighted and then press [3, 4] to
select “1”, “2” or “3”.
U1: MPEG D.N.R. (Digital Noise Reduction)
U2: Picture Control
U3: Video output mode➜left
Indicates how far you have played through an item.
Changing the time display [RAM] [DVD-A] [DVD-V] [VCD] [CD]
Press [3, 4] to show the elapsed play time or remaining time for the
program, play list, track or title (or chapter during program and random
play).
Elapsed play time [VCD] (SVCD only) [WMA] [MP3]
For display only, cannot be changed.
∫ Changing play speed [DVD-A] (Moving picture part) [DVD-V]
(Dolby Digital only)
You can slow down or speed up play.
Press [2] (slower) or [1] (faster).
There are five speeds:
a0.8 ,. a0.9 ,. a1.0 (normal speed) ,. a1.2 ,. a1.4
≥After you change the speed:
jOutput is in stereo,
jAdvanced Surround does not work,
jDigital output switches to PCM.
≥Sound is stereo as long as “a1.0” is orange.
To return to normal play
Press [1] (PLAY).
Unit information
Advanced Surround (➜ page 13)
Double Re-master (➜ page 13)
Dialogue Enhancer
[DVD-V] (Dolby Digital, DTS, 3-channel or over only, where the
dialogue is recorded in the center channel)
This makes the dialogue in movies
easier to hear.
ON()OFF (Factory preset)
≥This does not work or has less
effect with some discs.
Attenuator (For analog connection)
Switch on if sound is distorted.
ON()OFF (Factory preset)
Picture mode
N: Normal mode
S: Soft mode (Soft picture with fewer video artifacts)
F: Fine mode (Details are sharper)
C1 (Cinema1): Mellows images and enhances
detail in dark scenes
C2 (Cinema2): Sharpens images and
enhances detail in dark scenes
U1/U2/U3: User mode (➜ right)
Video output mode
480I: Interlace video
480P: Progressive video
(¢: Progressive output not possible with PAL signals)
≥You can change the video output mode only when
–“Progressive Out (Component)” is set to “Enable (NTSC
Disc Only)” and
– [For\the\United\Kingdom\and\Continental\Europe]
“Video Out (AV/Component)” is set to “Y PB PR”
in the SETUP menu (➜ page 18).
Transfer mode
Select the method of conversion for progressive output to
suit the type of material being played (➜ page 21,
Glossary—Film and video).
Auto 1 (normal): For viewing film material
Auto 2: For viewing film material (the same as Auto 1, but
able to convert 30-frame-per-second progressive
video)
Video: For video material
 Loading...