11
English
How to use
•
Check that the blades are not damaged or deformed before use.
• Apply the lubrication oil to the blade before and after each
use. (See page 12.)
• The appliance may not operate in an ambient temperature
lower than approximately 5 °C.
• After use, turn it o and clean it.
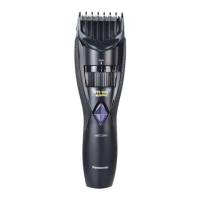
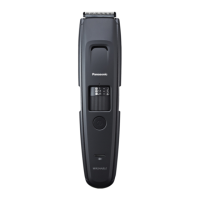
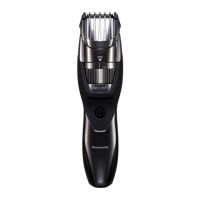
► About setting the trimming height
1
Select the trimming heights indicated on the insides
andsidesoftheattachments.
2
Turnonthepower.
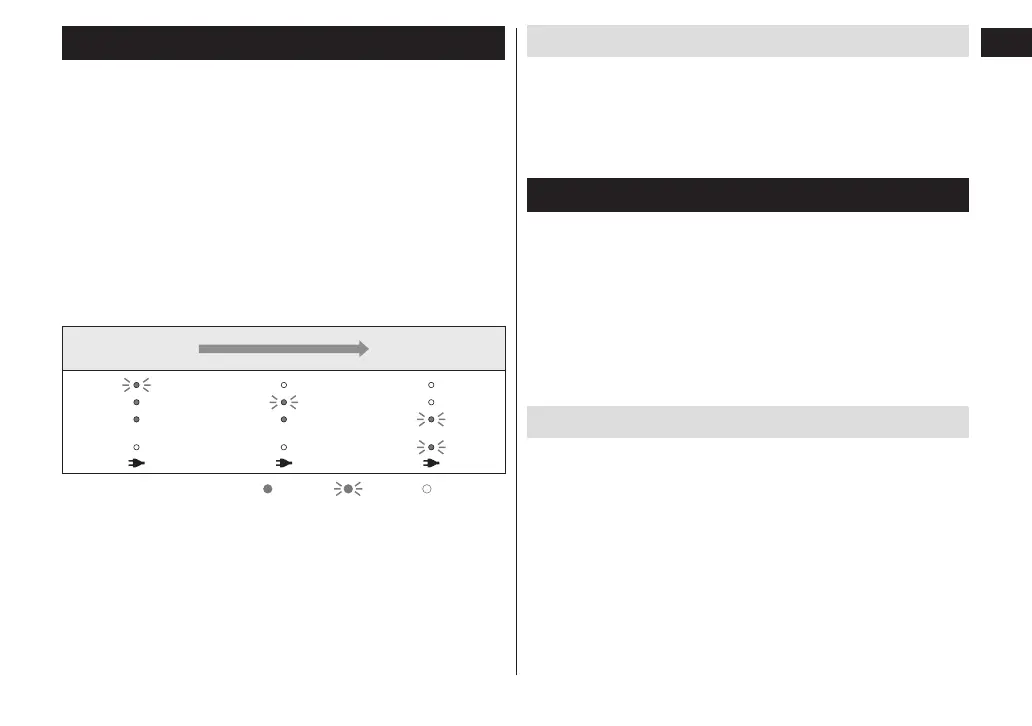
► About the approximate remaining charge
High battery
capacity
Low battery
capacity
( :Glows, :Blinks, :Turns o)
► Note
• The lamps will turn o approximately 5 seconds after
operating the switch. However, if the battery remaining is
low, it will not turn o and one battery capacity lamp and the
charge status lamp blinks. (When the power is turned o, the
lamps turn o after 5 seconds.)
Charging is required when the one battery capacity lamp and
the charge status lamp blinks. You can trim 5 minutes after
this is displayed. (This will dier depending on usage.)
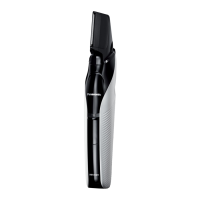
Removing and mounting the comb attachments
► Mount(Example:6mmcombattachment)(Fig.4)
Slide the attachment until it clicks.
► Remove(Fig.5)
Remove the attachment by pressing with your thumb.
Maintenance
• Make sure that the main body is turned o.
• Clean the main body, blade and the comb attachment after
each use.
(If not cleaned, the motion will become poor and the sharpness
will worsen.)
• Lubricate after cleaning.
• Do not use thinner, benzine or other chemicals. Doing so
may cause failure, cracking or discoloration of the parts.
Clean the main body only with a soft cloth slightly dampened
with tap water or soapy tap water.
How to clean
► Mainbody,Blade
1. Brush o any hairs from the main body and from around the
blade. (Fig. 6‑1)
2. Brush o the hairs from the blade edge. (Fig. 6-2)
3. Brush any hair trimmings out from between the stationary
blade and the moving blade while pressing down the
cleaning lever (a) to raise the moving blade. (Fig. 6‑3)
► Chargingstand(Fig.7)
Use the cleaning brush to clean hair trimmings and dust in the
charging plug or in the hole on the bottom surface.