13
English
Preparation
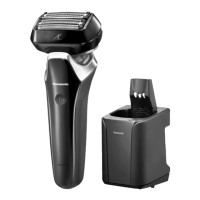
Charging the shaver
• Turn the shaver off.
• Wipe off any water droplets on the main body rear
terminals.
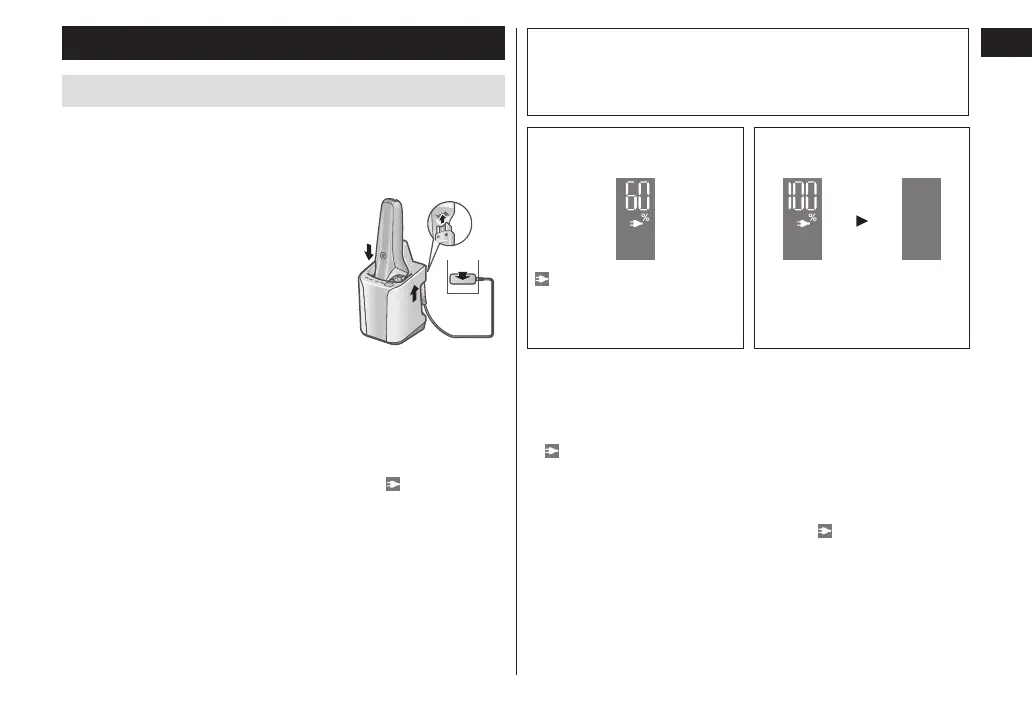
1
Insert the appliance plug
into the self-cleaning
recharger�
2
Remove the protective cap
while pressing the side of
the cap and insert the
shaver into the self-
cleaning recharger�
• Slowly insert the shaver into
the self‑cleaning recharger
taking care not to damage the
system outer foil.
3
1
3
Plug the adaptor into a household outlet�
• Check that the charge status lamp ( ) is glowing.
• Charging is completed after approx. 1 hour.
• Iftheshapeoftheplugdoesnottthepower
outlet, use an attachment plug adaptor of the
properconguration.
4
Disconnect the adaptor after charging is
completed�
Quick charge
Even though the battery runs out, you can shave
once after 3‑minute charge.
(This will differ depending on usage.)
While charging
After charging is
completed
glows.
The number of the battery
capacity lamp will increase
as charging progresses.
“100%” appears and then
turns off after 5 seconds.
Notes
• Whenchargingtheshaverforthersttimeorwhenit
has not been in use for more than 6 months, the
charging time may change or the charge status lamp
(
) may not glow for a few minutes. It will eventually
glow if kept connected.
• Recommended ambient temperature for charging is
10 °C – 35 °C (50 °F – 95 °F). It may take longer to
charge, or the charge status lamp (
) will blink
quickly and the battery may fail to charge properly in
extremely high or low temperatures.