8
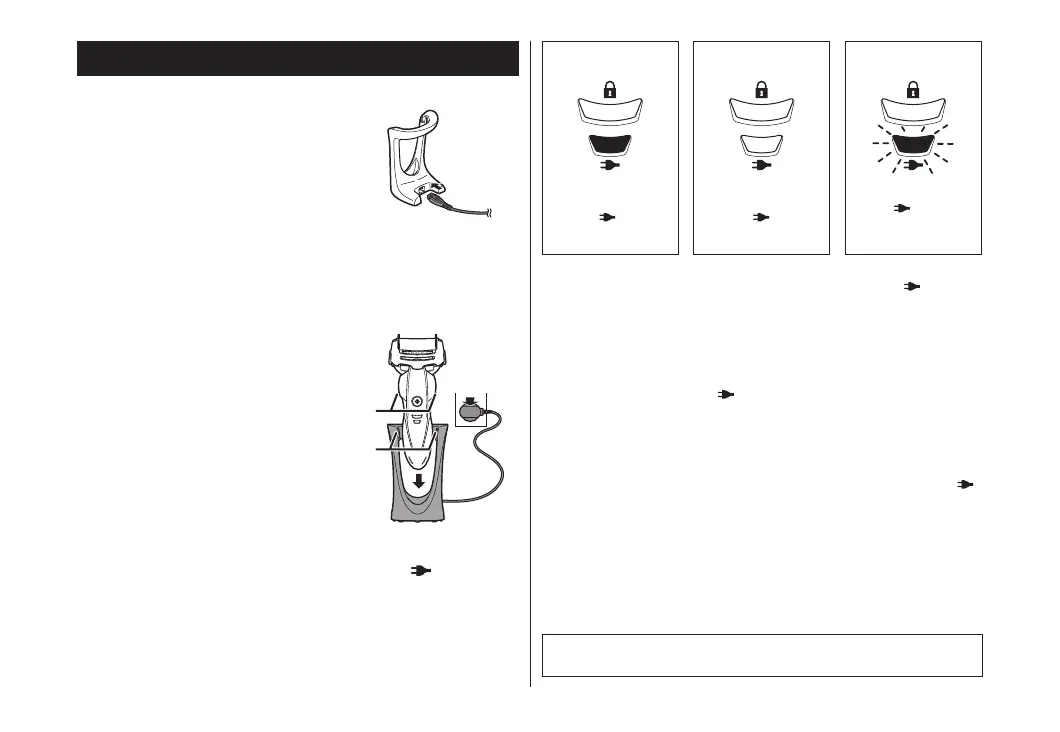
Charging the shaver
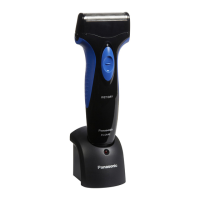
You can charge the shaver with the carrying holder attached.
1
1
Insert the appliance plug into
the stand socket.
1
2
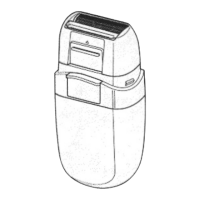
2
Insert the shaver in the charging stand as
illustrated.
• The shaver will not charge unless the side terminals (a)
are in contact with the charging terminals (b).
• Wipe off any water droplets on the side terminals.
3
2
3
3
Plug in the adaptor into a household outlet and
check that the charge status lamp (
) glows.
• Charging is completed after approx. 1 hour.
The charging time may decrease depending on the
charging capacity.
• Charging the appliance after each use will not affect the
battery life.
While charging
After charging is
completed
Abnormal
charging
The charge status
lamp ( ) glows
red.
The charge status
lamp ( ) turns
off.
The charge status
lamp ( ) will blink
twice every
second.
• After charging is completed, turning the power switch ON with
the shaver plugged in will cause charge status lamp (
) to light
up and then turn off after 5 seconds.
This shows that the shaver is fully charged.
• Recommended ambient temperature for charging is 10 – 35 °C.
It may take longer to charge or the battery may fail to charge
properly in extremely high or low temperatures.
The charge status lamp ( ) will blink twice every second when
there is a problem with charging.
Charge the shaver within the recommended ambient temperature
range.
• When charging the shaver for the first time or when it has not
been in use for more than 6 months, the charge status lamp ( )
may not glow. It will eventually glow if kept connected.
• If there is noise from radio or other source while using the
shaver, move to a different location to use the shaver.
4
4
Disconnect the adaptor after charging is
completed.
• Charging the battery for more than 1 hour will not affect
battery performance.
Note
You cannot operate the shaver while charging.
ES-ST29_AUS.indd 8 2015/11/17 19:54:09
 Loading...