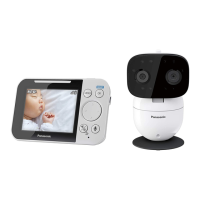
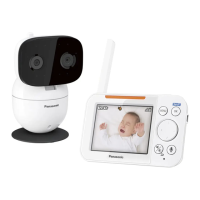
Setting up the monitor unit
Battery installation
R U
SE ONLY the specified battery.
1 Remove the screw from the battery cover.
2 R
emove the battery cover.
3 I
nsert the battery.
BLK: black
RED
4 I
nsert the tabs (A) into the slots, and
then close the battery cover (B).
5 D
rive the screw into the battery cover.
R F
ollow the directions on the display
to set up the unit.
Battery charging
1 I
nsert the AC adaptor plug (A) firmly into
the monitor unit’s micro-USB connector.
2 Connect the AC adaptor (B) to the power
outlet.
Charge for about 8 hours.
Note:
R Use only the supplied AC adaptor
S006AKU0500100.
R When the AC adaptor plug is connected to
the monitor unit’s micro-USB connector,
is displayed on the screen.
R It is normal for the monitor unit to feel warm
during charging.
R The monitor unit resets if the AC adaptor is
disconnected when charging.
14
For assistance, please visit http://shop.panasonic.com/support
Getting Started
HN4001_(en_en)_0508_ver.010.pdf 14 2019/05/08 16:24:08
 Loading...