3. Recording Modes
56
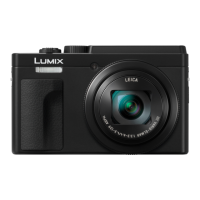
∫ Set the colour to leave in ([One Point Color])
1 Select [One Point Color], and press [MENU/SET].
2 Fit the colour you want to leave in the frame at the
centre of the screen, and then press [MENU/SET].
3 Check the colour you have set, and then press
[MENU/SET].
• If you press [DISP.], you will return to step 2.
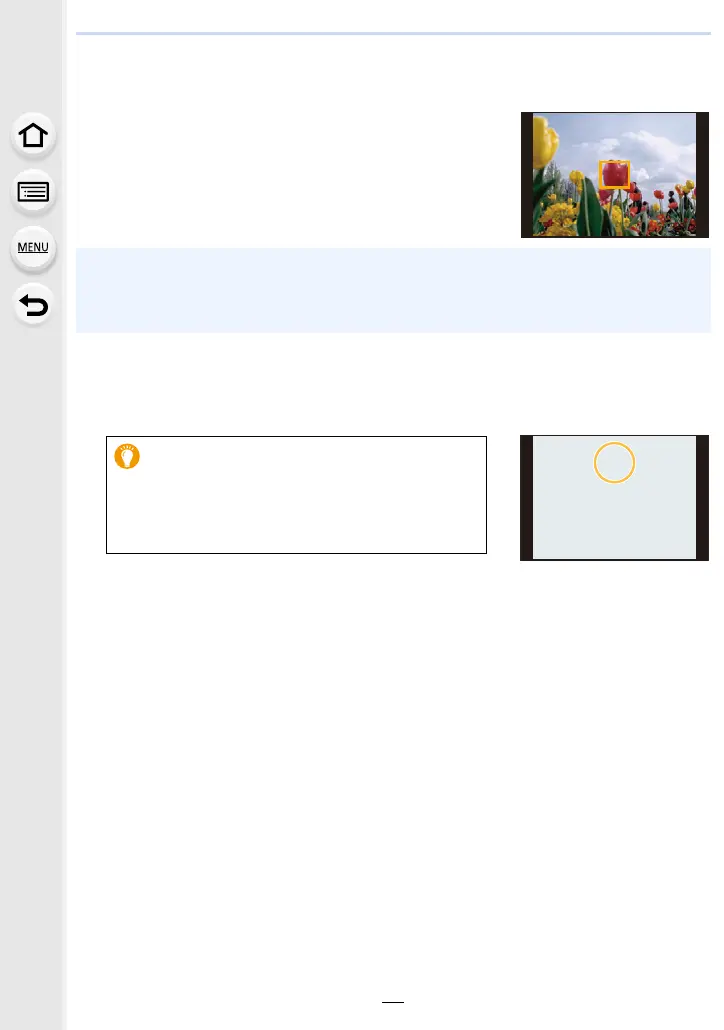
∫ Setting the position and size of the light source ([Sunshine])
1 Select [Sunshine], and press [MENU/SET].
2 Press 3/4/2/1 to move the centre position of the light source.
• Pressing [DISP.] will return the light source setting back to
the default setting.
3 Press [MENU/SET] to set.
• To change the setting, press [MODE], and select [Sunshine] again.
• To change the setting, press [MODE], and select [One Point Color] again.
The set colour is memorised even if the camera is turned off. In that case, the operation starts
from step
3.
• Depending on the subject, the set colour may not be left in.
Point for when placing the centre of the light
source
A more natural appearance can be created by
placing the centre of the light source outside the
image.

 Loading...