13
3.6.2. Initial Settings:
After replacing the Main P.C.B. and/or Flash-ROM, make sure to perform the initial settings after achieving the adjustment by order-
ing the following procedure in accordance with model suffix of the unit.
1. Important Notice:
Before proceeding Initial settings, make sure to read the following CAUTION.
2. Procedures:
• Precautions: Read the above “CAUTION” carefully.
• Preparation:
Attach the fully charged Battery, and insert the memory card to slot1.
Set the mode dial to [ P ] (Program AE Mode).
• Step 1. The temporary cancellation of “Initial Settings”:
Set the drive mode dial to [ Single ], while pressing [ Playback ] button and [ AF/AE LOCK ] button simultaneously, turn the power
on.
• Step 2. The cancellation of “Initial Settings”:
Press the [ Playback ] button in order to enter the [ Playback ] mode.
Press [ AF/AE LOCK ] button and “[ UP ] of Cursor buttons” simultaneously, then turn the power off.
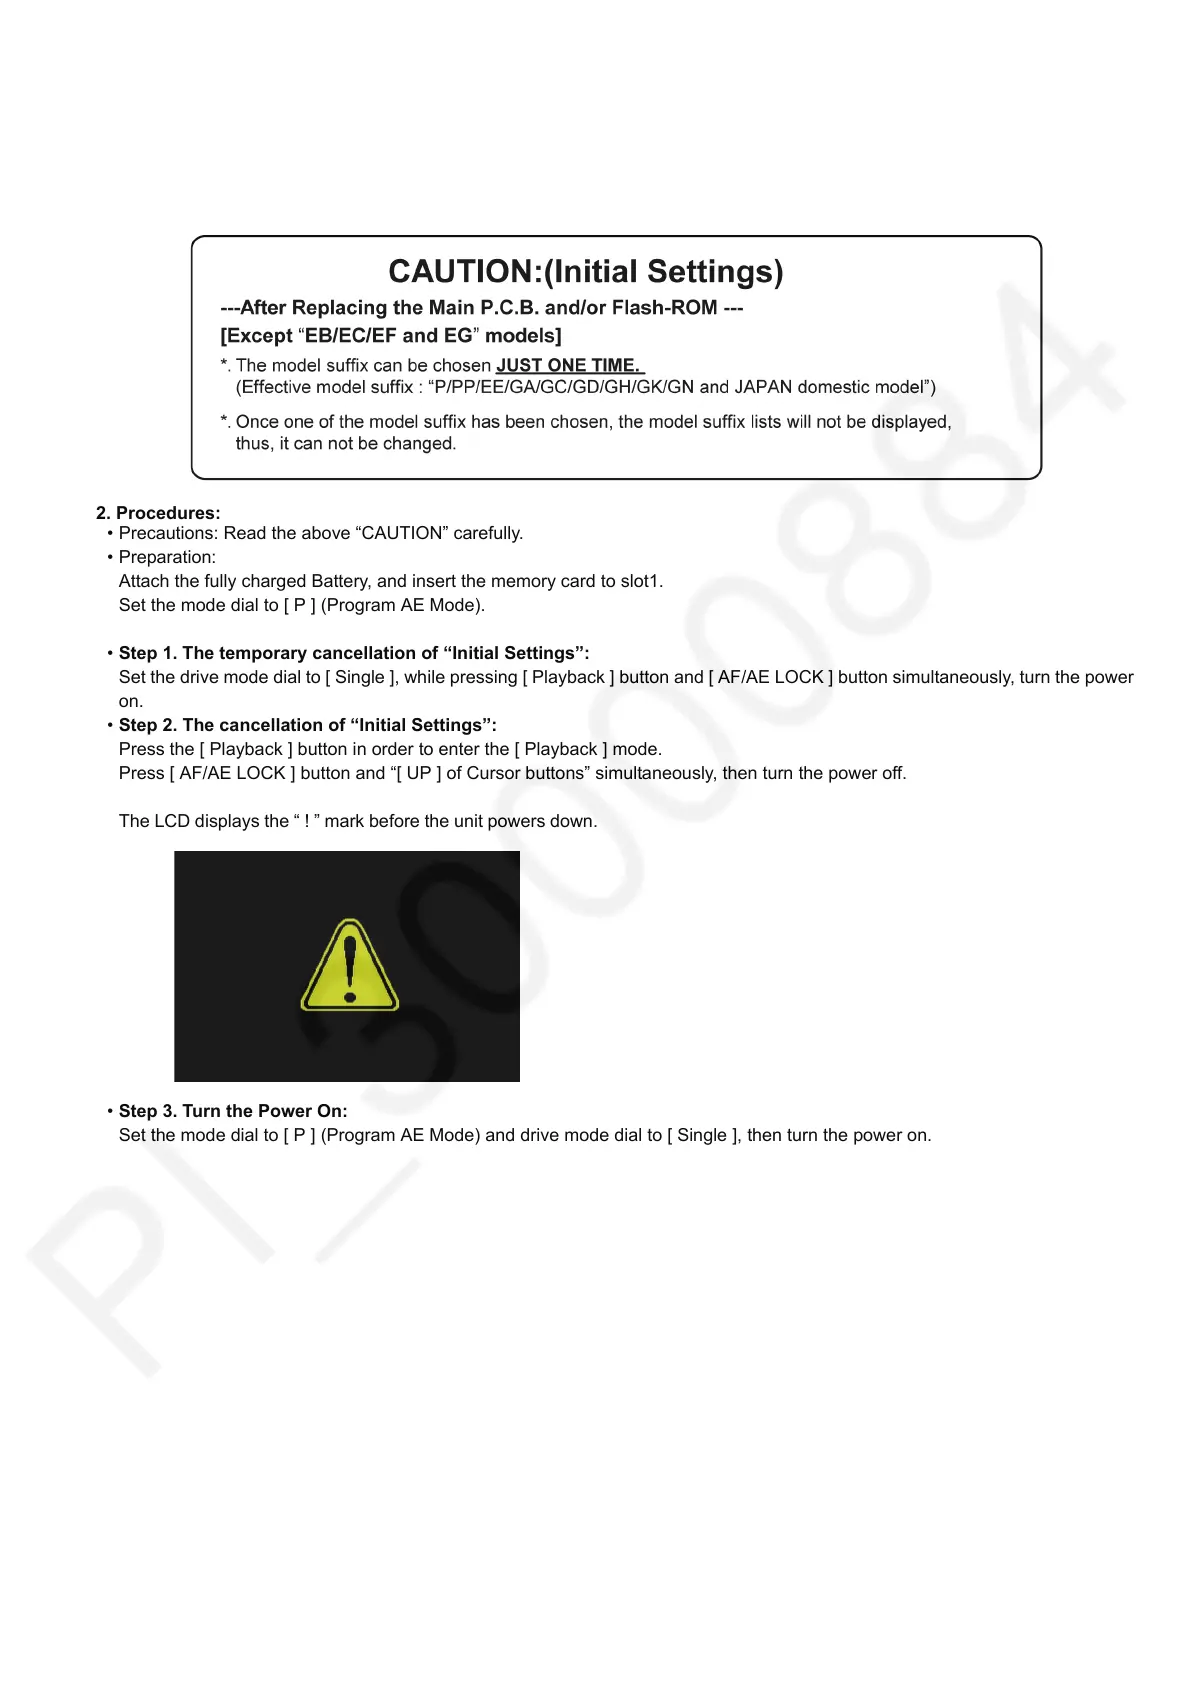
The LCD displays the “ ! ” mark before the unit powers down.
• Step 3. Turn the Power On:
Set the mode dial to [ P ] (Program AE Mode) and drive mode dial to [ Single ], then turn the power on.

 Loading...