192
DVQP1304
Using Menu Functions
Menu list
→ [Custom]
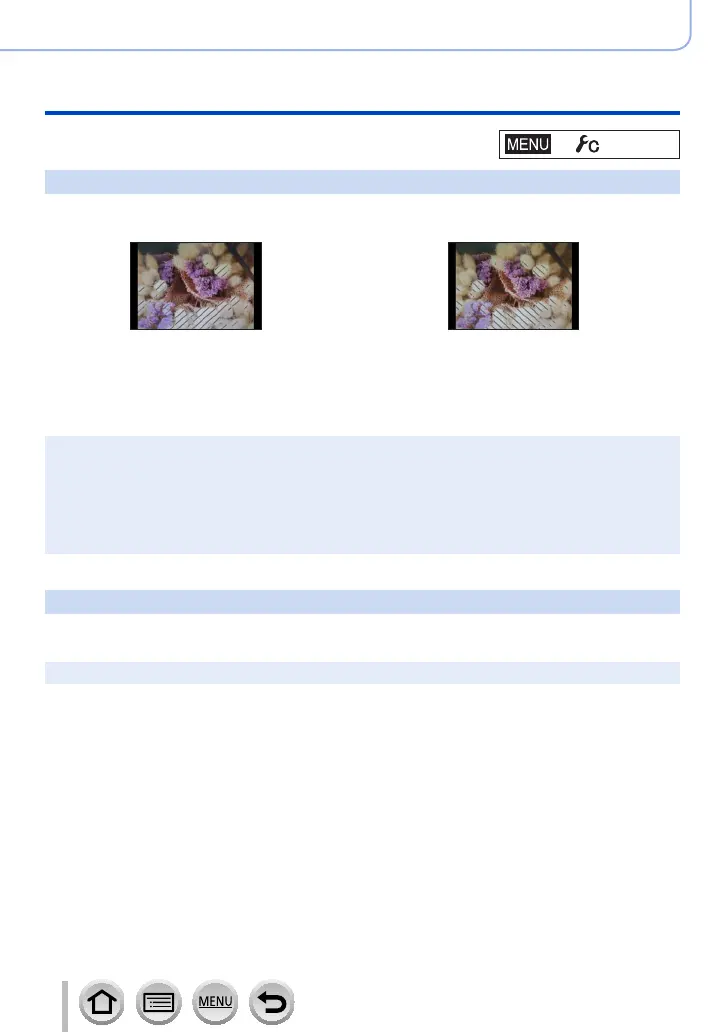
[Zebra Pattern]
You can check the area in a picture, which could result in overexposure, by displaying
such an area using a zebra pattern.
[ZEBRA1]: [ZEBRA2]:
Select [SET] to set the brightness to be displayed for each zebra pattern.
• The range of brightness you can select from is [50%] to [105%]. The [OFF] setting is
available for [Zebra 2]. When [100%] or [105%] is selected, only the overexposed areas
are displayed with the zebra pattern. When a smaller numeric value is set, the range of
brightness to be displayed by each zebra pattern will increase.
●
To reduce overexposed areas, record a picture by setting negative exposure compensation
(→107) using the histogram display (→190) and so on as a reference.
●
The displayed zebra pattern is not recorded.
●
If you set [Zebra Pattern] to [Fn Button Set] (→48) in the [Custom] menu, every time you press
the assigned function button the setting will switch in the following order: [Zebra 1] → [Zebra 2]
→ [Zebra OFF]. When [Zebra 2] is set to [OFF], you can switch the setting quickly in the following
order: [Zebra 1] → [Zebra OFF].
[Monochrome Live View]
You can display the recording screen in black and white. This function is useful when a
black and white screen will make it easier to adjust focus in Manual Focus mode.
●
This does not affect recorded pictures.
 Loading...