15
(ENG) VQT2D55
Setting Date/Time (Clock Set)
• The clock is not set when the camera is shipped.
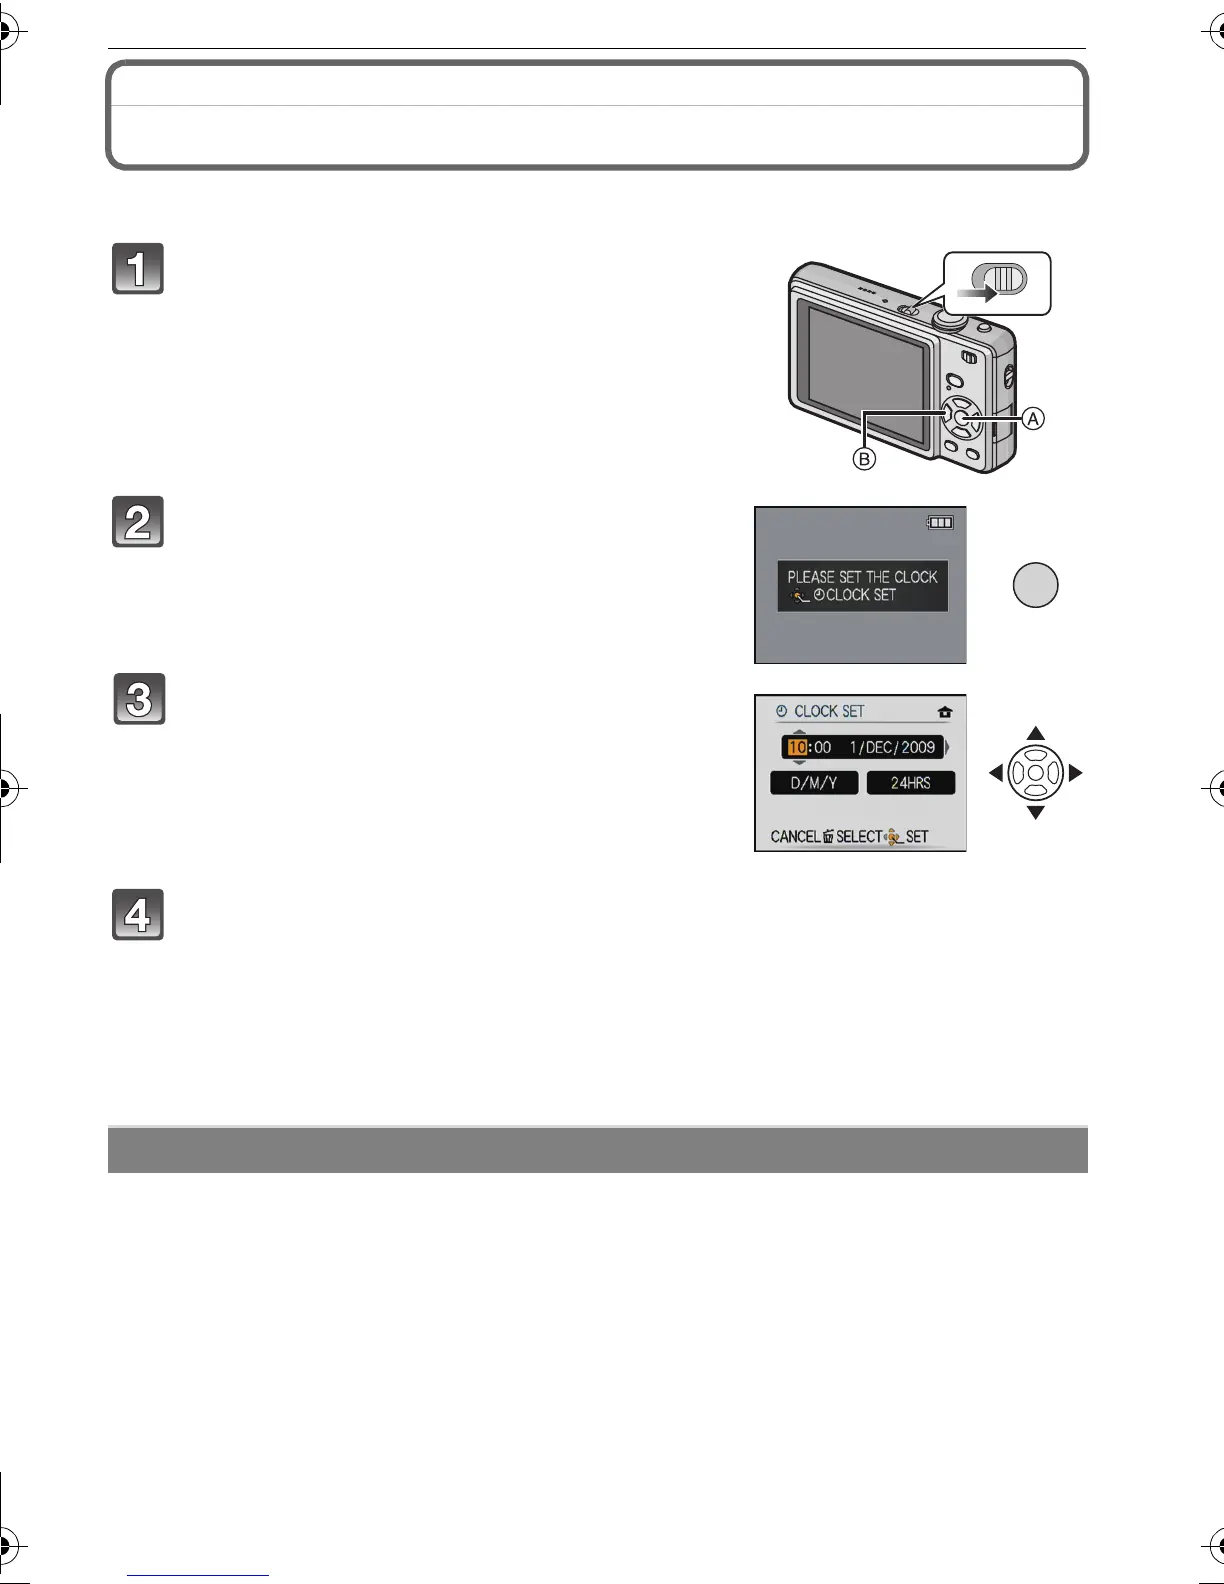
Turn the camera on.
• The [PLEASE SET THE CLOCK] message appears.
(This message does not appear in [PLAYBACK]
mode.)
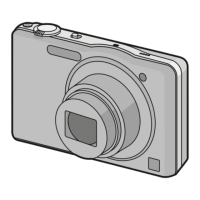
A [MENU/SET] button
B Cursor buttons
Press [MENU/SET].
‚: Cancel without setting the clock.
Press [MENU/SET] to set.
• After completing the clock settings, turn the camera off. Then turn the camera back on,
switch to recording mode, and check that the display reflects the settings that were
performed.
• When [MENU/SET] has been pressed to complete the settings without the clock having
been set, set the clock correctly by following the “Changing the clock setting” procedure
below.
Select [CLOCK SET] in the [REC] or [SETUP] menu, and press 1.
• It can be changed in steps 3 and 4 to set the clock.
• The clock setting is maintained for 3 months using the built-in clock battery even
without the battery. (Leave the charged battery in the unit for 24 hours to charge the
built-in battery.)
Press 2/1 to select the items (year,
month, day, hour, minute, display
sequence or time display format), and
press 3/4 to set.
Changing the clock setting
DMC-FS12&FS62EB-VQT2D55_eng.book 15 ページ 2009年3月24日 火曜日 午後5時56分
 Loading...