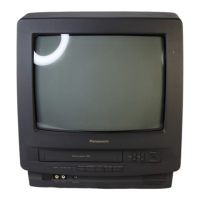
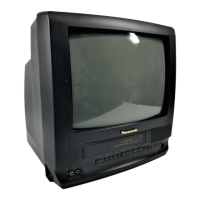
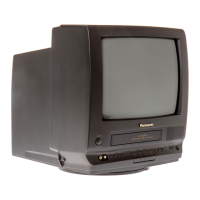
2-27
One Horizontal Line
Eq Pulse
T
CH1 : TP3001
CH2 : TP6205
1V
5V 0.1ms 2
Start of V Sync
SUB TINT
07
SUB COLOR
00
SUB TINT
07
SUB TINT
07
SUB TINT SUB TINT
07
Adjust
00
PG SHIFTER ADJUSTMENT
Purpose:
Determine the Video Head Switching Point during Playback.
Symptom of Misadjustment:
May cause Head Switching Noise and/or Vertical Jitter.
Test Point : TP3001 (Main C.B.A.)
TP6205 (Main C.B.A.)
Adjustment : R6201 (Main C.B.A.)
Specification : T = 6 +/- 1H (0.38 +/- 0.06msec.)
Mode : SP Playback
Equipment : Oscilloscope,
VHS Alignment Tape (VFMS0003H6)
1. Connect the channel-1 scope probe to TP3001 and the
channel-2 scope probe to TP6205. Trigger from channel-2.
2. Playback the VHS alignment tape and adjust the R6201
(PG SHIFTER) so that the leading edge of the head
switching pulse is placed 6H +/- 1H (0.38 +/- 0.06msec.)
before the start of the vertical sync pulse.
Fig. E3
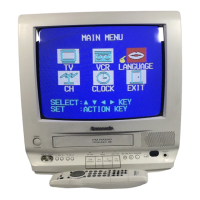
3. Press CH UP/DOWN key on the remote control to adjust
the value of the selected control.
Fig. E2-4
Note:
You can select a desired channel by using the numbered
keys on the remote control in EVR adjustment mode.
4. Press VOL UP/DOWN key on the remote control so that the
shaded area moves to the control function.
Fig. E2-5
5. Press CH UP/DOWN key on the remote control to select a
control function for the next adjustment if necessary.
Fig. E2-6
How to release from EVR adjustment MODE
Press and hold STOP, FF, and VOL DOWN button on the unit
together over 5 seconds again or press power off and on.
 Loading...