9
Initial Setup
VIDEO IN
AUDIO IN
POWER
VOL
CH
STOP/EJECT
REW/
PLAY/REPEAT
FF/
REC
TIMER/FM
ACTION
REC
ON TIMER
PROG TIMER
Reset all unit Memory Functions
When moving unit to a new location, or if a
mistake was made in the Initial Setup
section.
• Make sure a tape is not inserted in the unit.
4
Press CH Key to start
CHANNEL / CLOCK AUTO SET
operation. Settings are performed
automatically. If the setup is
completed, the following screen is
displayed.
2
/
7
/
2001
W
ED
12
:
00
P
M
DST
:
O
N
A
UTO
C
L
OCK SET
CO
M
P
L
ETED
SETT
I
N
G
:
CH
1
0
END
:
P
RESS
CH
UP
KEY
If AUTO CLOCK SET IS
INCOMPLETE screen appears, set
the clock using MANUAL CLOCK
SET procedure as below.
PLEASE
SET
CLOCK BY
P
R
ESS
I
NG
ACT
I
ON
KEY
A
UTO
C
L
OCK SET
I S I NCO
M
P
L
ETE
MANUAL CLOCK SET
If AUTO CLOCK SET was incomplete,
manually set the clock as follows.
SET
:
SE
L
E
C
T
:
END
:
ACT
I
O
N
SET
C
L
OC
K
DST
:
O
N
SE
L
E
C
T
M
O
N
TH
1 / /1 / /
:
1
2
Press ACTION Key on the Remote
to display SET CLOCK Menu screen.
Press
to select the month and
press
to set. In the same manner,
select and set the date, year, time,
and DST. (Daylight Saving Time)
SET
:
END
:
ACT
I
O
N
SET
C
L
OC
K
DST
:
O
N
SE
L
E
C
T
COMPLETED
2 / 7/2 / 7/
:
20012001
WEDWED
1212
0000
PM
3
Press ACTION Key twice to start
CLOCK and exit.
3
1
2
Turn the unit
Power on.
Do “Initial Setup” on page 8.
Press and hold both PLAY and
FF on the unit for more than 5
seconds.
• The power will shut off.
• Please ignore “NO CASSETTE”
warning.
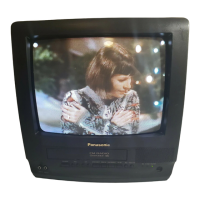
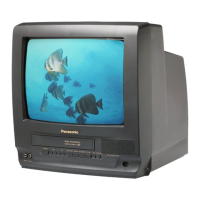
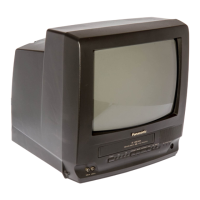
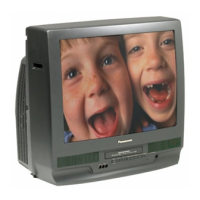
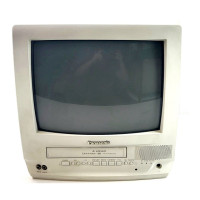
<Model PV-C2061 unit shown>
*
Important: if a remote control button does not work when pressed, press the COMBO button
on the remote and try the button again.
C2061- P08-11 Initial setup 00.12.14, 5:32 PM9
 Loading...