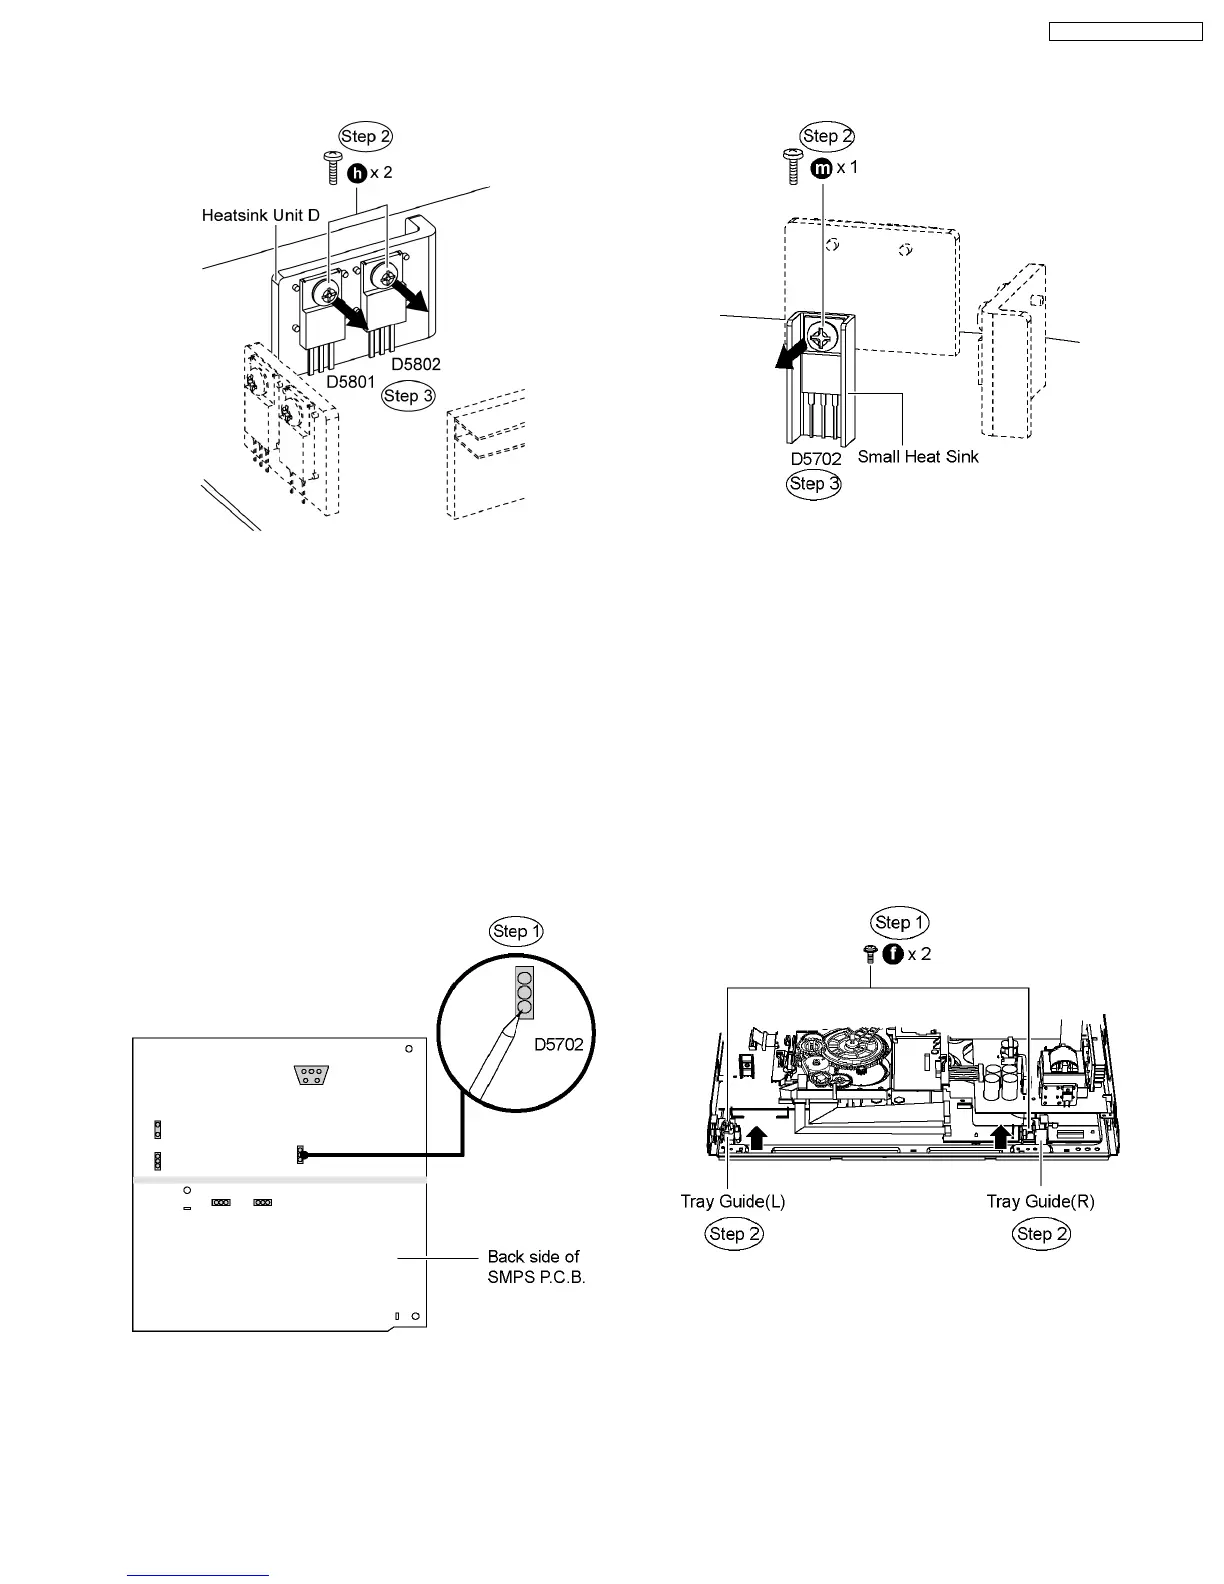
Caution: Handle the heatsink unit D with caution due to its
high temperature after prolonged use. Touching it may
lead to injuries.
Note : Refer to the diagrams of SMPS P.C.B. (Item 10.18.) for
location of the parts.
10.23. Disassembly of Regulator
Diode (D5702)
·
Follow (Step 1) to (Step 3) of Item 10.3.
·
Follow (Step 1) to (Step 3) of Item 10.4.
·
Follow (Step 1) to (Step 4) of Item 10.5.
·
Follow (Step 1) to (Step 4) of Item 10.7.
·
Follow (Step 1) to (Step 7) of Item 10.18.
Step 1 Desolder pins of the regulator diode (D5702) on the
back side of SMPS P.C.B.
Step 2 Remove 1 screw.
Step 3 Remove the regulator diode (D5702) from the small
heat sink.
Caution: Handle the small heat sink with caution due to its
high temperature after prolonged use. Touching it may
lead to injuries.
Note : Refer to the diagrams of SMPS P.C.B. (Item 10.18.) for
location of the parts.
10.24. Disassembly of Tray Guide (L)
& Tray Guide (R)
·
Follow (Step 1) to (Step 3) of Item 10.3.
·
Follow (Step 1) to (Step 3) of Item 10.4.
·
Follow (Step 1) to (Step 4) of Item 10.5.
·
Follow (Step 1) to (Step 4) of Item 10.7.
Step 1 Remove 2 screws from the tray guide (L) and the tray
guide (R) .
Step 2 Remove the tray guide (L) and the tray guide (R) in the
direction of arrow.
10.25. Disassembly of Rotary Tray
·
Follow (Step 1) to (Step 3) of Item 10.3.
·
Follow (Step 1) to (Step 3) of Item 10.4.
·
Follow (Step 1) to (Step 4) of Item 10.5.
·
Follow (Step 1) to (Step 4) of Item 10.7.
Step 1 Remove the screw and the tray spring.
Step 2 Remove the rotary tray in the direction of arrow.
65
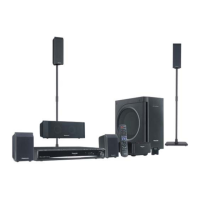
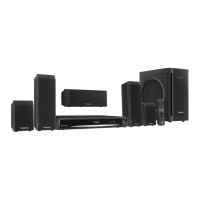
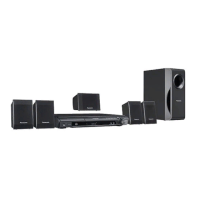
SA-PT650P / SA-PT650PC
 Loading...