11
RQT9883
Press [DISPLAY, iPod MENU] to change the display.
The information will scroll through the display.
Each time you press the button:
If the DAB+ broadcast includes time information, this
unit’s clock will be automatically updated.
1 Press [PLAY MENU] repeatedly to select “AUTO
CLOCK ADJ”.
2 Press [3, 4] to select “ON ADJUST” and then
press [OK].
≥ Select “OFF ADJUST” to turn the automatic clock adjustment
function off.
To check the signal reception quality, at least 1
frequency block needs to be successfully memorised.
≥ If “SCAN FAILED” is displayed after “DAB+” is
selected or after an auto scan, proceed to “Manually
tuning 1 frequency block” (l below)
∫ Manually tuning 1 frequency block
Use this function to scan 1 frequency block after
adjusting the position of the DAB antenna.
Preparation
Note down a frequency block that can be received in
your region (e.g., 12B 225.648 MHz).
1 While “SCAN FAILED” is displayed.
Adjust the position of the DAB antenna.
2 Press [PLAY MENU] repeatedly to select
“MANUAL SCAN”.
3 Press [3, 4] to select the frequency block that is
receivable in your region and then press [OK].
≥ If broadcasting stations are memorised, proceed to
“To re-scan DAB+ stations” to memorise stations on other
frequency blocks. (l 10)
≥ If “SCAN FAILED” is still displayed, repeat steps 1 to 3 until a
station is memorised. If the situation does not improve, try
using an outdoor DAB antenna or consult your dealer.
∫ Checking the DAB+ signal reception
quality
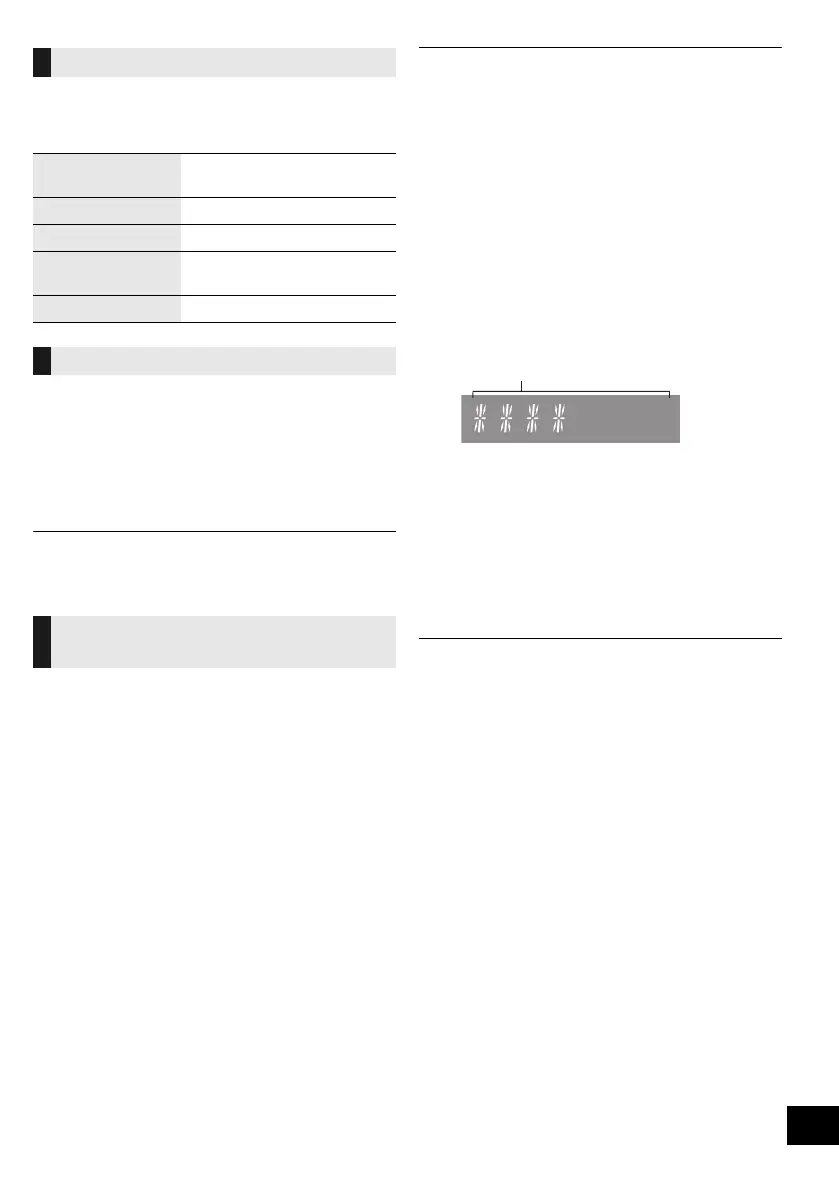
1 While listening to the DAB+ broadcast:
Press [PLAY MENU] repeatedly to select “SIGNAL
QUALITY” and then press [OK].
≥ The current frequency block is displayed and
then the reception quality is indicated.
2 If the signal reception quality is poor, move the
antenna to a position where the reception quality
improves.
3 To continue checking the quality of other frequency
blocks:
Press [3, 4] again and select the desired
frequency.
4 Press [OK] to exit.
≥ If the antenna has been adjusted, perform auto scanning and
update the station memory. (l 10)
Display
Dynamic label: Information about the
broadcast
PTY display: Programme type
Ensemble label: The name of the ensemble
Frequency display: The frequency block and
frequency is displayed.
Time display: Current time
Automatic clock adjustment
To verify or improve the signal
reception quality
≥ If stations have already been memorised to this unit,
proceed to “Checking the DAB+ signal reception
quality” (l right)
Reception quality
0 (poor) – 8 (excellent)
SC-HC49DBGN&GN&GS~RQT9883-B.book 11 ページ 2014年2月21日 金曜日 午前9時26分