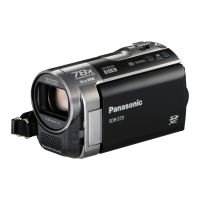
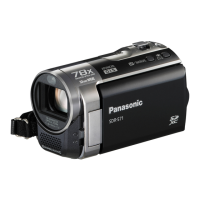
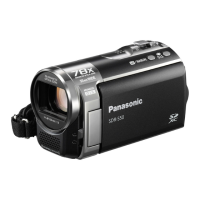
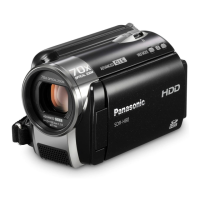
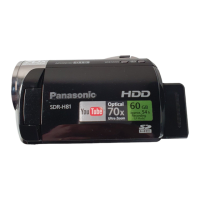
Do you have a question about the Panasonic SDR-S70P and is the answer not in the manual?
Covers general safety guidelines and procedures for leakage current checks.
Details ESD prevention, AC cord safety, battery replacement, and legal service cautions.
Explains the characteristics and service considerations for lead-free solder.
Provides detailed safety instructions for the AC mains lead and plug wiring.
Step-by-step instructions for safely replacing the fuse in the AC plug.
Provides guidance on how to use and navigate the service manual effectively.
Explains the purpose and scope of the service manual for technicians.
Guides on identifying the model suffix based on nameplate and regulatory marks.
Details the methods used to define the specific model suffix of the device.
Details the LCD monitor's functionality and basic controls like power and SD card slot.
Identifies the lens cover and the SD card slot for media storage.
Describes the lens cover, joystick, and recording start/stop button operations.
Indicates the menu button and details joystick usage for menu navigation.
Describes the zoom lever and identifies the DC input terminal for power.
Instructions on grip belt adjustment and battery release lever operation.
Explains the initial steps and button combinations to display the service menu.
Lists the available functions within the service mode menu, such as self-checks.
Describes the procedure to exit the service mode and return to normal operation.
Details the steps for performing an eSD self-check and interpreting results.
Explains how to view lock search history and error codes stored in EEPROM.
Describes how to display and interpret the results of the Power ON self-check.
Details the procedure for clearing lock search history data from EEPROM.
Provides a comprehensive list of parts numbers and quantities for service tools.
Presents a flowchart outlining the sequence of disassembly steps for the device.
Illustrates the layout of various Printed Circuit Boards within the device.
Details EEPROM data requirements for replacing the main PCB and adjustment procedures.
Lists extension cables and their connections for accessing service positions.
Provides a list of extension cables with part numbers, pins, and connections.
Diagrams showing the layout and connector mapping on the main PCB.
Outlines the connection method and requirements for electrical adjustments using software.
Lists the specific adjustment items and the associated replacement parts involved.
Steps to install the necessary USB-SERIAL driver for PC communication.
Details the procedure to prepare the camera and enter the adjustment mode.
Instructions to release the camera from COM mode back to normal operation.
Provides instructions for cleaning the camera lens and LCD panel.
Explains the steps to initiate and perform factory settings on the device.
Explains how symbols and notations are used in schematic diagrams.
Highlights critical components and safety precautions when referencing schematics.
Lists voltage measurements for the Rear Printed Circuit Board.
Lists voltage measurements for the Monitor Printed Circuit Board.
Presents the complete block diagram showing the interconnections of major system components.
Illustrates how different modules and PCBs are interconnected within the system.
Layout diagram for the Rear Printed Circuit Board, showing component and foil sides.
Layout diagrams for the EMC FPC and DC Battery Operation FPC PCBs.
Exploded view of the frame and casing components for part identification.