Home
Panasonic
Telephone System
TDA 100
Page 15
Panasonic TDA 100 - Page 15
91 pages
Manual
Save Page as PDF
To Next Page
To Next Page
To Previous Page
To Previous Page
Loading...
6.
Remove
the
RS-232C
Connector
and
LED
Connector
from
the
Back
Board
1.
7.
Remove
eight
Screws
(C).
8.
Remove
the
Back
Board
1.
9.
Remove
the
LED
Connector
from
the
Back
Board
2.
10.
Remove
the
Screw
(C).
11.
Remove
the
Back
Board
2.
15
KX-
TDA100CE
14
16
Table of Contents
Main Page
Default Chapter
2
Table of Contents
2
1 ABOUT LEAD FREE SOLDER (Pbf: Pb Free)
3
SUGGESTED Pbf SOLDER
3
HOW to RECOGNIZE that Pb FREE SOLDER IS USED
4
2 For Service Technicians
4
3 Caution
5
Note
5
Safety Precautions
5
Insulation Resistance Test
5
Battery Caution
5
4 Specifications
6
General Description
6
Characteristics
6
System Capacity
7
5 System Overview
8
System Configurations
8
System Components
9
System Connection Diagram
10
6 Name and Locations
12
7 Disassembly Instructions
13
Disassembly Instruction (Mpr Card)
13
Disassembly Instruction (Back Board)
14
8 Outline
16
General Description
16
System Control
17
Back Board Signal Connection Diagram
20
9 Mpr Card Circuit Operation
23
Mpr Card
23
10 Back Board Circuit Operation
31
11 Troubleshooting Guide
32
Mpr Card
32
12 Diagnosis
50
Diagnosis Features
50
Diagnosis Test
54
13 IC Data
59
Ic101
59
14 Terminal Guide of Ics, Transistors and Diodes
63
15 How to Replace a Flat Package IC
64
Preparation
64
Procedure
64
Removing Solder from between Pins
64
16 Cabinet and Electrical Parts Location
65
Extension Boards for Servicing
66
17 Accessories and Packing Materials
67
18 Replacement Parts List
68
Cabinet and Electrical Parts
68
Accessories and Packing Materials
68
Mpr Card Parts
69
Back/Led Board Parts
74
Fixtures and Tools
75
19 For the Schematic Diagram
76
20 Schematic Diagram
77
Mpr Card
77
Back/Led Board
82
Waveform
85
21 Printed Circuit Board
87
Mpr Card
87
Back/Led Board
89
Related product manuals
Panasonic TDA200
11 pages
Panasonic KX-TD208
12 pages
Panasonic KX-TD308
441 pages
Panasonic KX-TD612
24 pages
Panasonic KX-TD816E
518 pages
Panasonic KX-TS500
7 pages
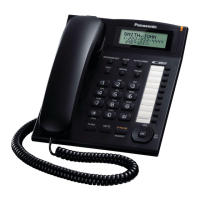
Panasonic KX-TS880
52 pages
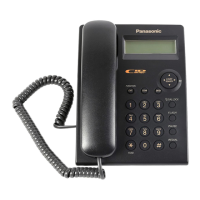
Panasonic KX-TSC11
48 pages
Panasonic KX-TS600W
56 pages
Panasonic KX-TS108W
40 pages
Panasonic KX-T30810
24 pages
Panasonic KX-TS105B
32 pages



 To Next Page
