28
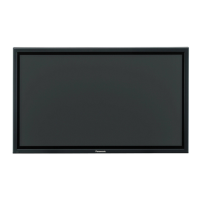
TH-42PF30U
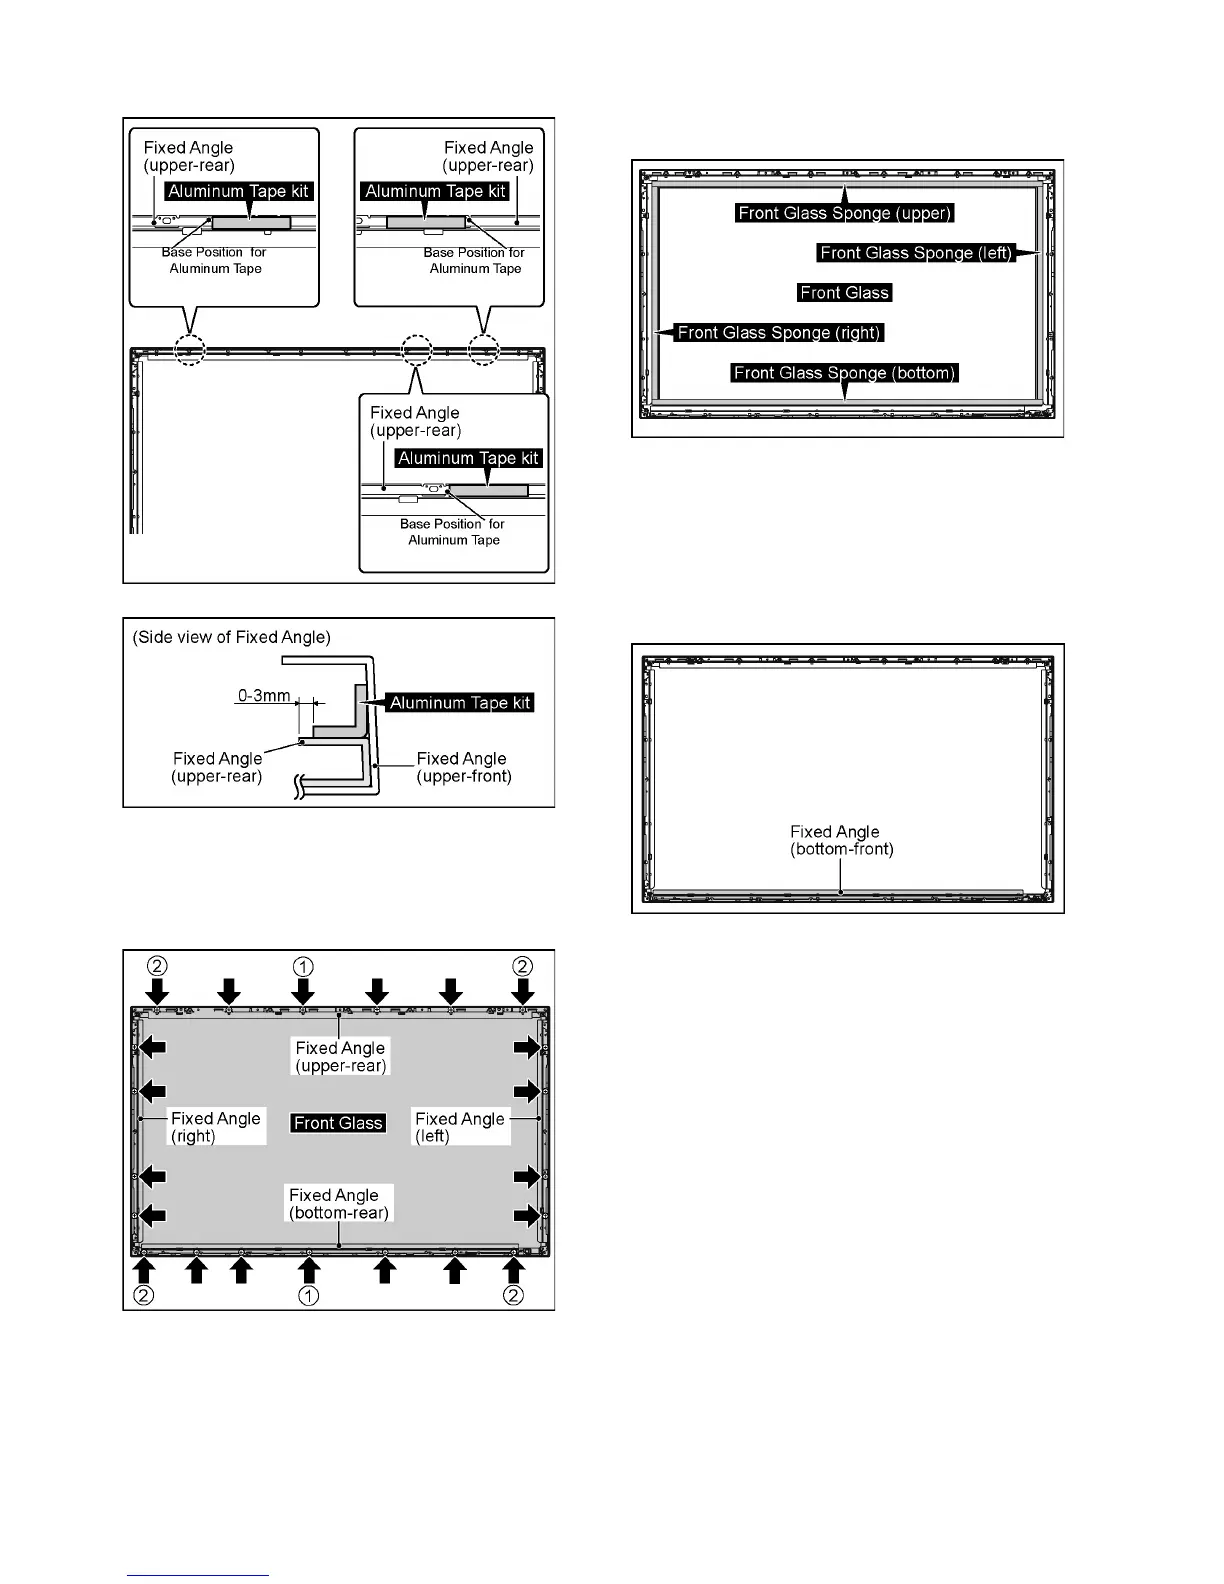
Paste the Aluminum Tapes to original position.
8.16.2. Removal of Front Glass
1. Remove 21 screws and then remove the Fixed Angle
(left, right, upper-rear, bottom-rear).
2. Remove the Front Glass.
Note: when fixing fixed Angle (upper-rear, bottom-
rear)
• Firstly screw on 6 screws (1-2) in order.
Note: when Front Glass is exchanged
• Paste the Front Glass Sponges in order along each
Fixed Angles left and right, upper and bottom.
Note
• The sponges are parts which cannot be recycled. Please
use the new article when you exchange the Front Glass.
8.16.3. Removal of V1-Board and V2-Board
1. Remove the Front Glass.
(Refer to remove of Front Glass).
2. Remove the Fixed Angle (bottom-front).
3. Remove 2 screws (D).
4. Disconnect the connector (V11).
5. Remove 1 hook and then remove V1-Board
6. Remove 2 hooks and then remove the Power Button
Shield.
7. Remove 3 hooks and then remove the Power Button and
Power Button Spring.
8. Disconnect the connector (V22) and then remove V2-
Board.

 Loading...